
Hello my GlitterFriends!!! It’s been a loooooooong time since I have done a nail art pictorial for you guys (you know how it is, real life takes over). Anyway, today November 5 is National Doughnut Day so I would like to share this fun and easy doughnut nail art with you all to try. As usual it is super easy so let’s take out all your fun colour polishes and get started!!
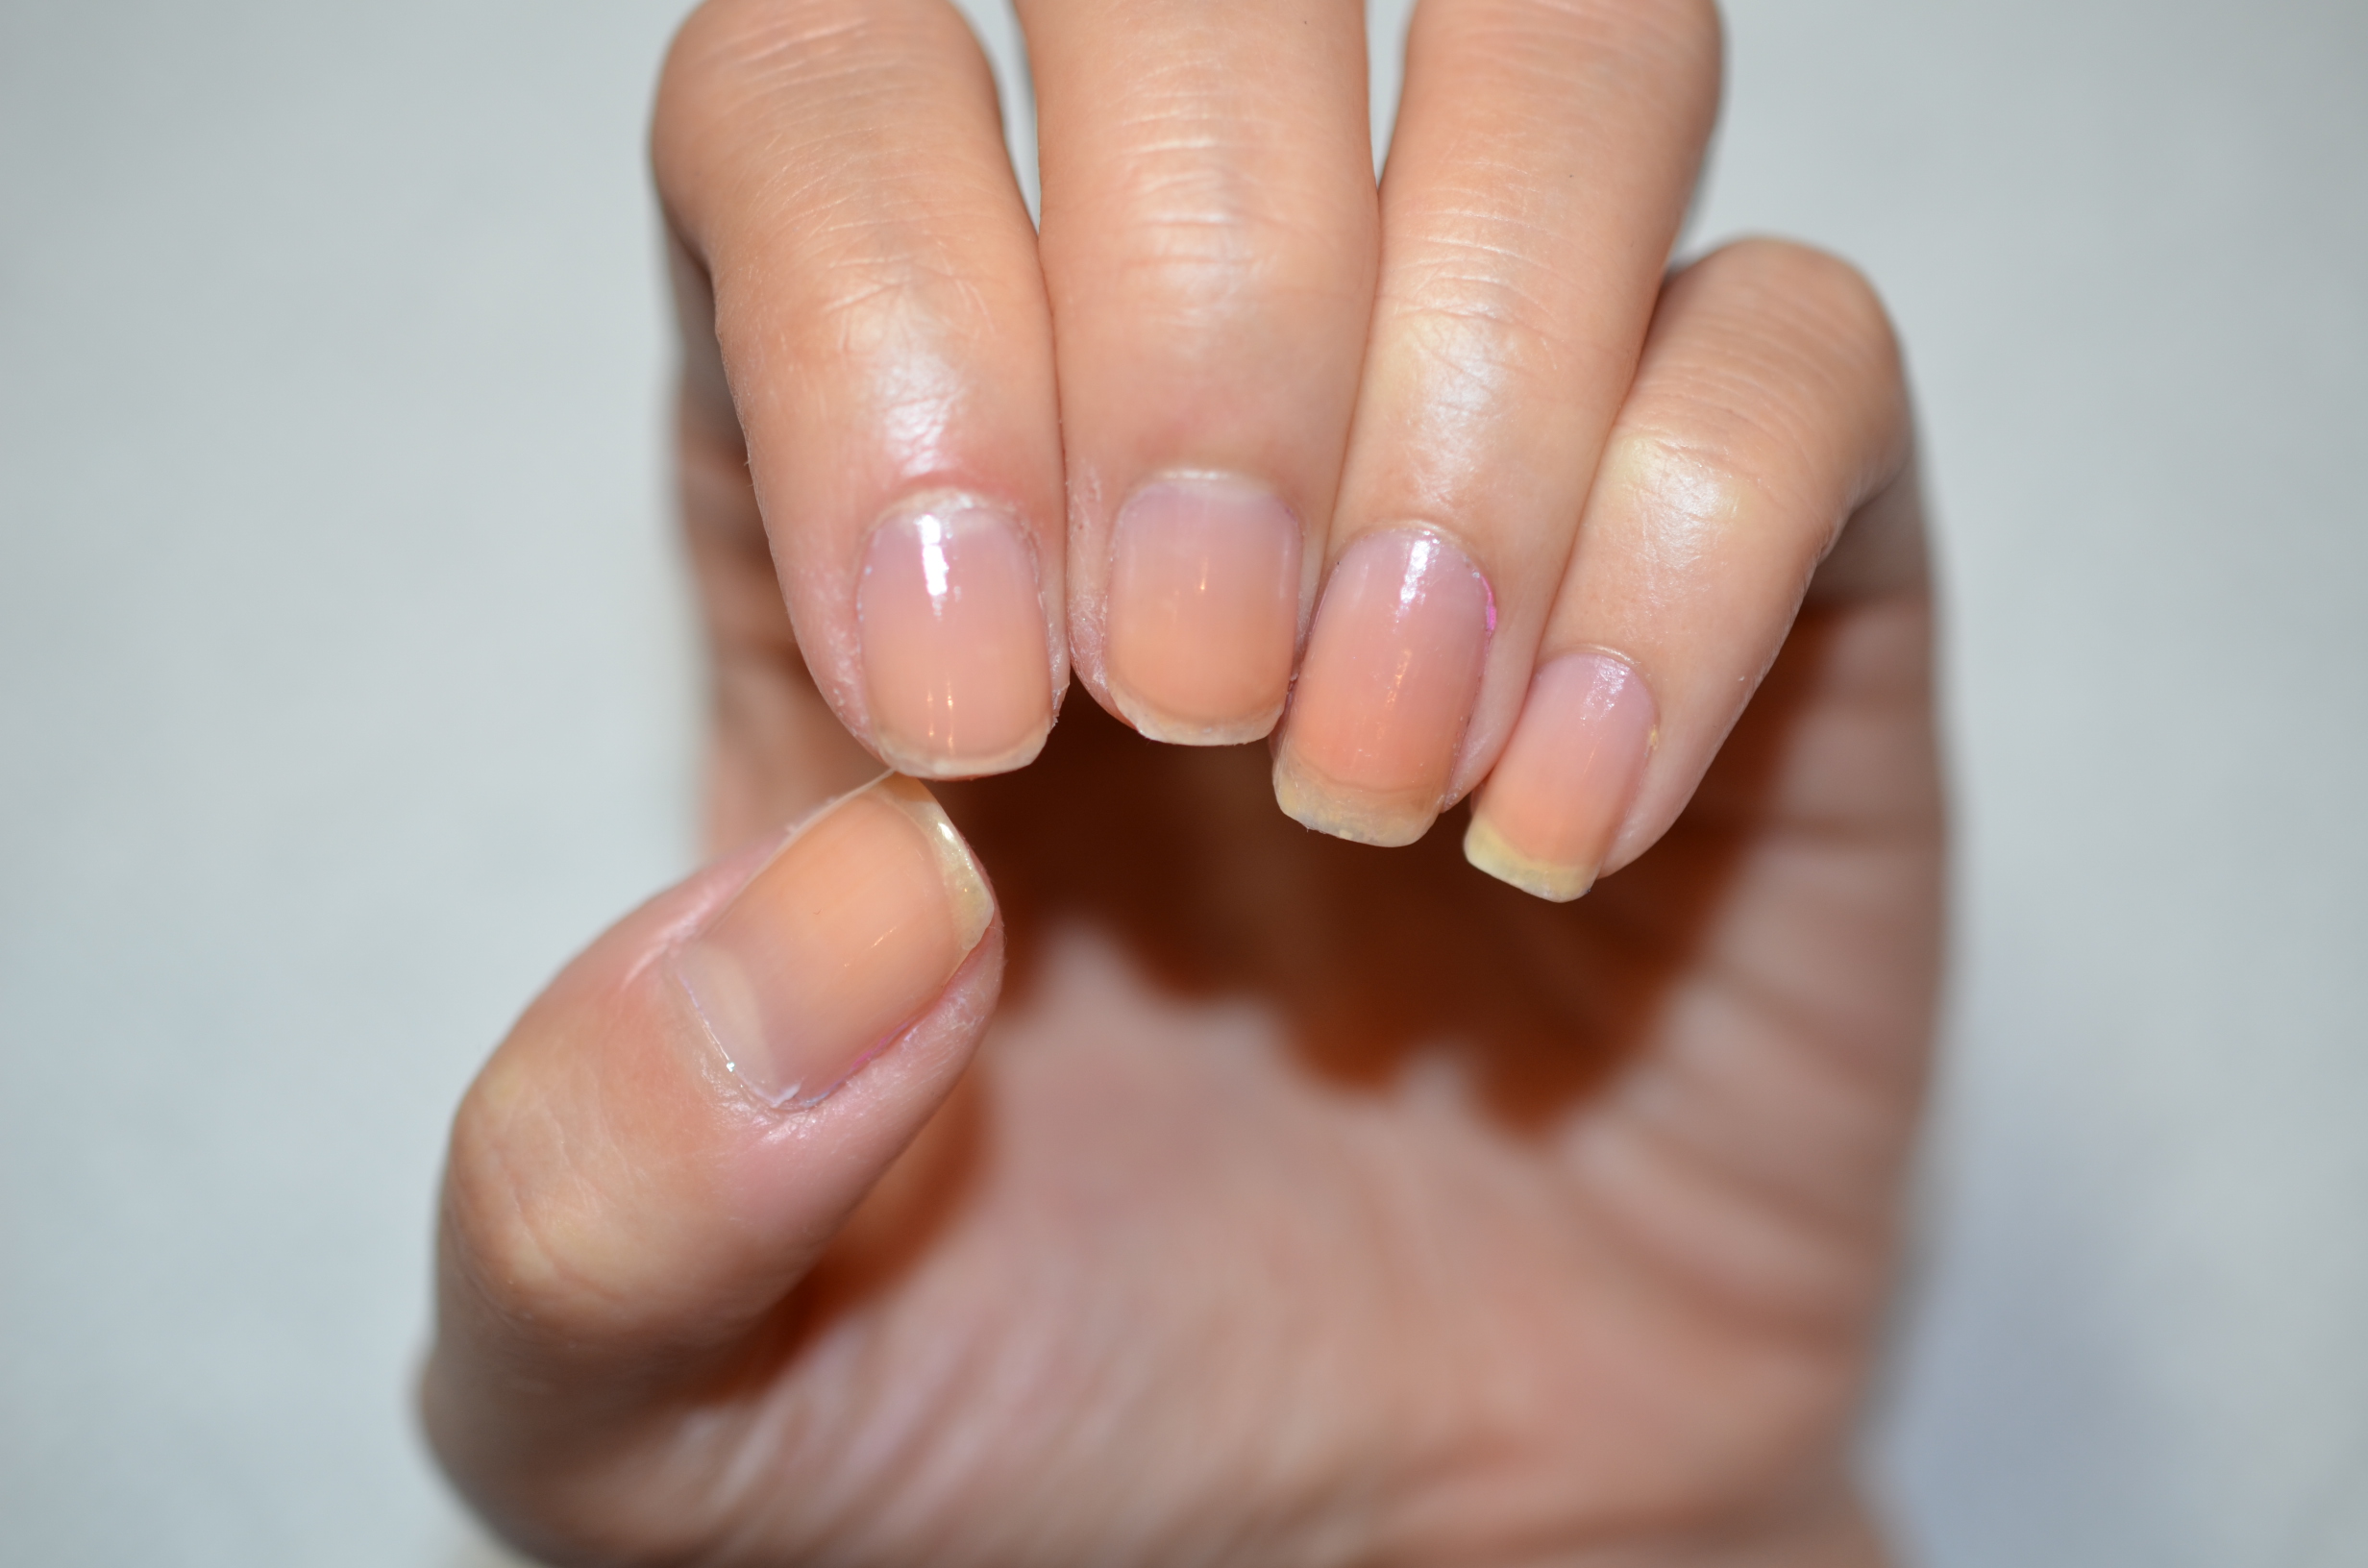
Step 1: Apply Base Coat (OPI Natural Nail Base Coat) to protect your natural nail.
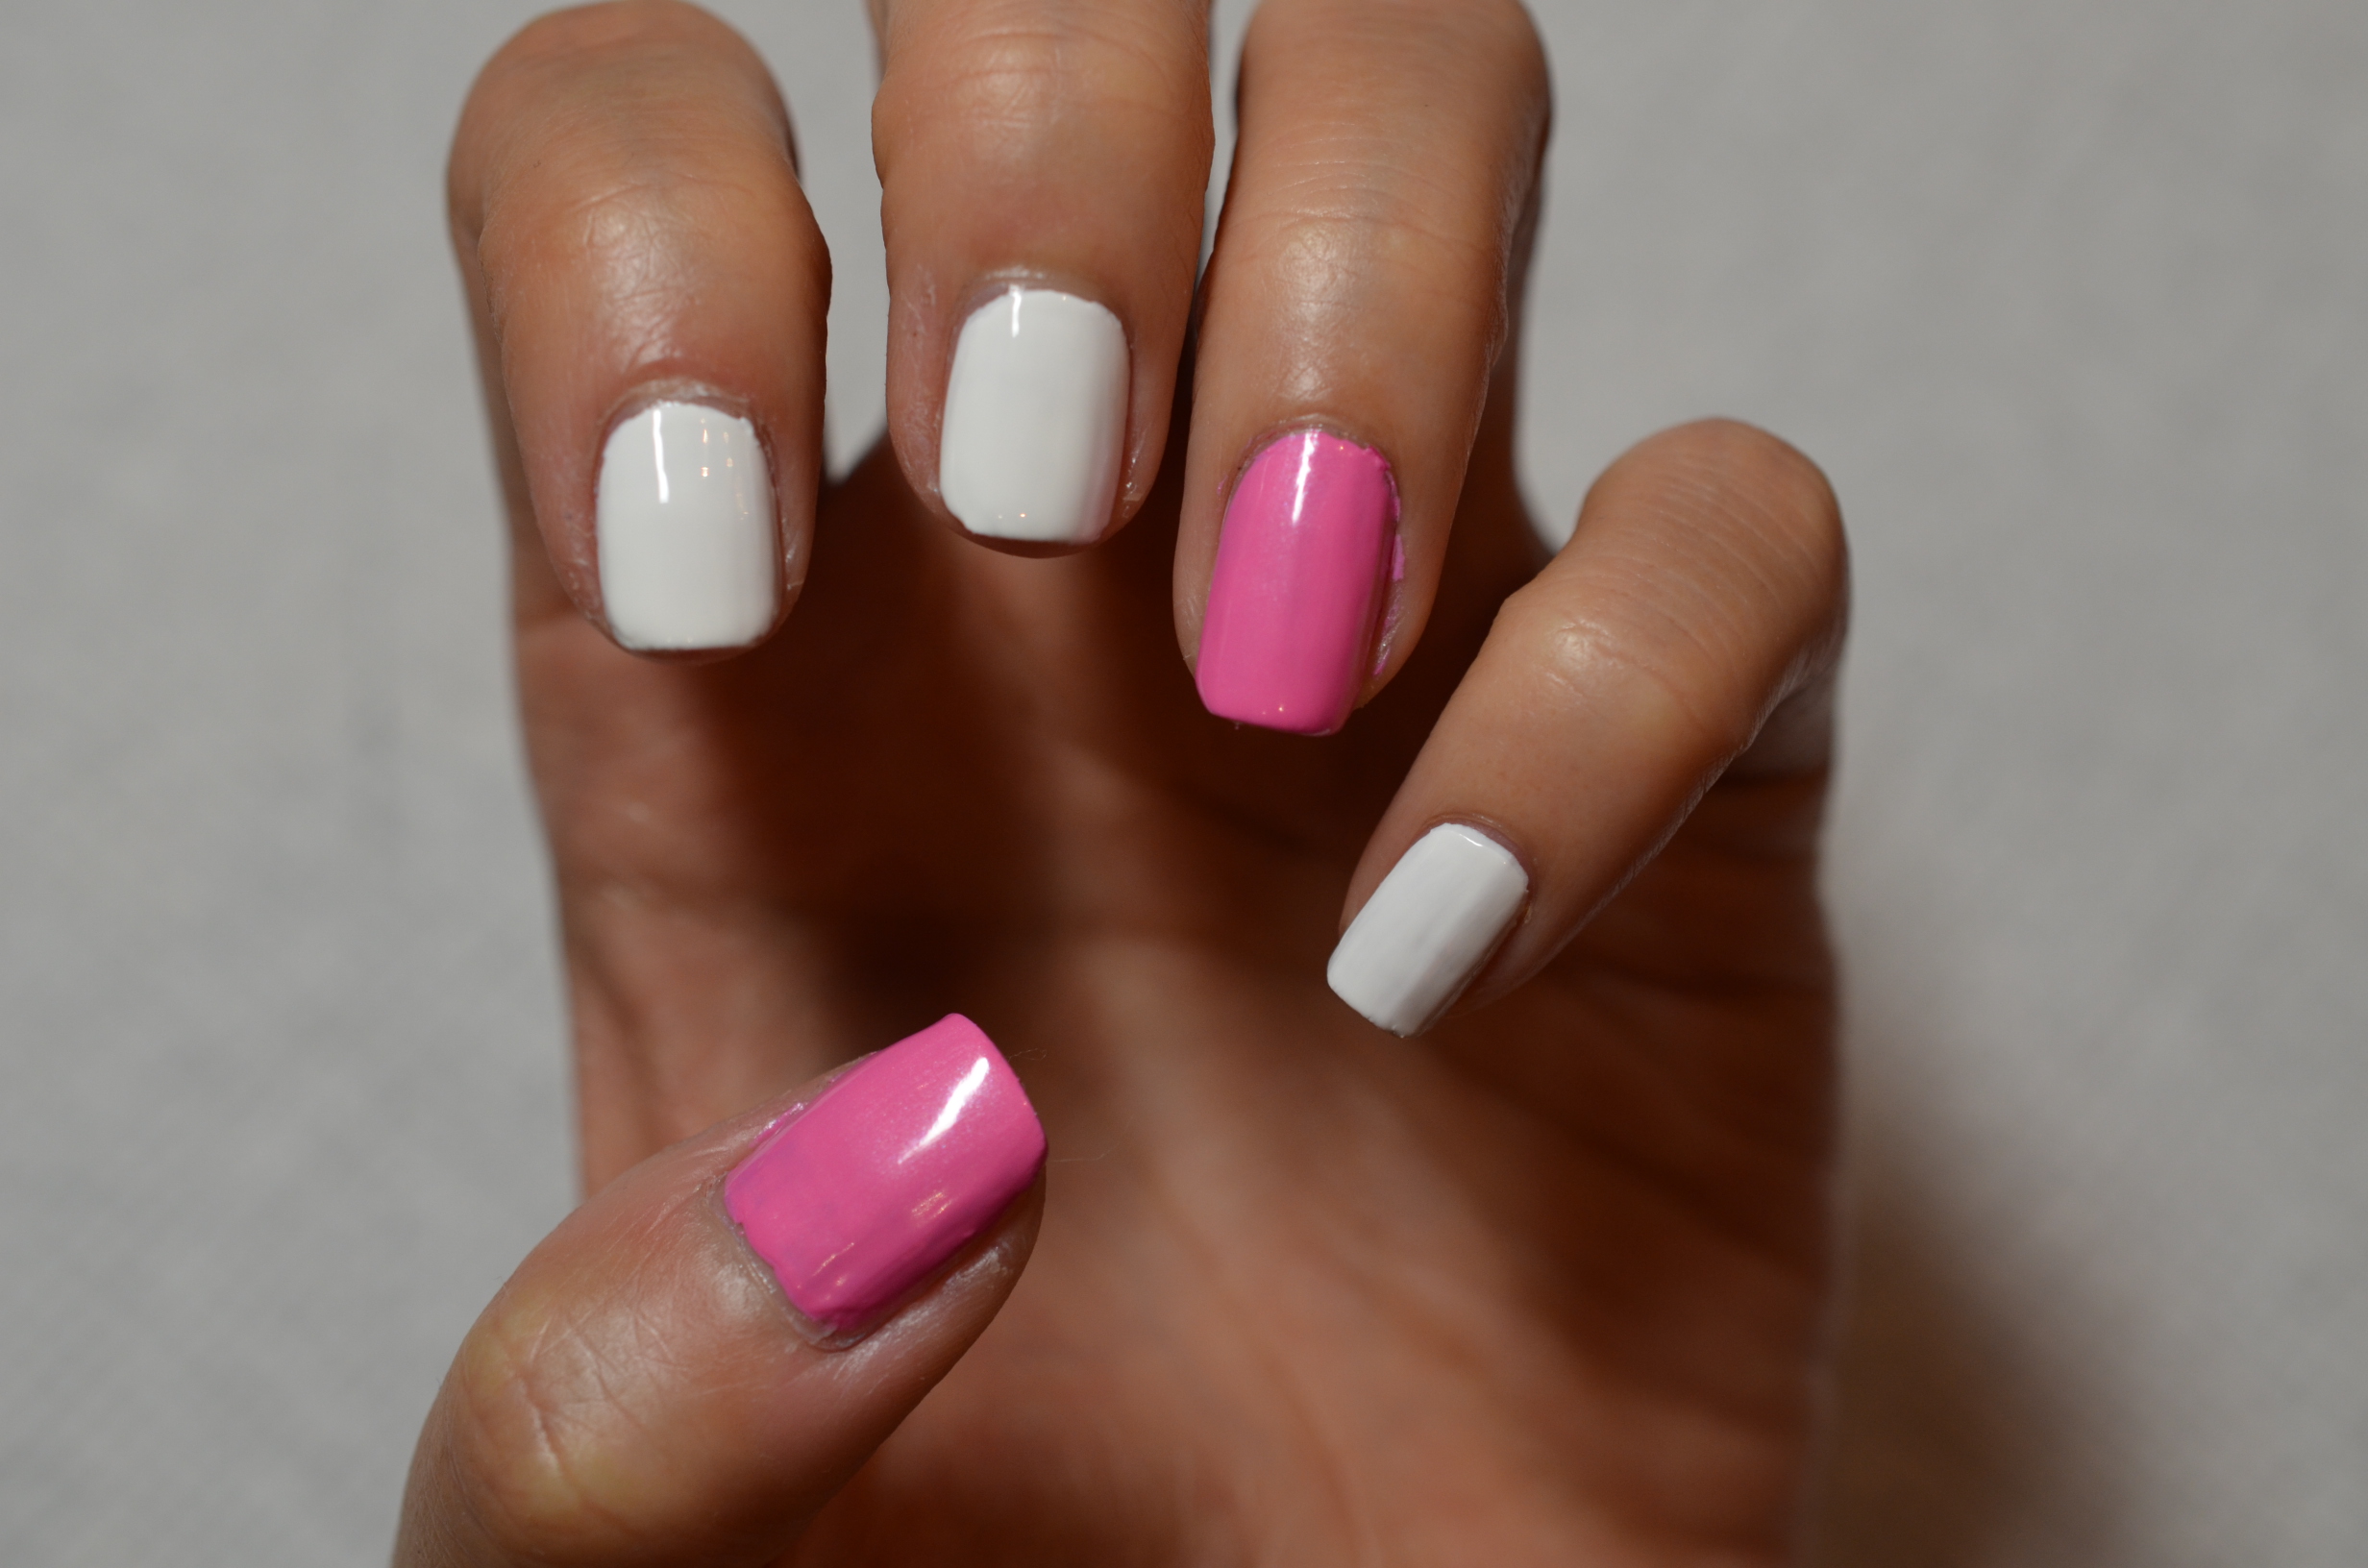
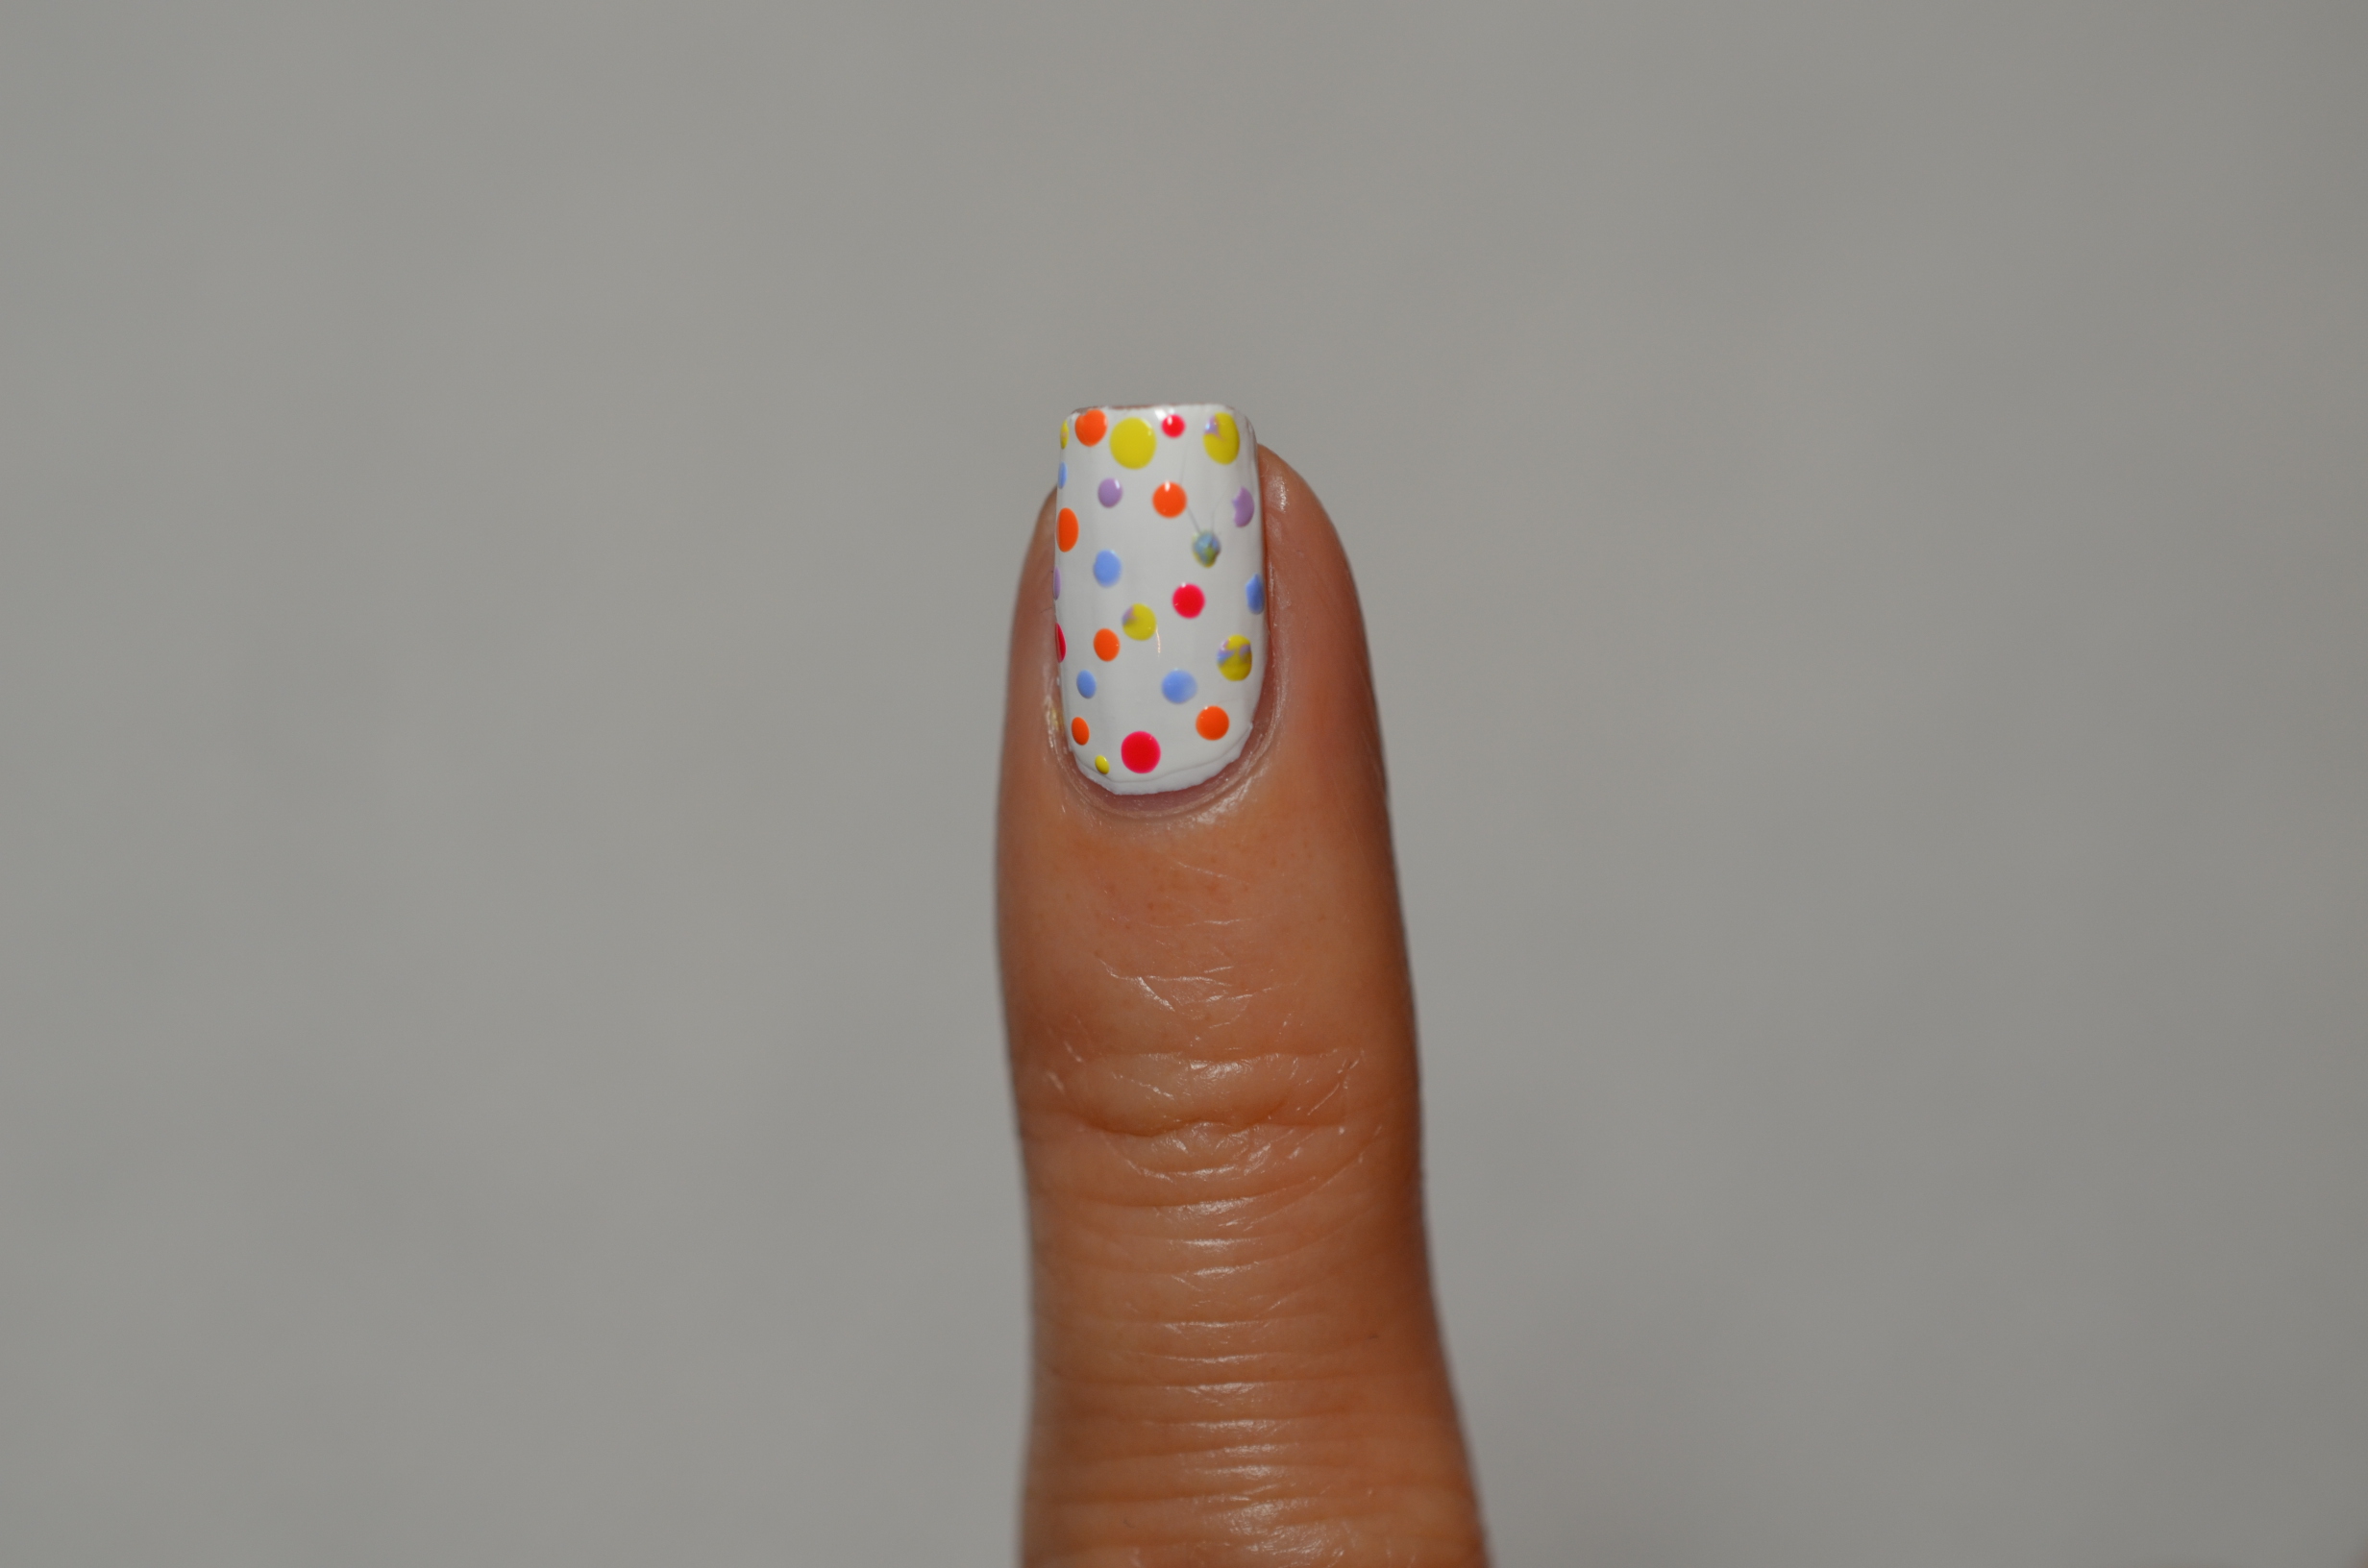
Step 2: Apply two coats of bubble gum pink (Sally Hansen’s All Bright 178) onto your thumb and ring finger and apply two coats of white (OPI Alpine Snow) onto the other fingers.
Index and Middle Finger – Drawing the Doughnuts
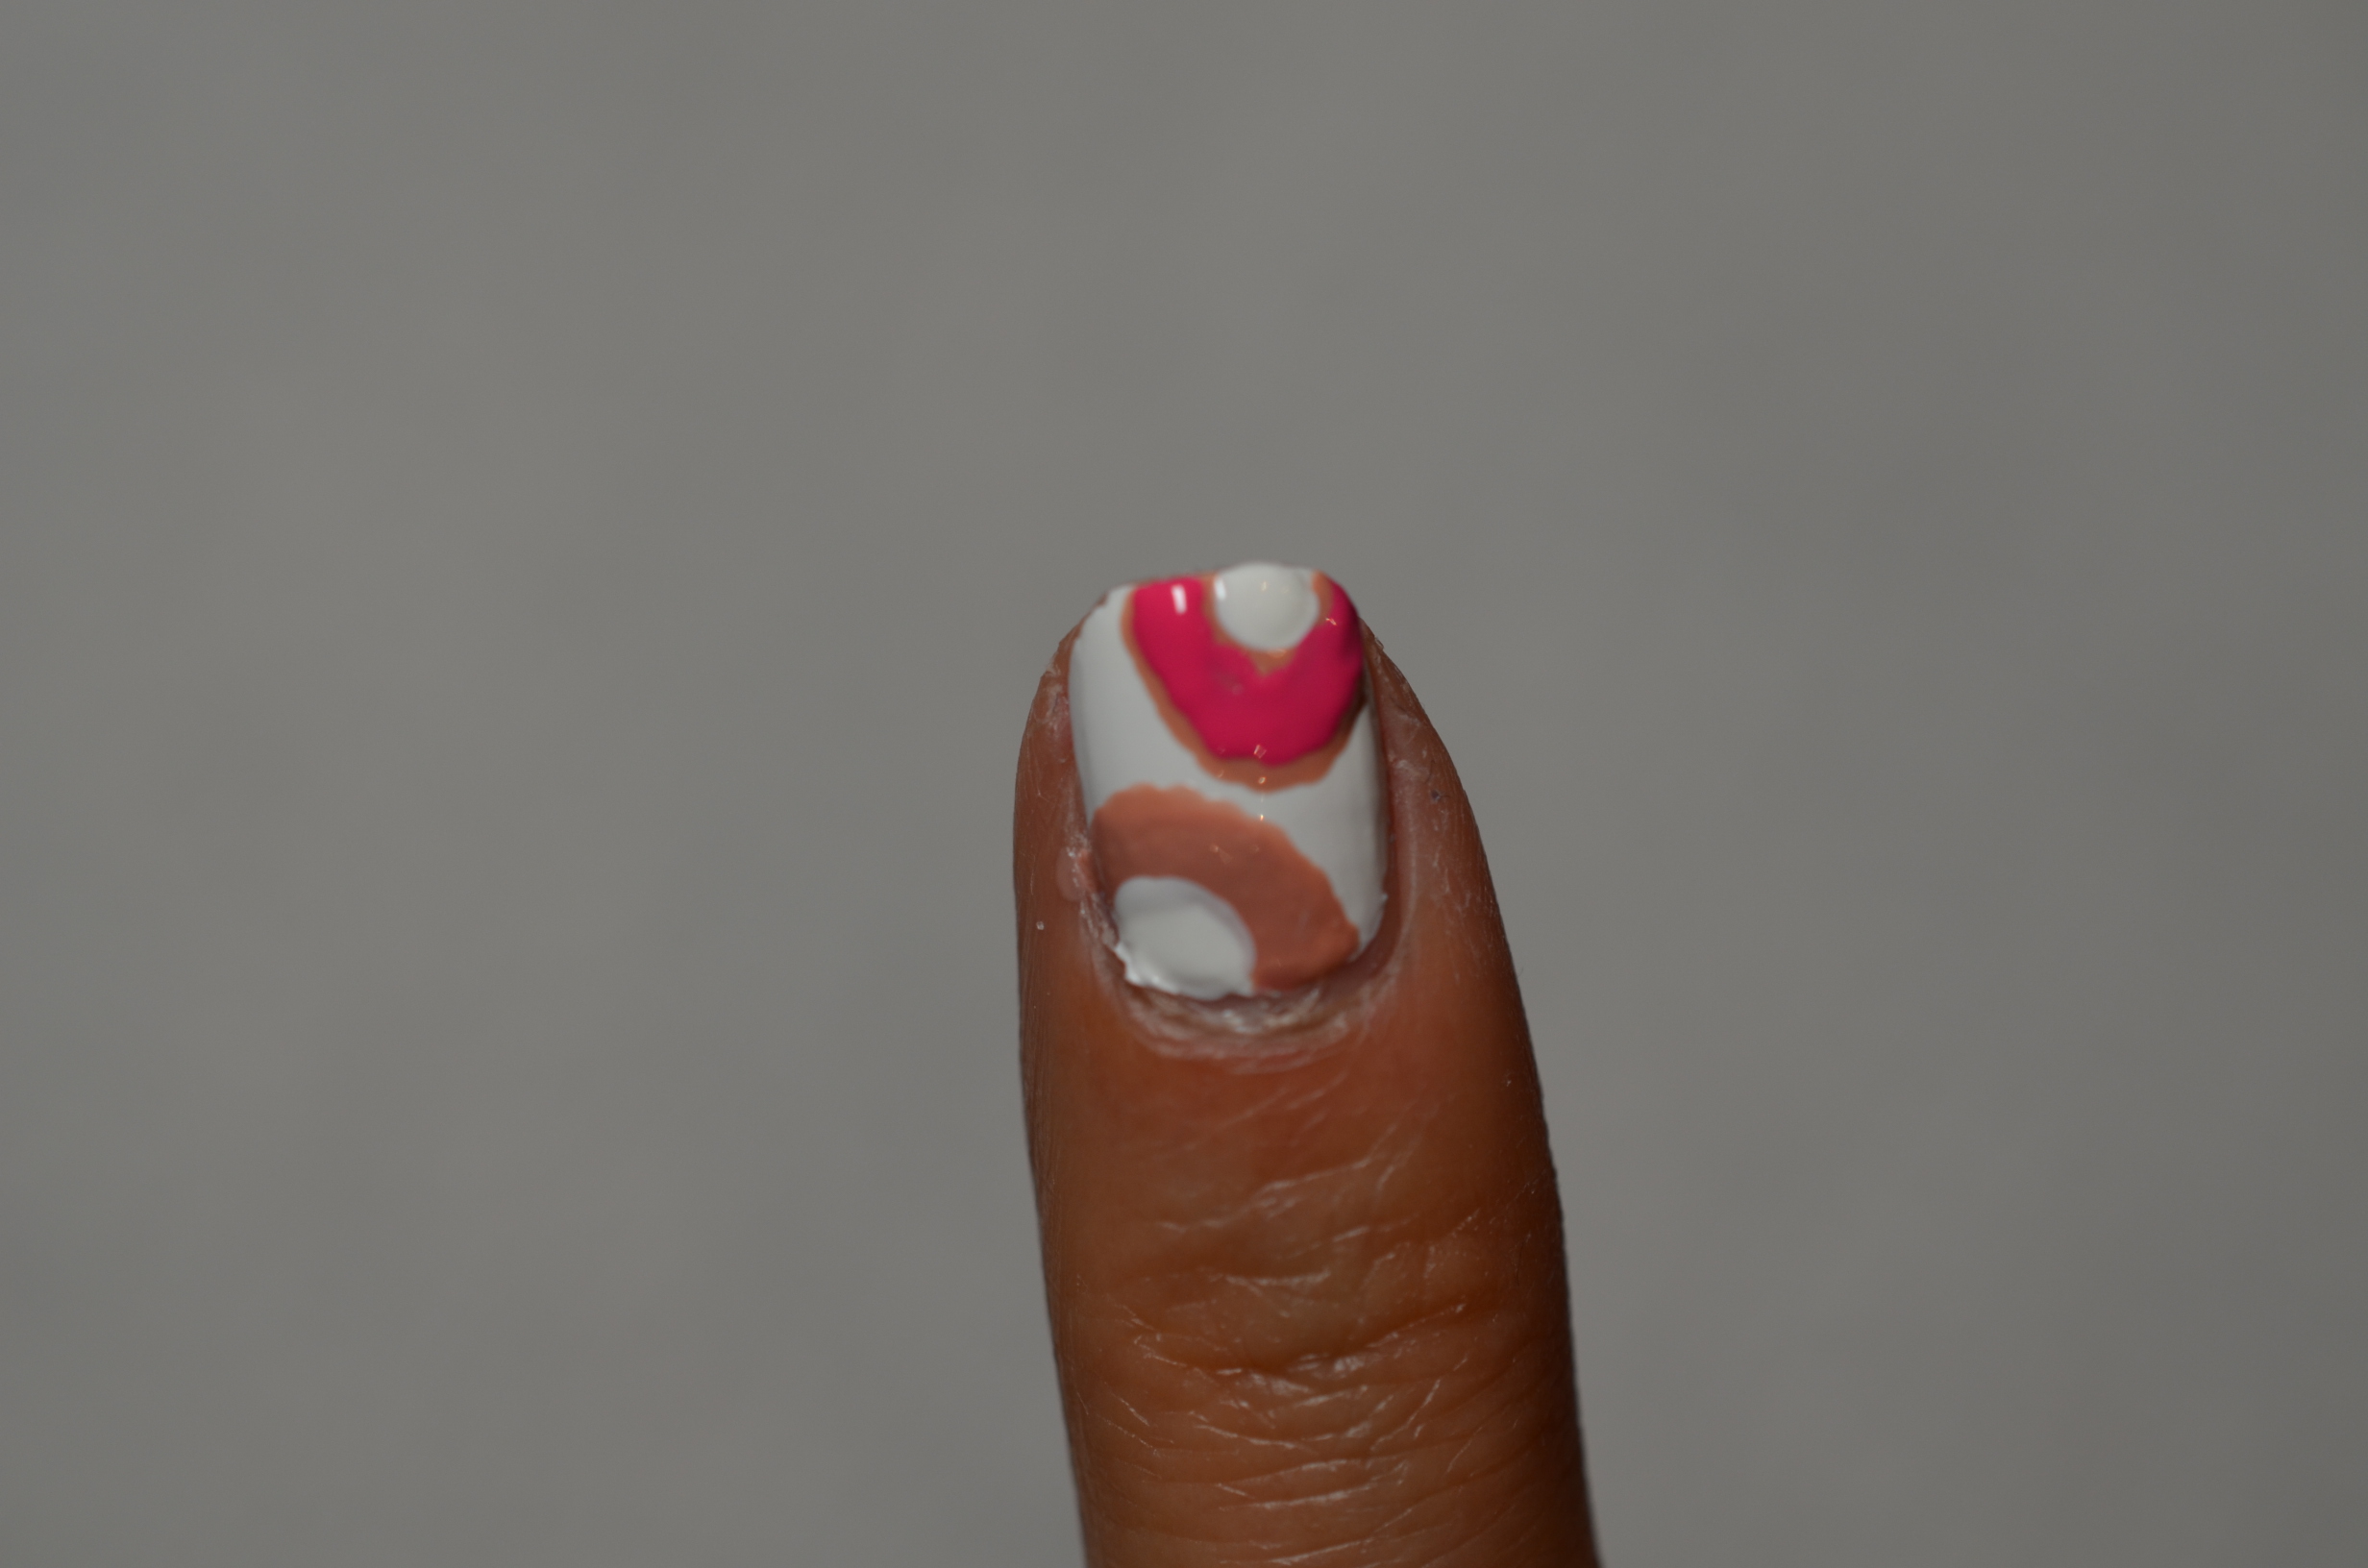
Step 3: Using a light brown nail polish (Sally Hansen’s Bare It All 105) to draw the doughnut. You can draw any size doughnut you want depending on the size of your nail. For me, I drew 2 half doughnuts to keep it interesting.
***Tips: Don’t worry about not getting the doughnut shape perfect. You can always use a dotting tool to make the centre of the doughnut perfect.


Step 4: Let the light brown dry completely then pick whatever colour you want for the icing of the doughnut. I picked a pink (Sally Hansen’s All Bright 178) polish and a white (Sally Hansen’s White Out)
**Tips: Don’t cover the whole doughnut with icing, let some of the dough colour show to make it look more realistic.
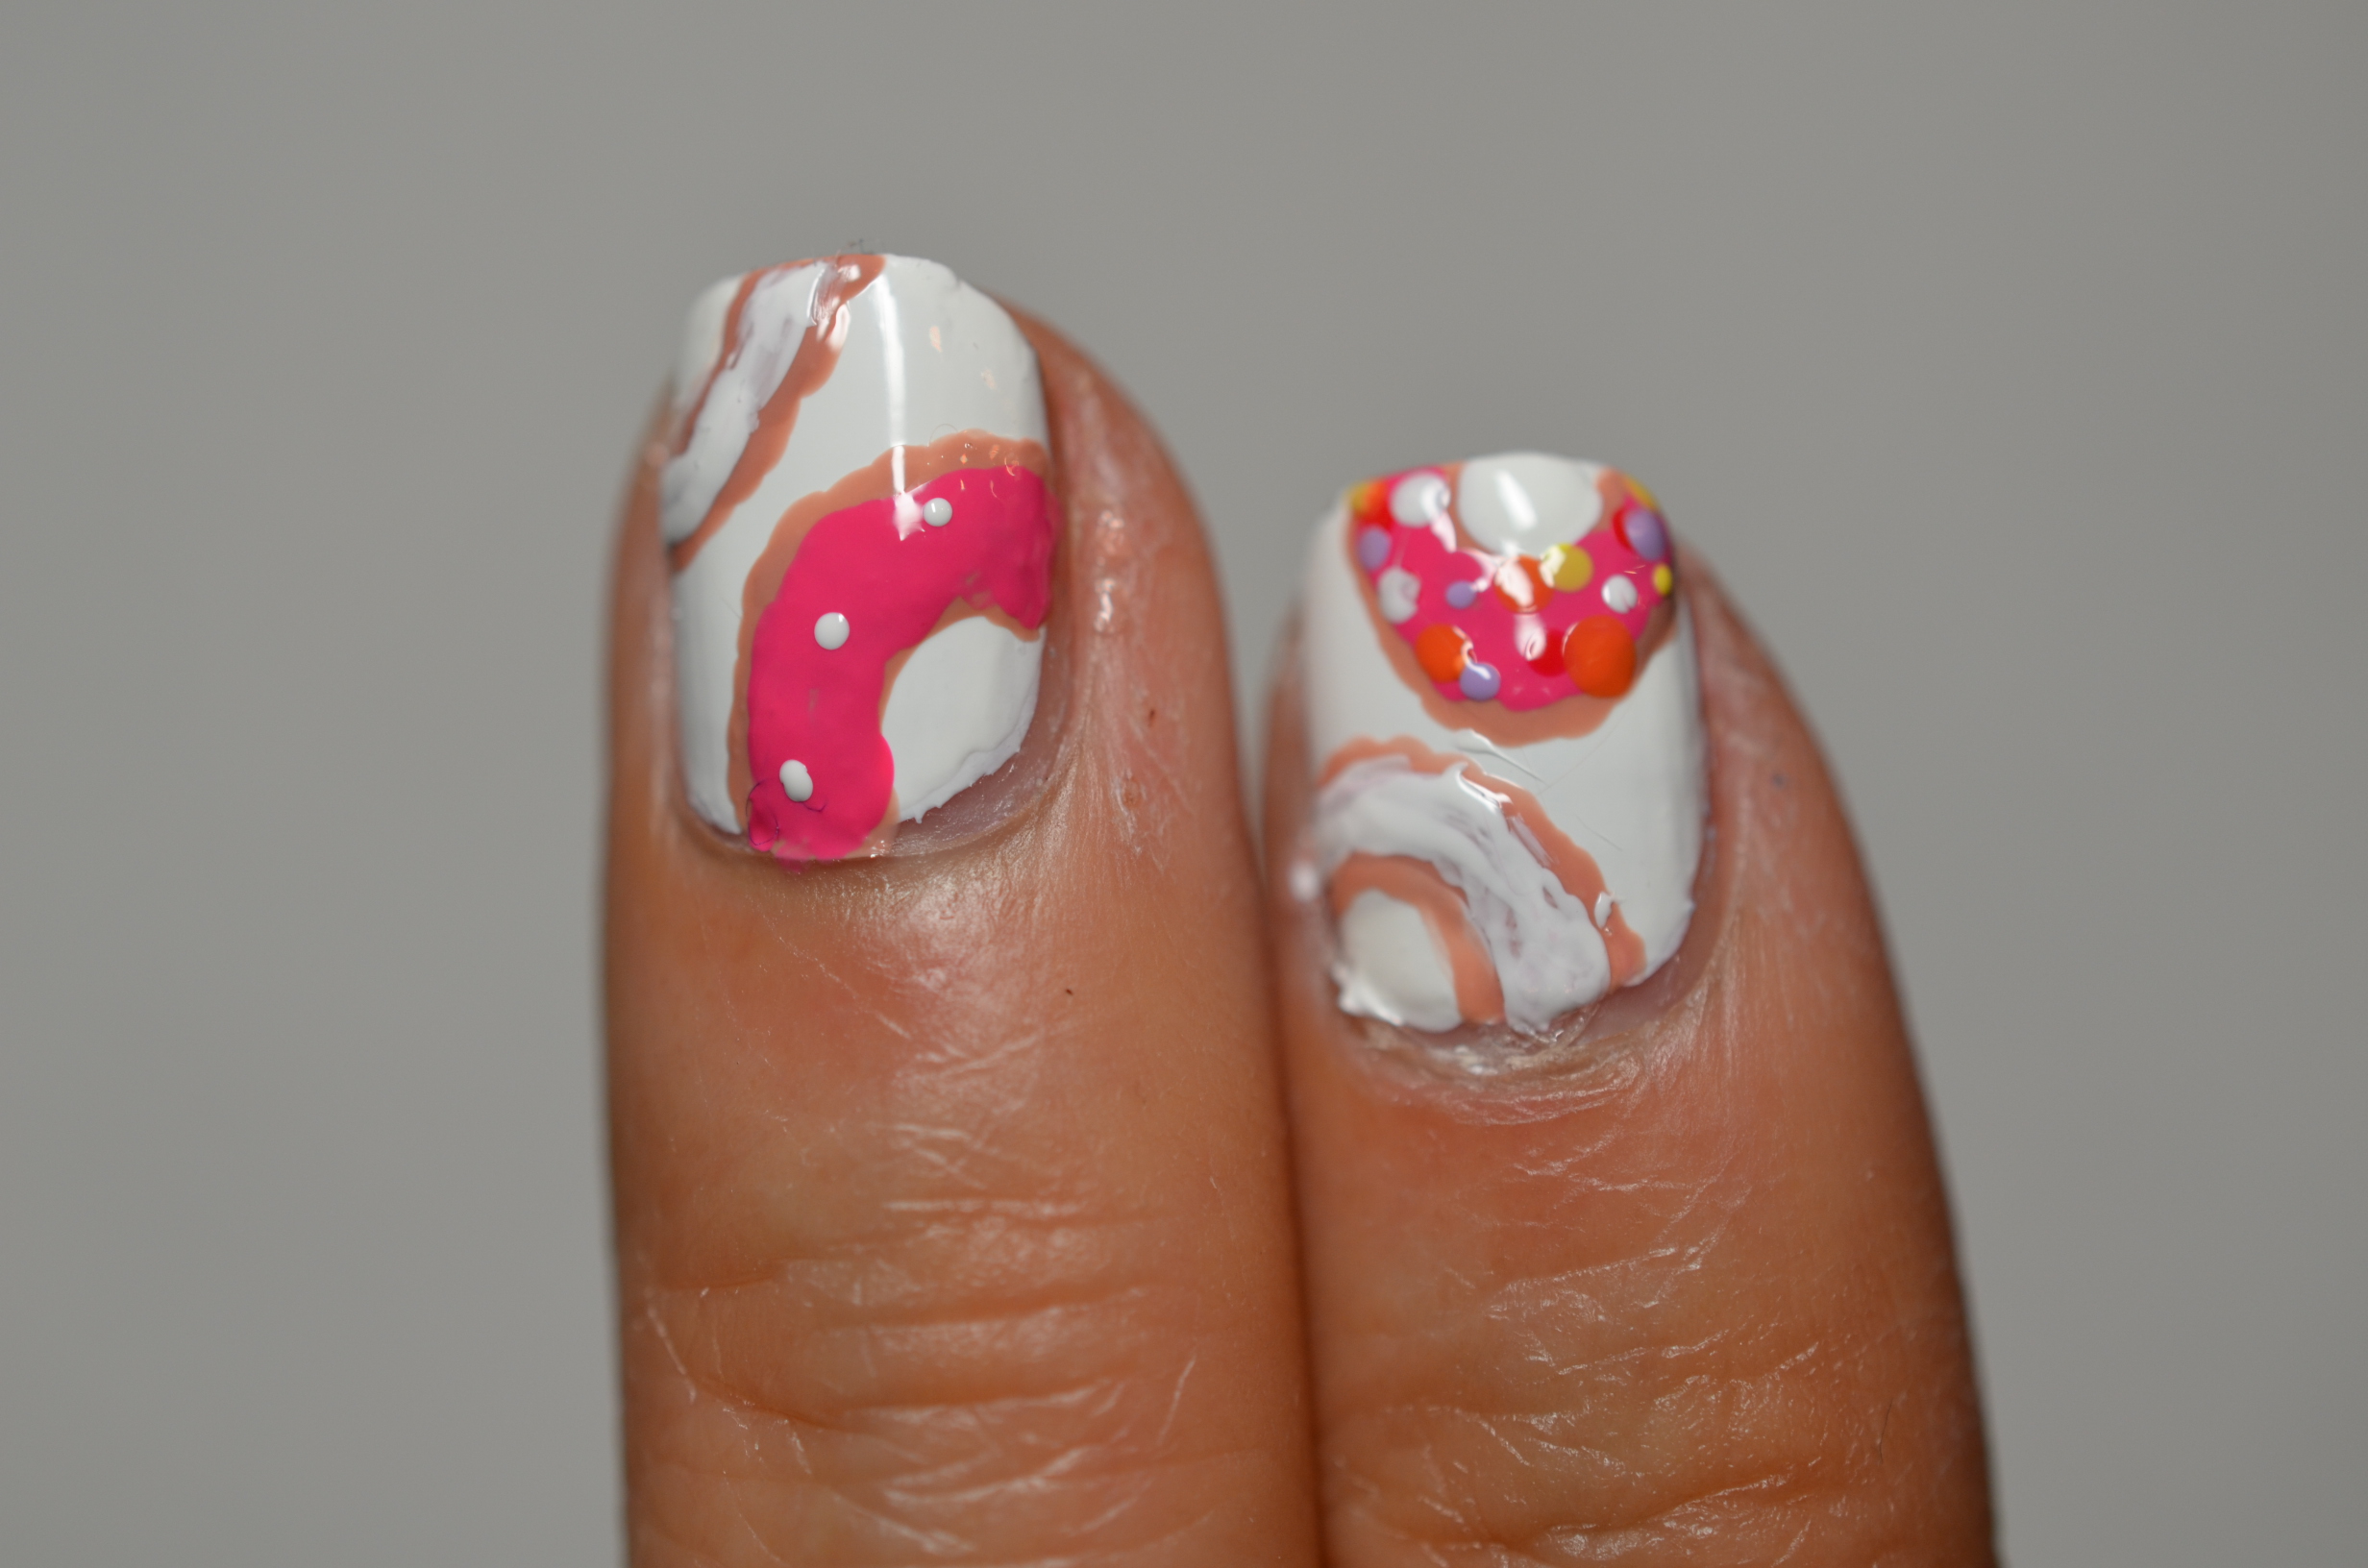
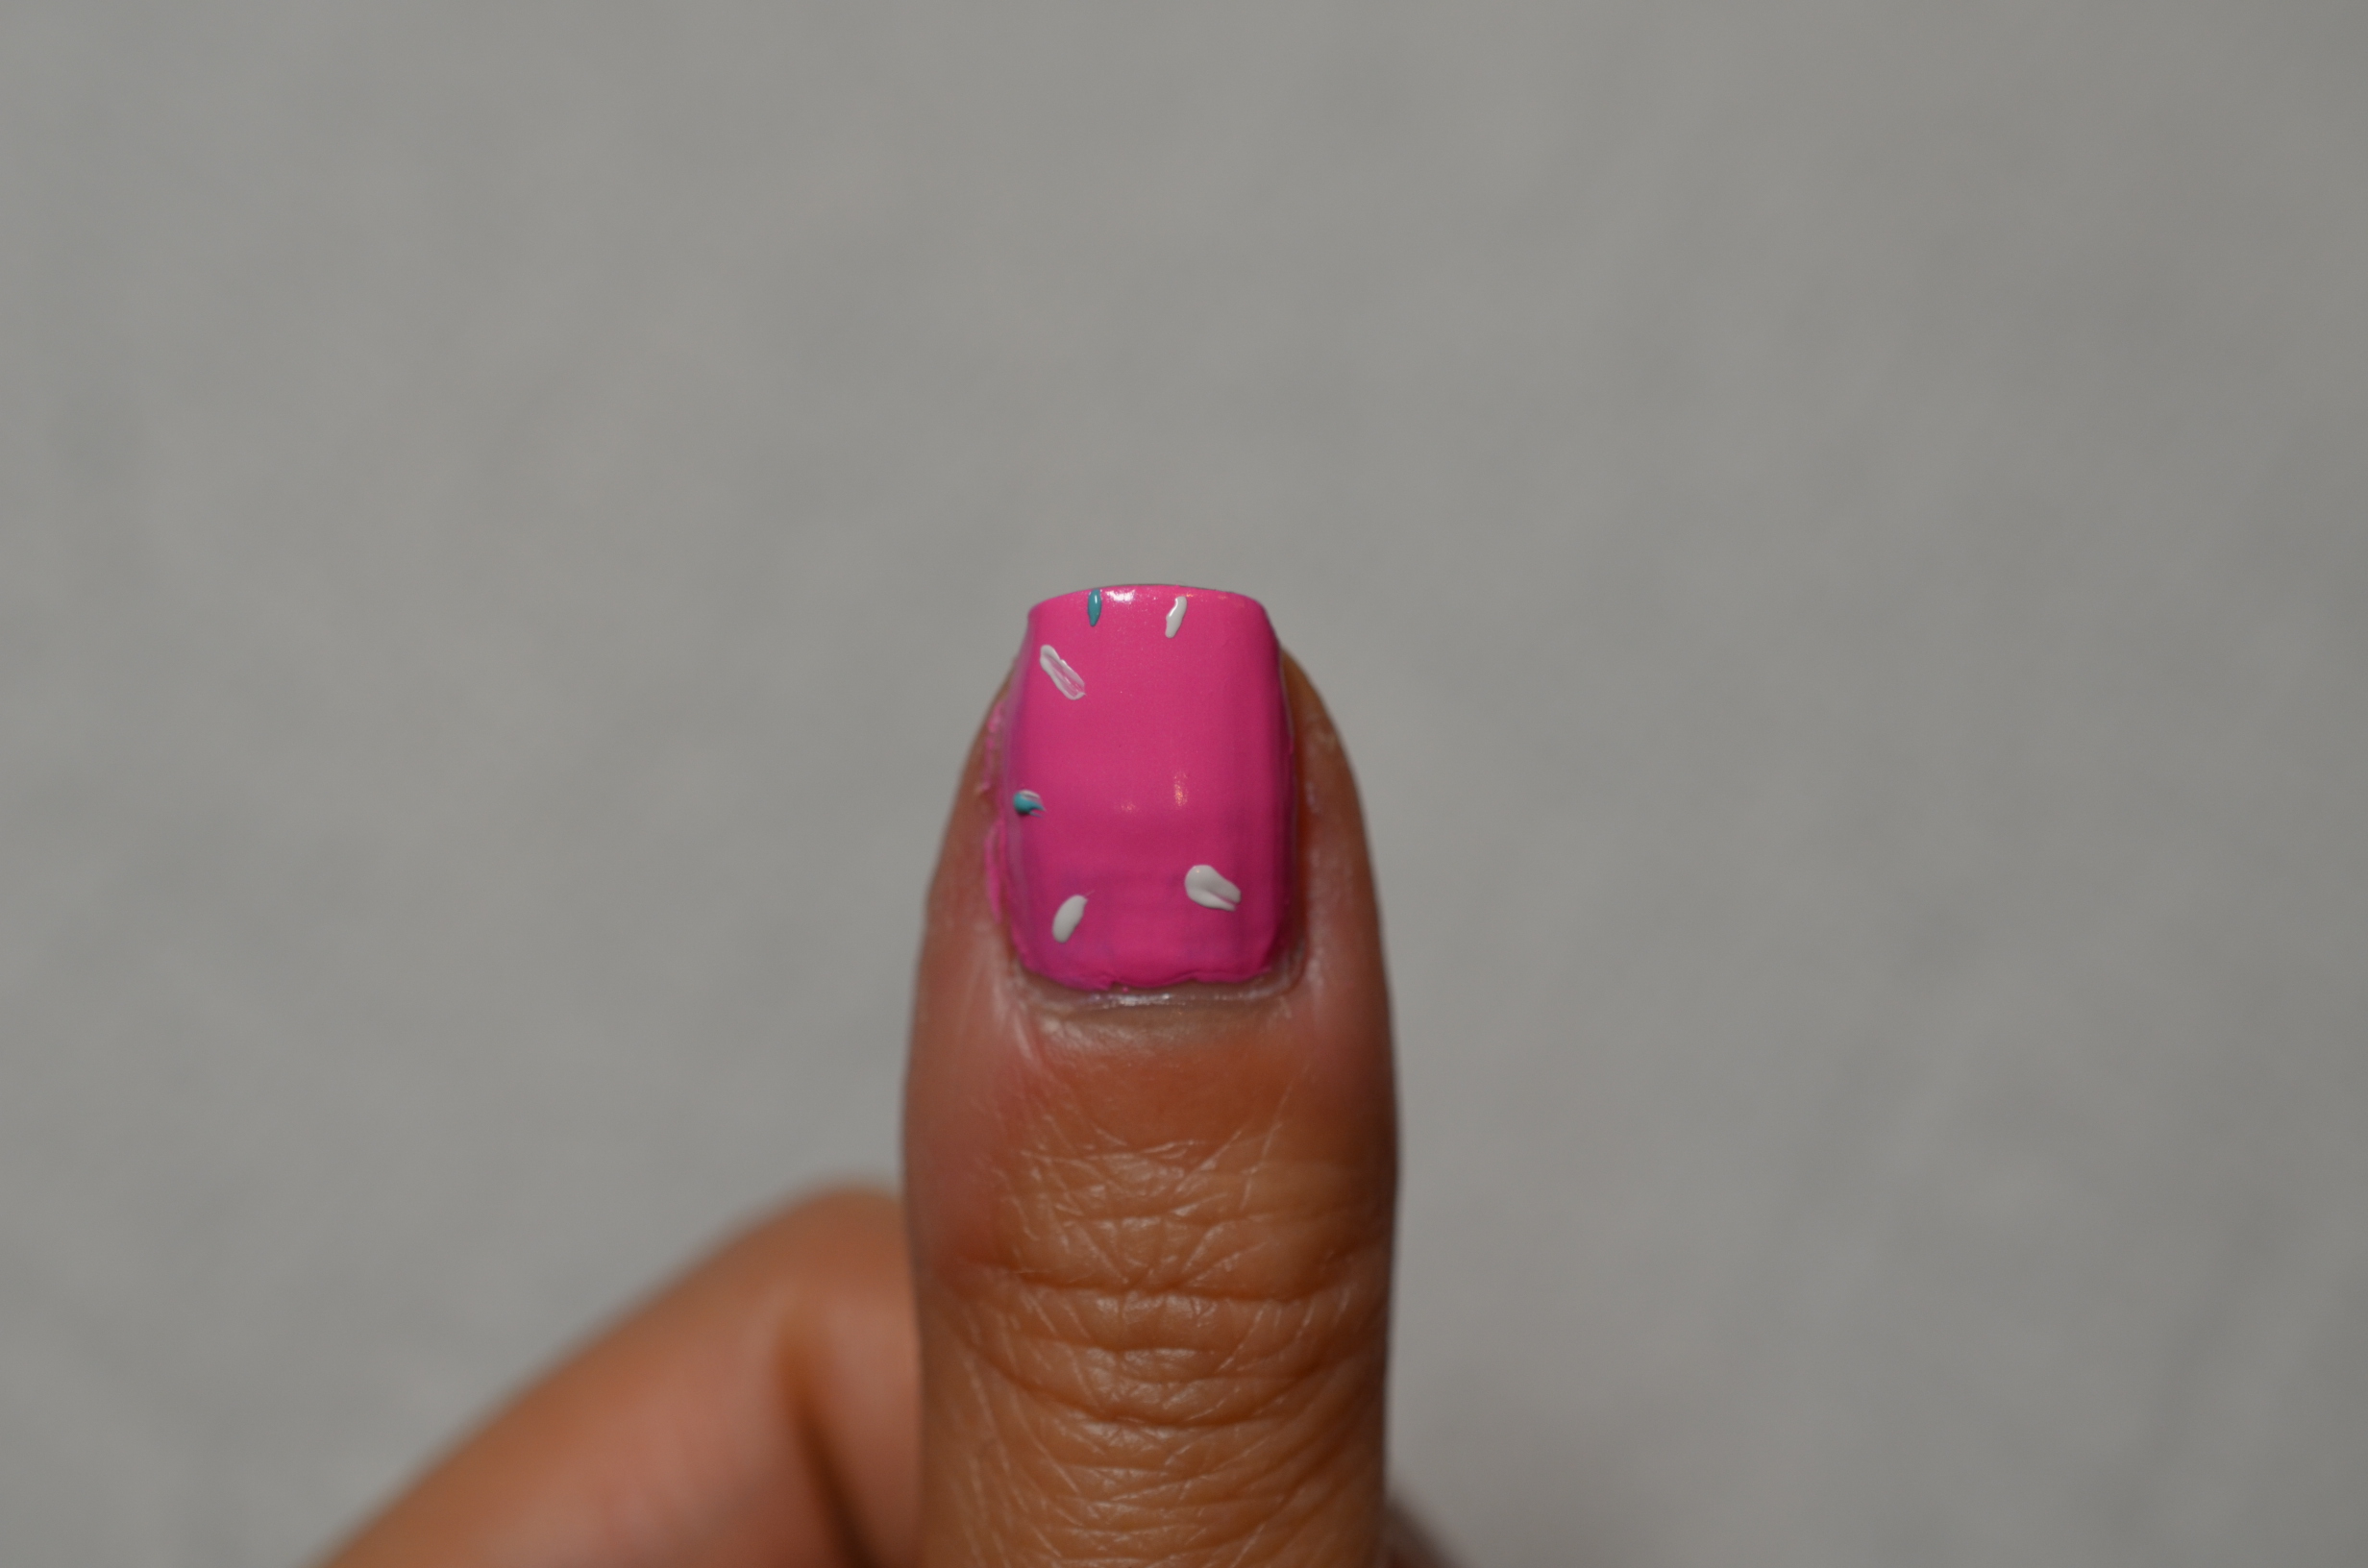
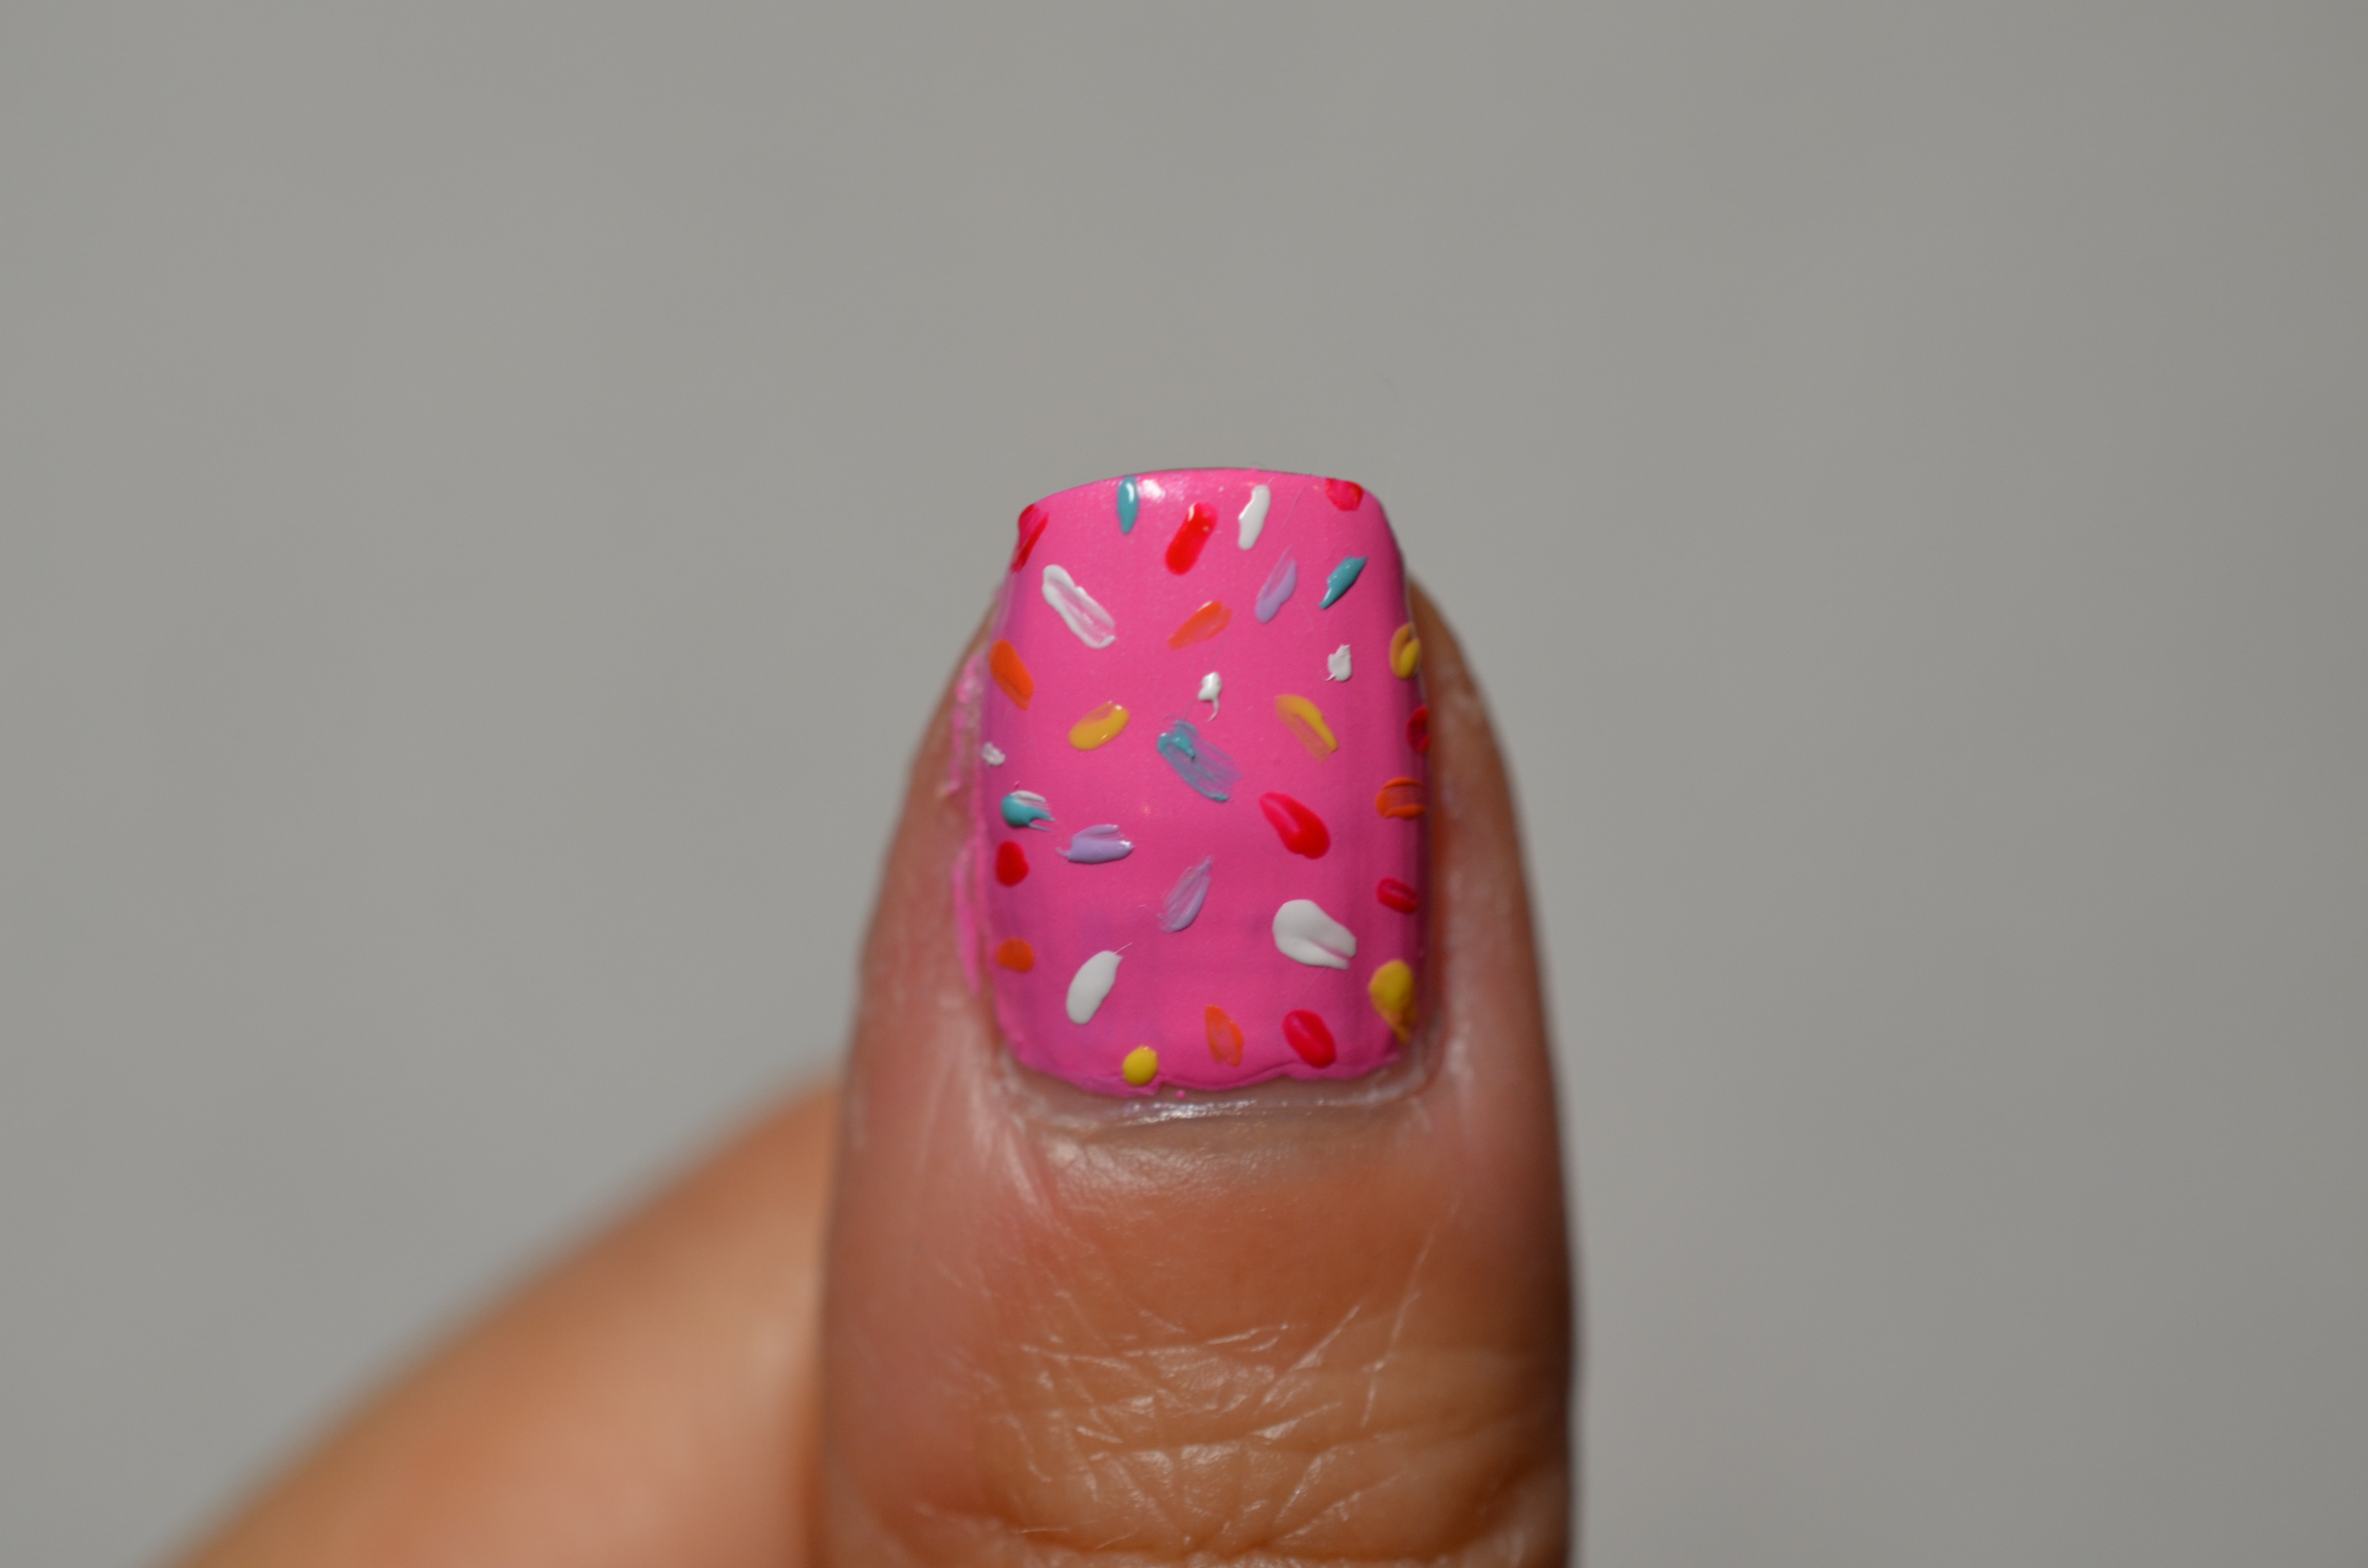
Step 5: Add sprinkles to the doughnuts. You can either draw the sprinkles using short strokes in different colours or you can use a small dotting tool to dot onto the icing.

Thumb and Pinky
Step 6: You can use the same techniques as Step 5 to finish the thumb and pinky.
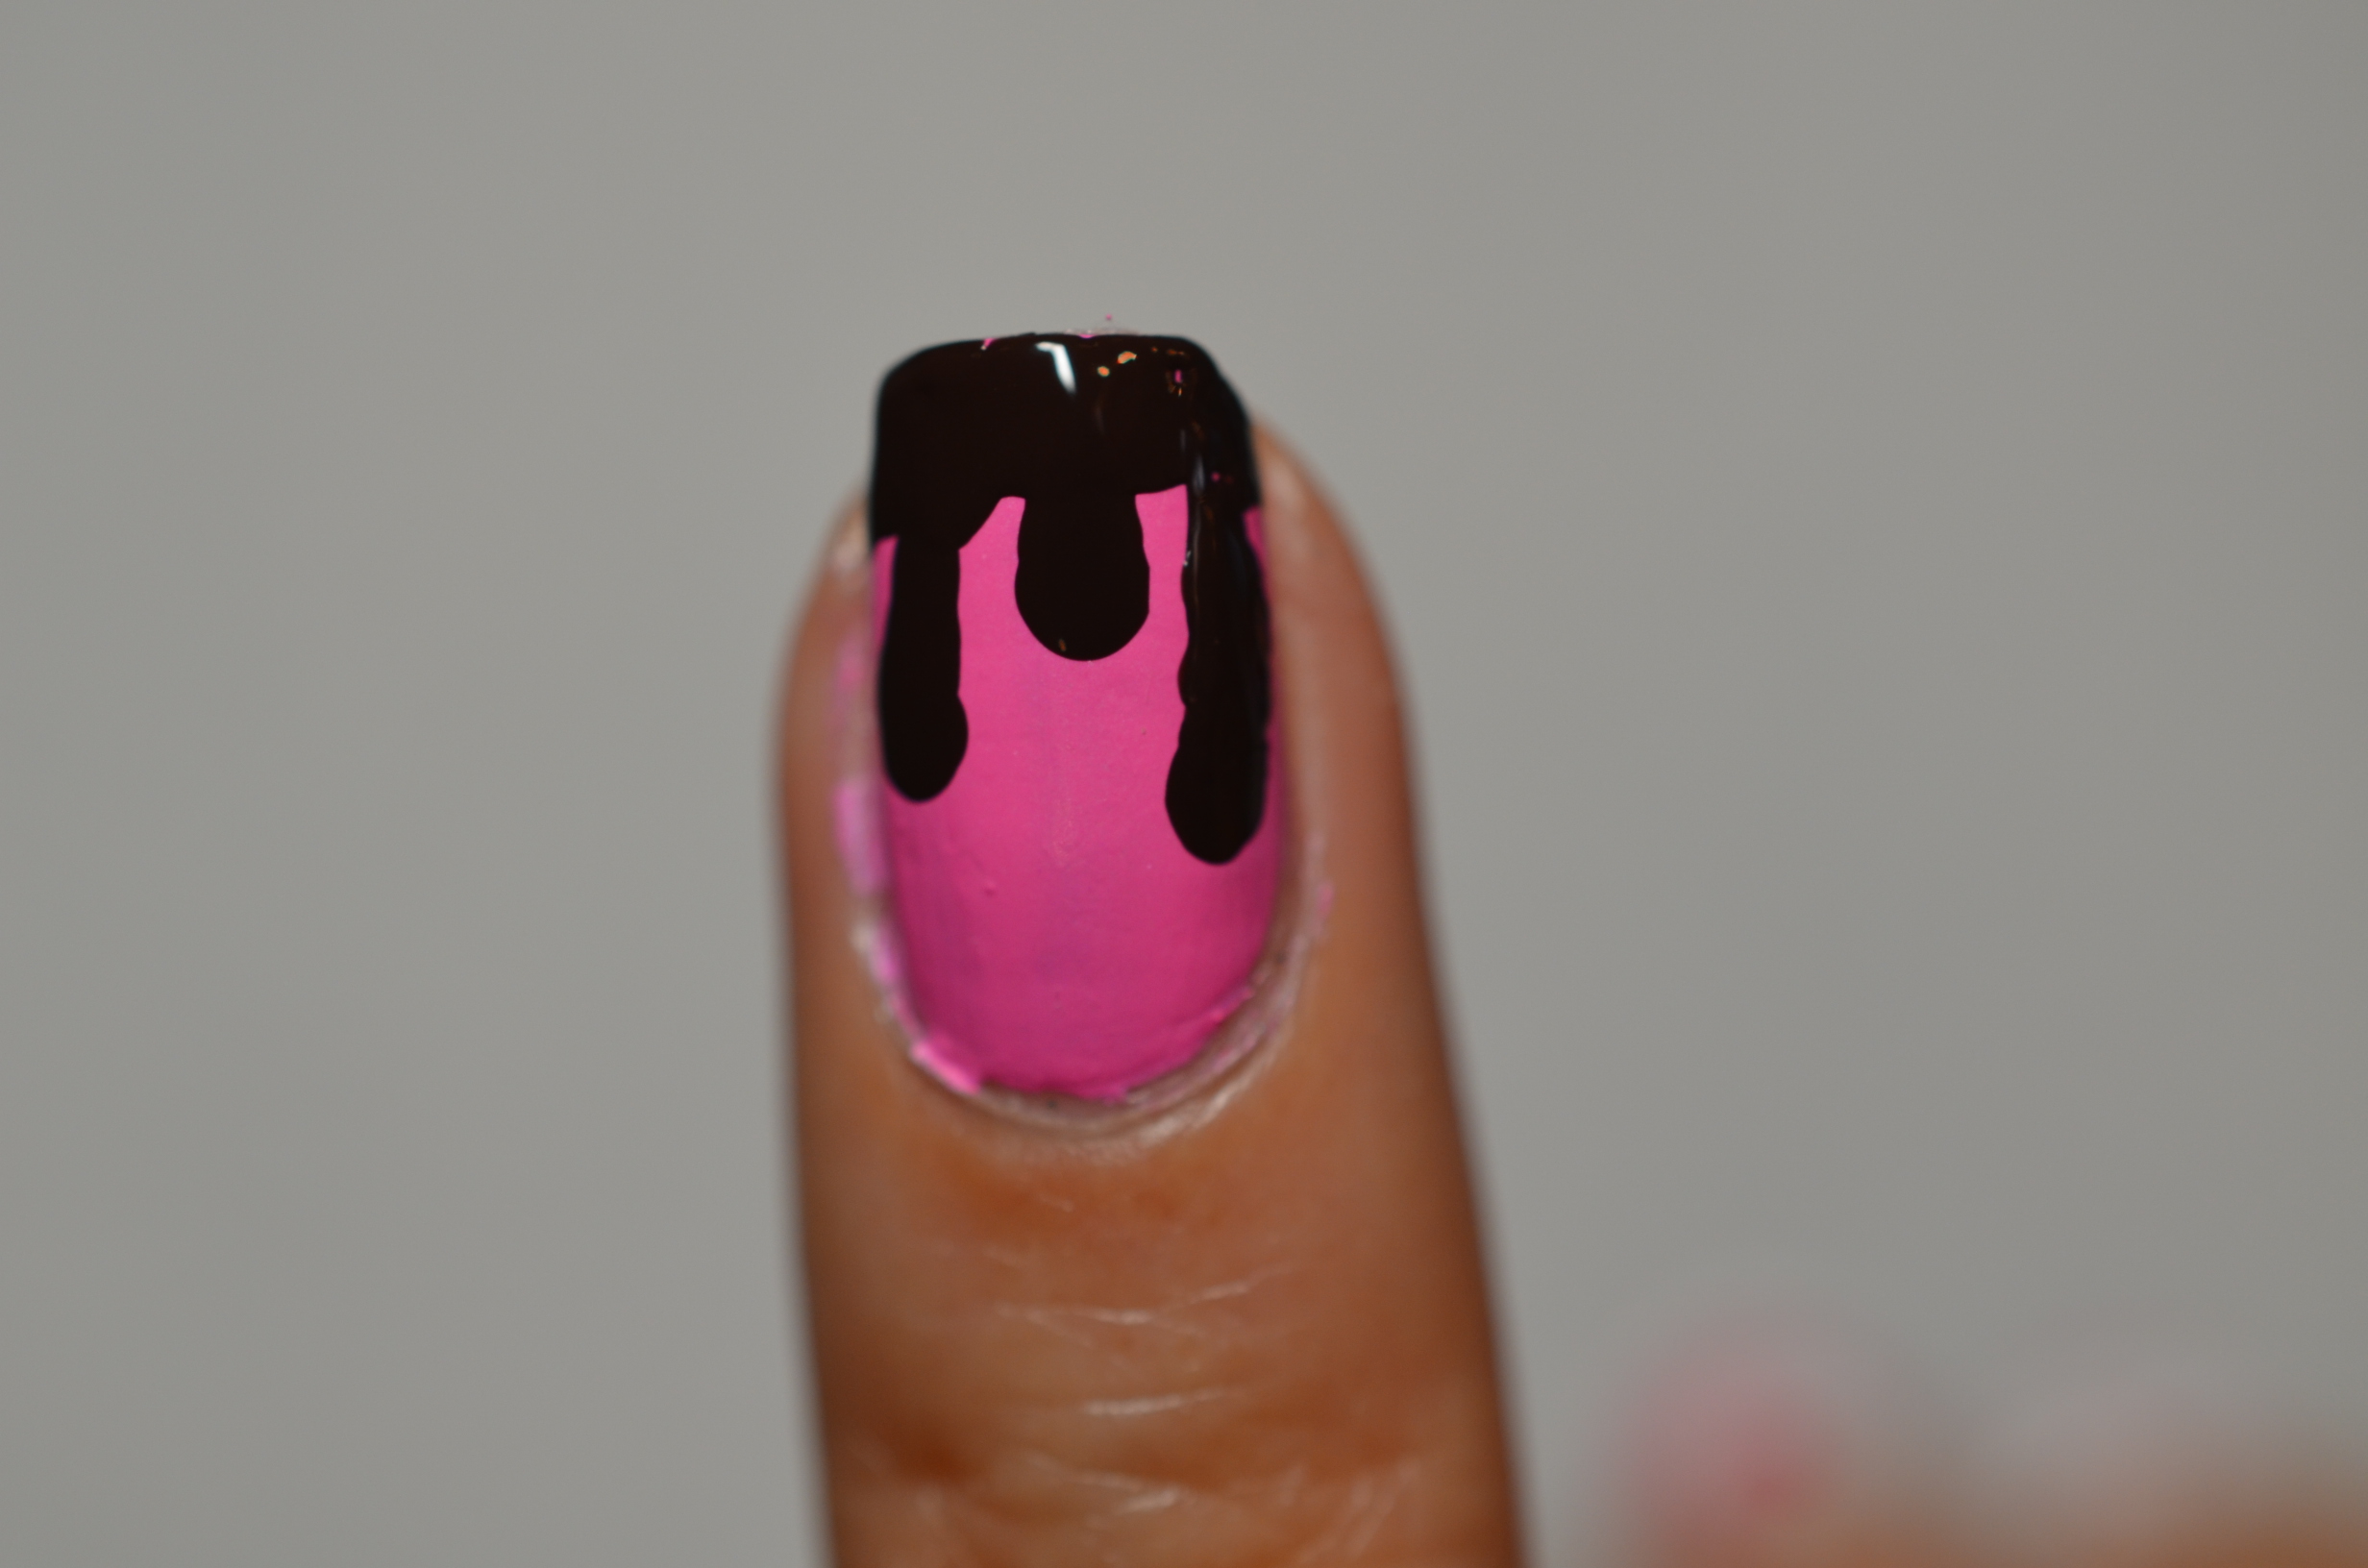
Ring Finger – Chocolate Dripping
Step 7: To imitate chocolate dripping, use a large dotting tool dipped in dark brown (Essie’s Partner in Crime) and drag the dotting tool from the bottom to the tip at various length like picture below.
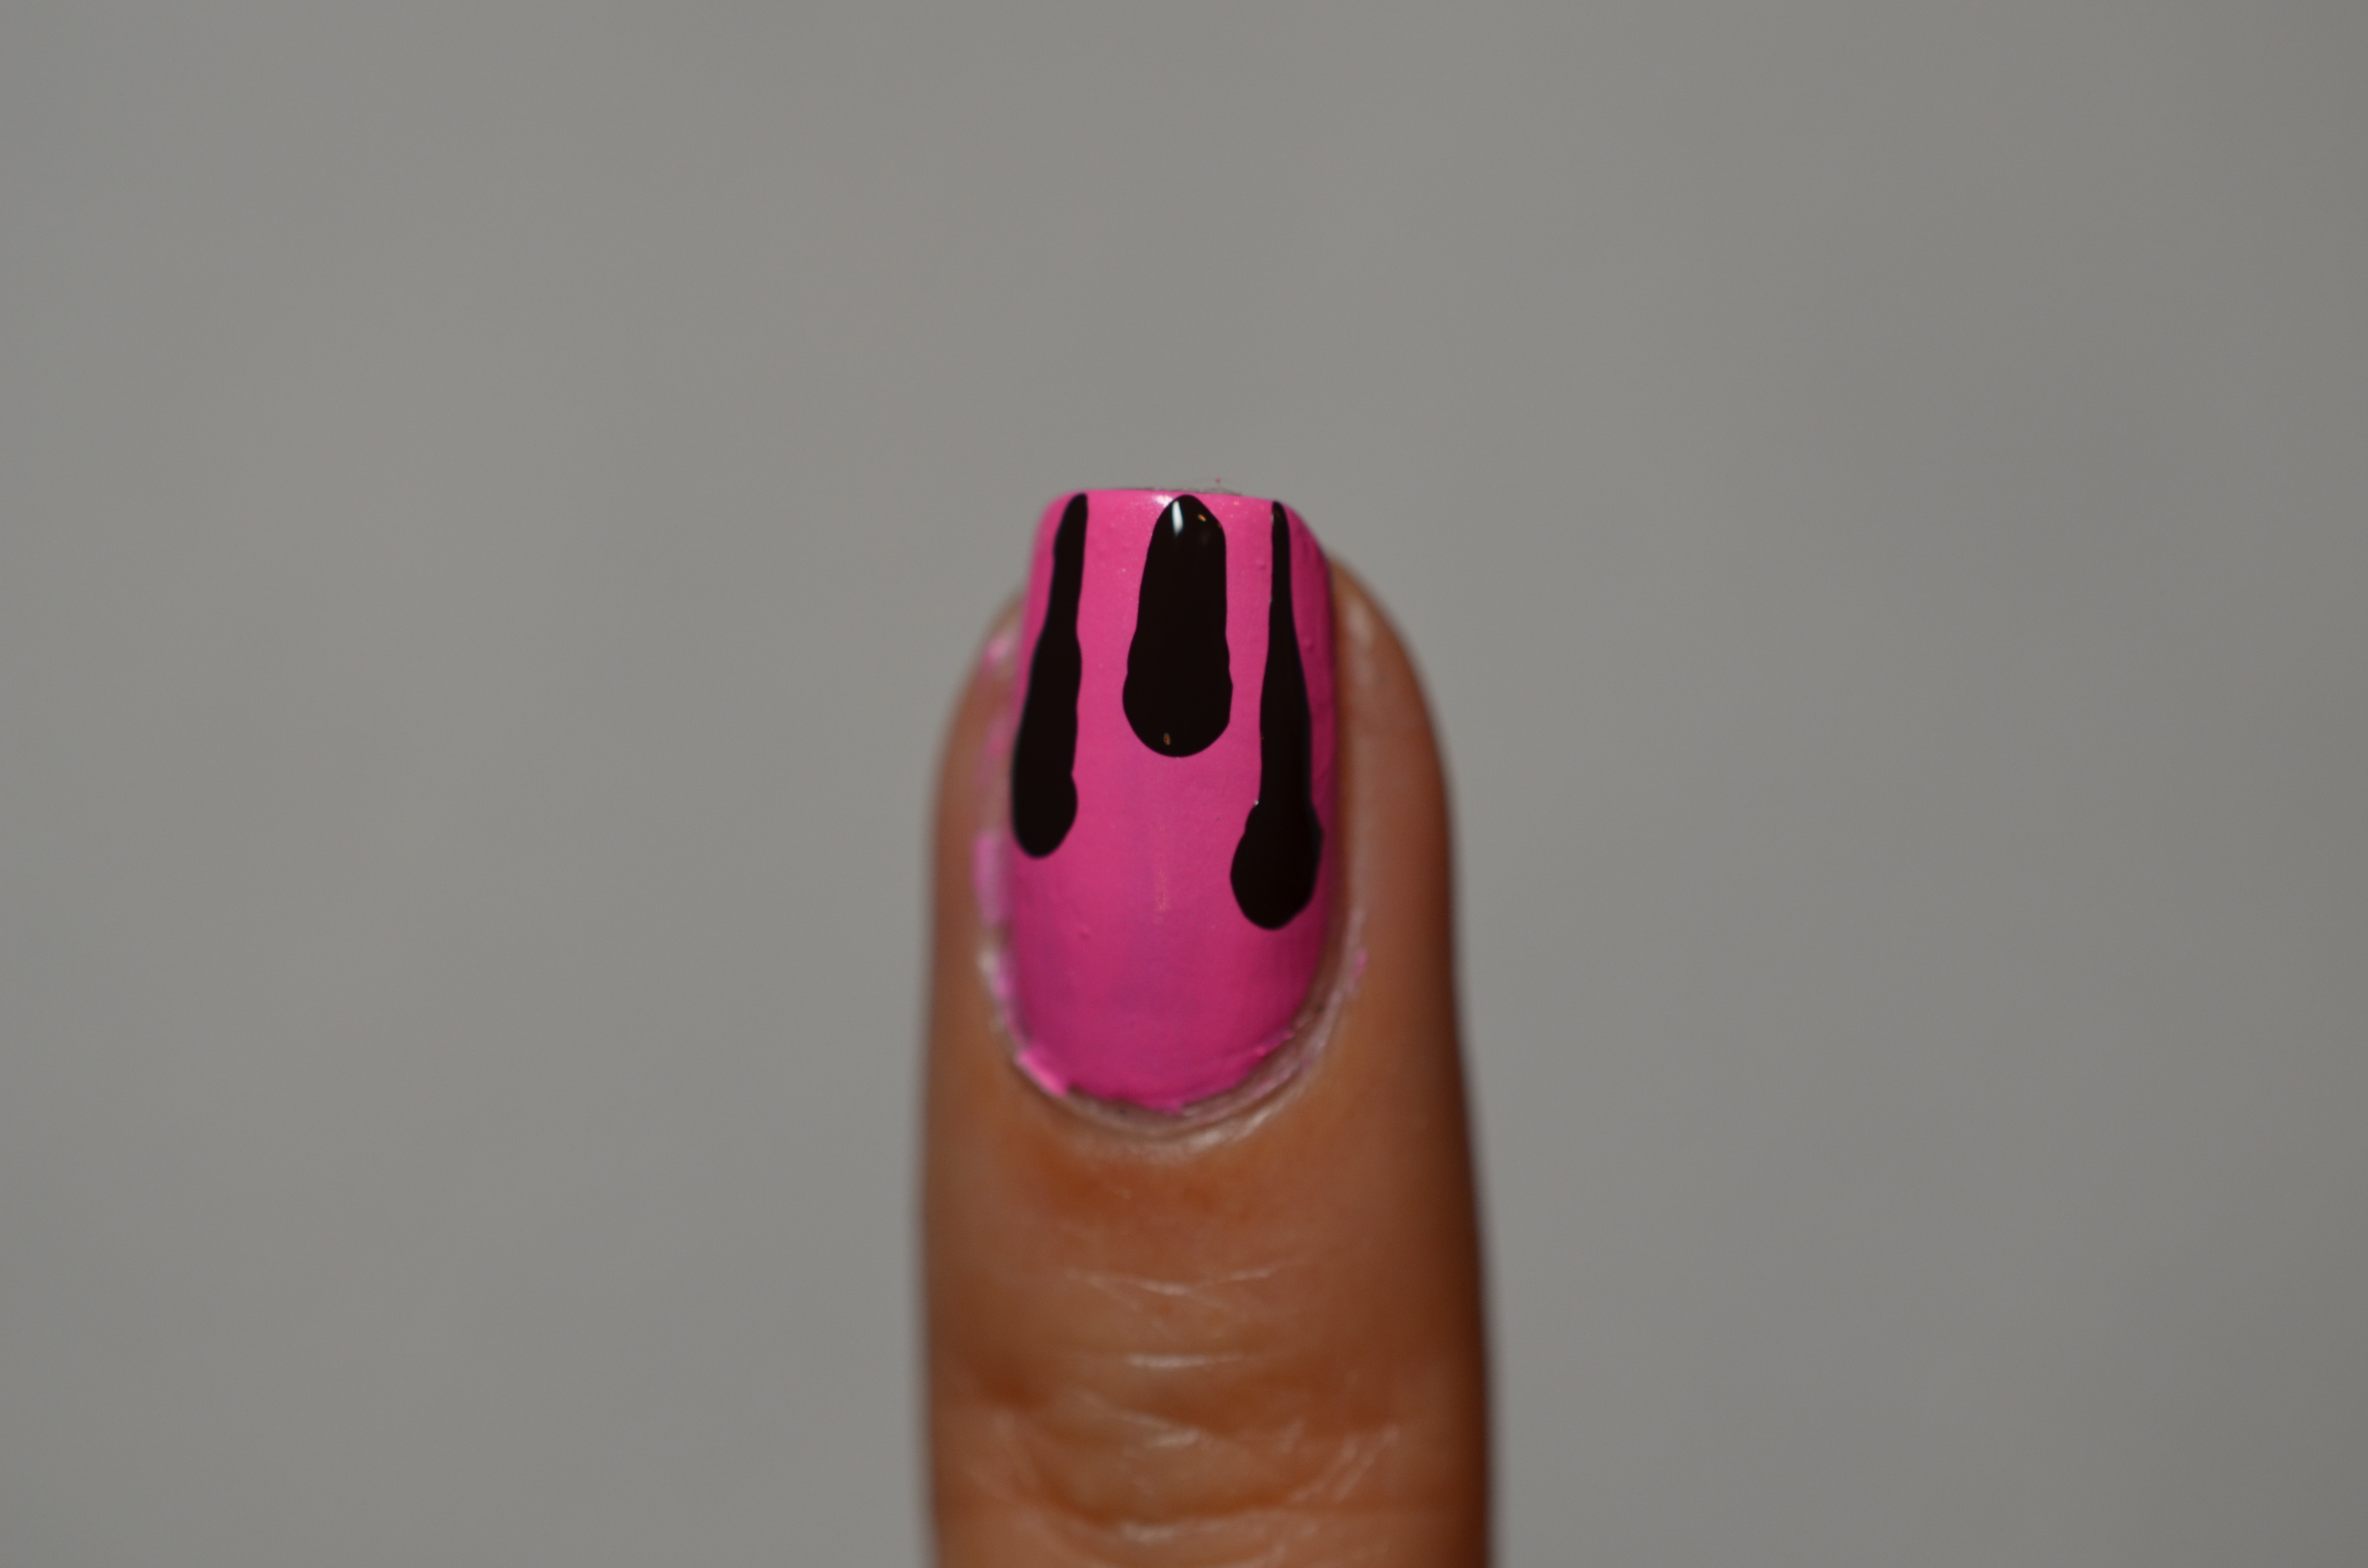
Step 8: Fill in some of the blanks at the tip of the nail. to make it looks like it’s chocolate dripping down.
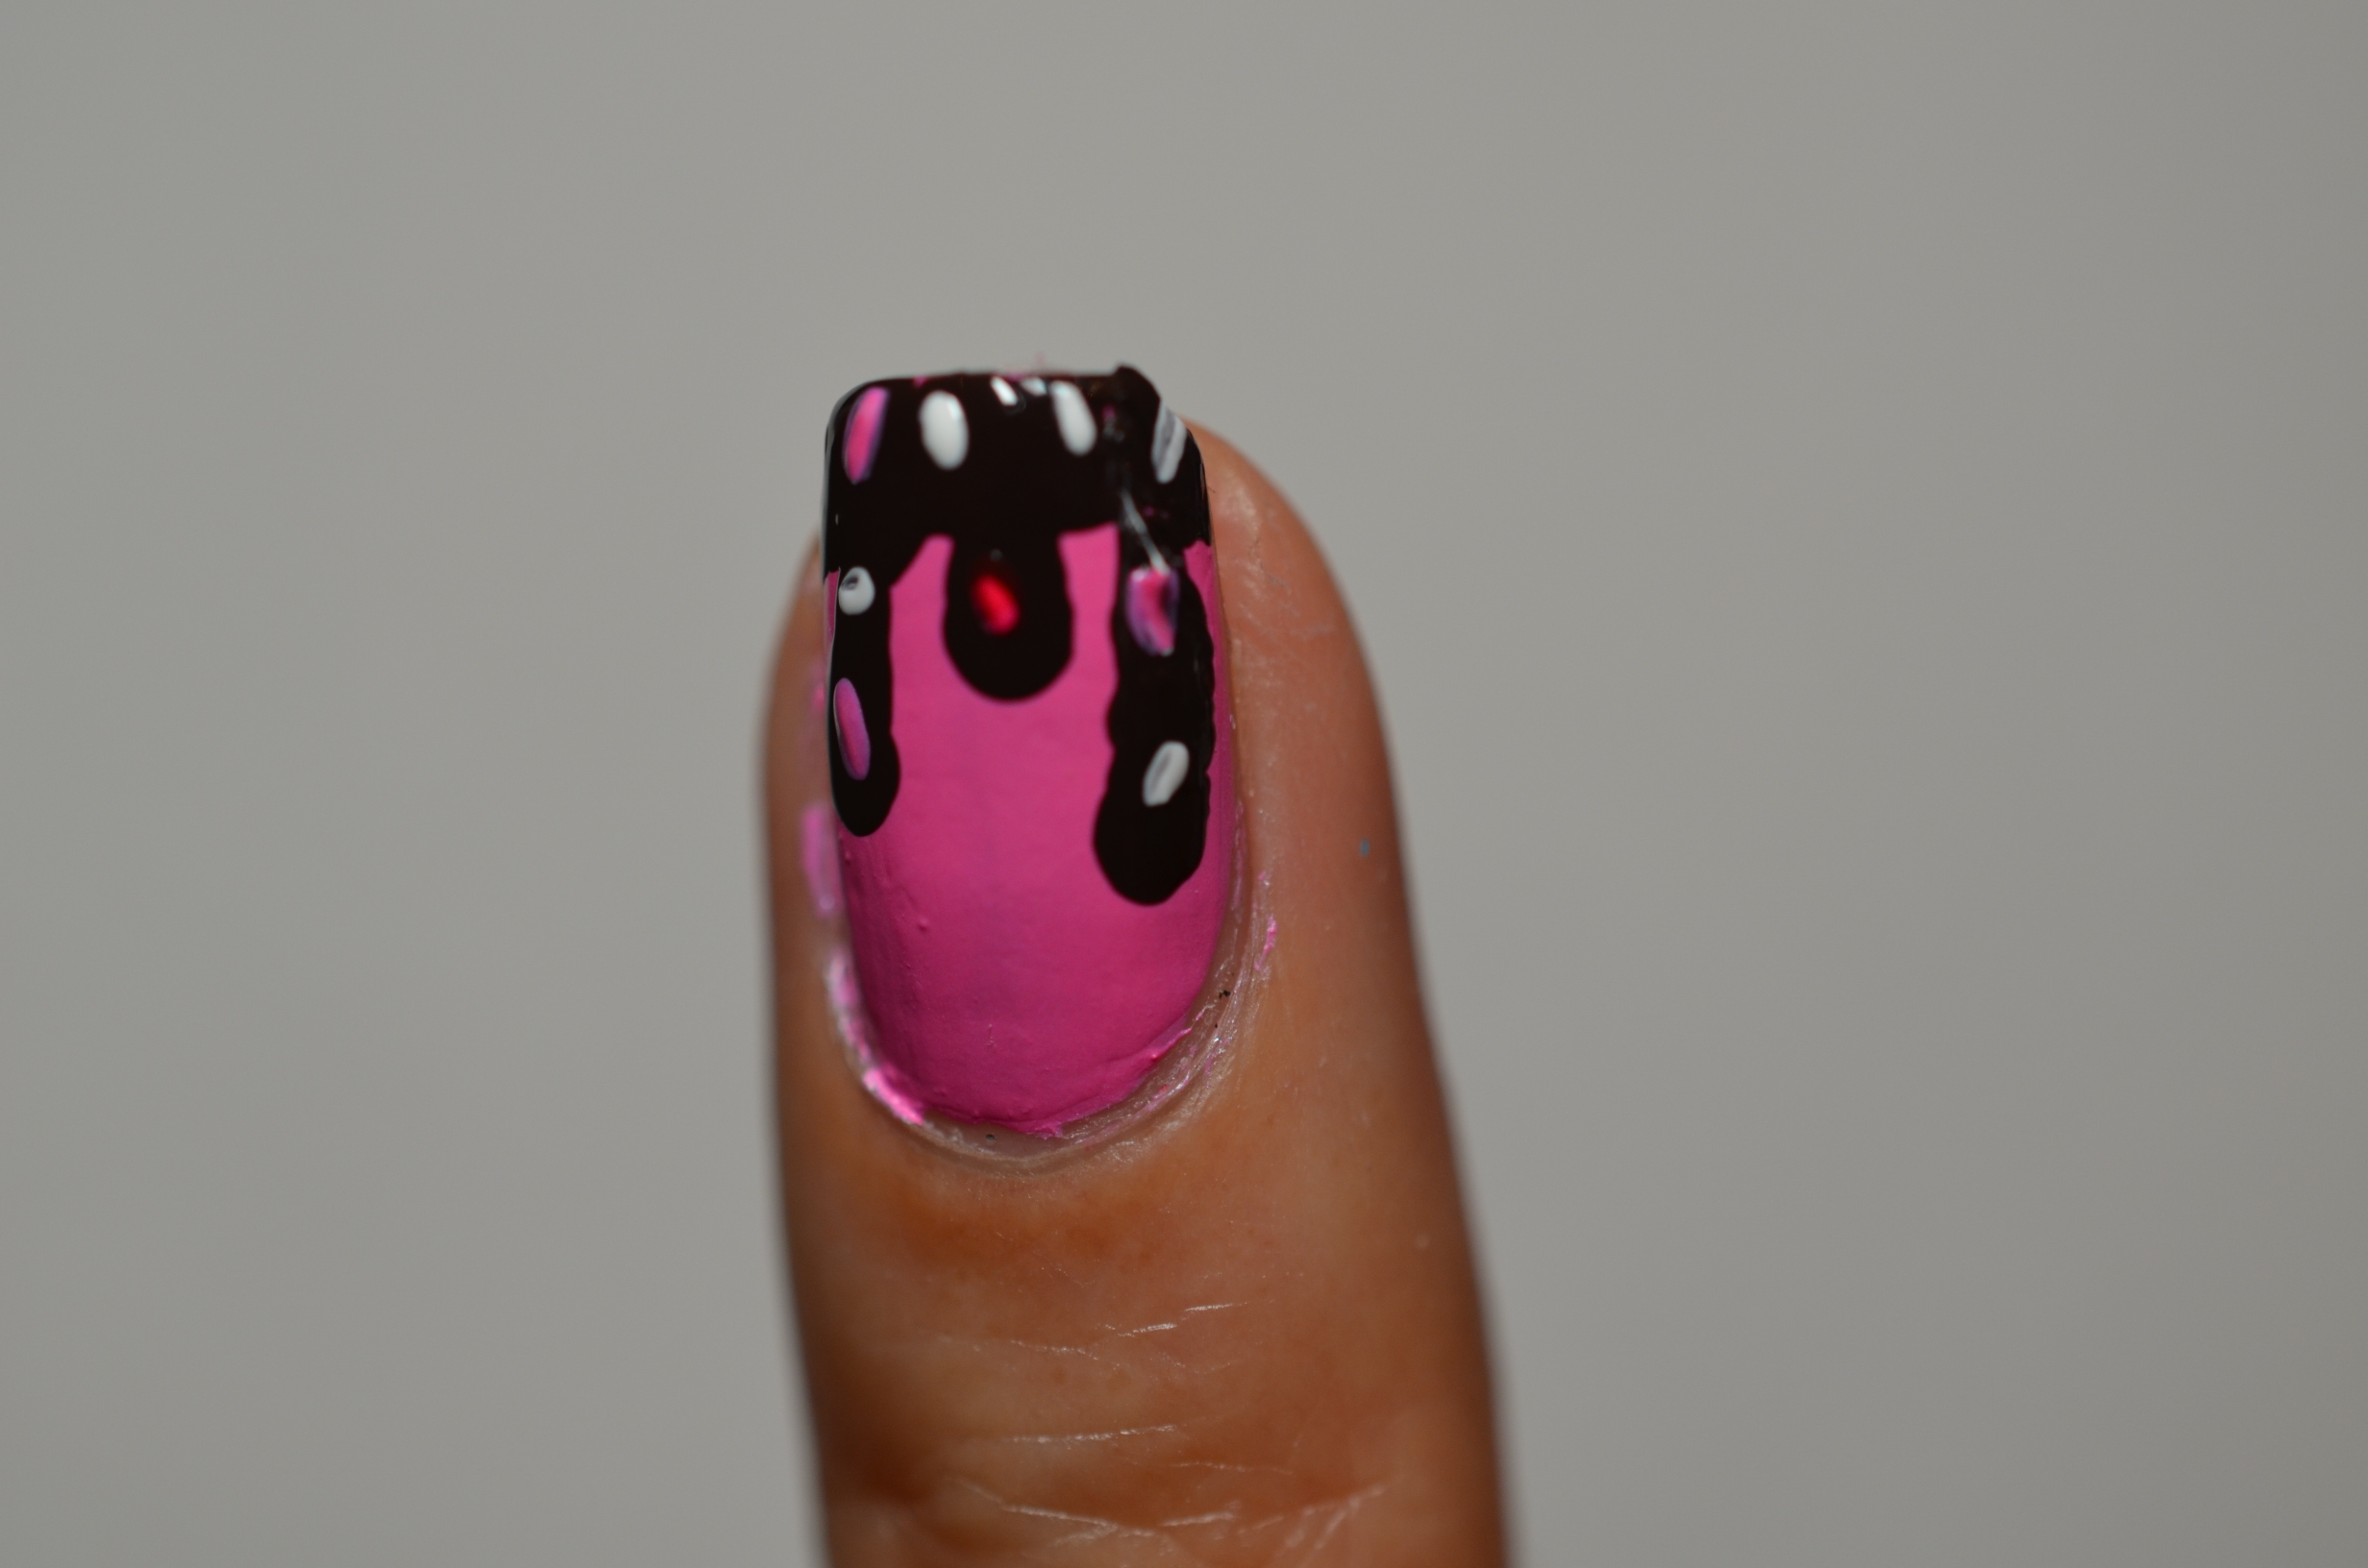
Step 9: Use a white polish (Sally Hansen’s White Out) to draw short strokes to create sprinkles. Then add colours on top of the white for the colours to pop.

Step 10: Apply a fast drying top coat (Seche Vite) to seal in your hard work and add a beautiful shine. Then you are DONE!!!
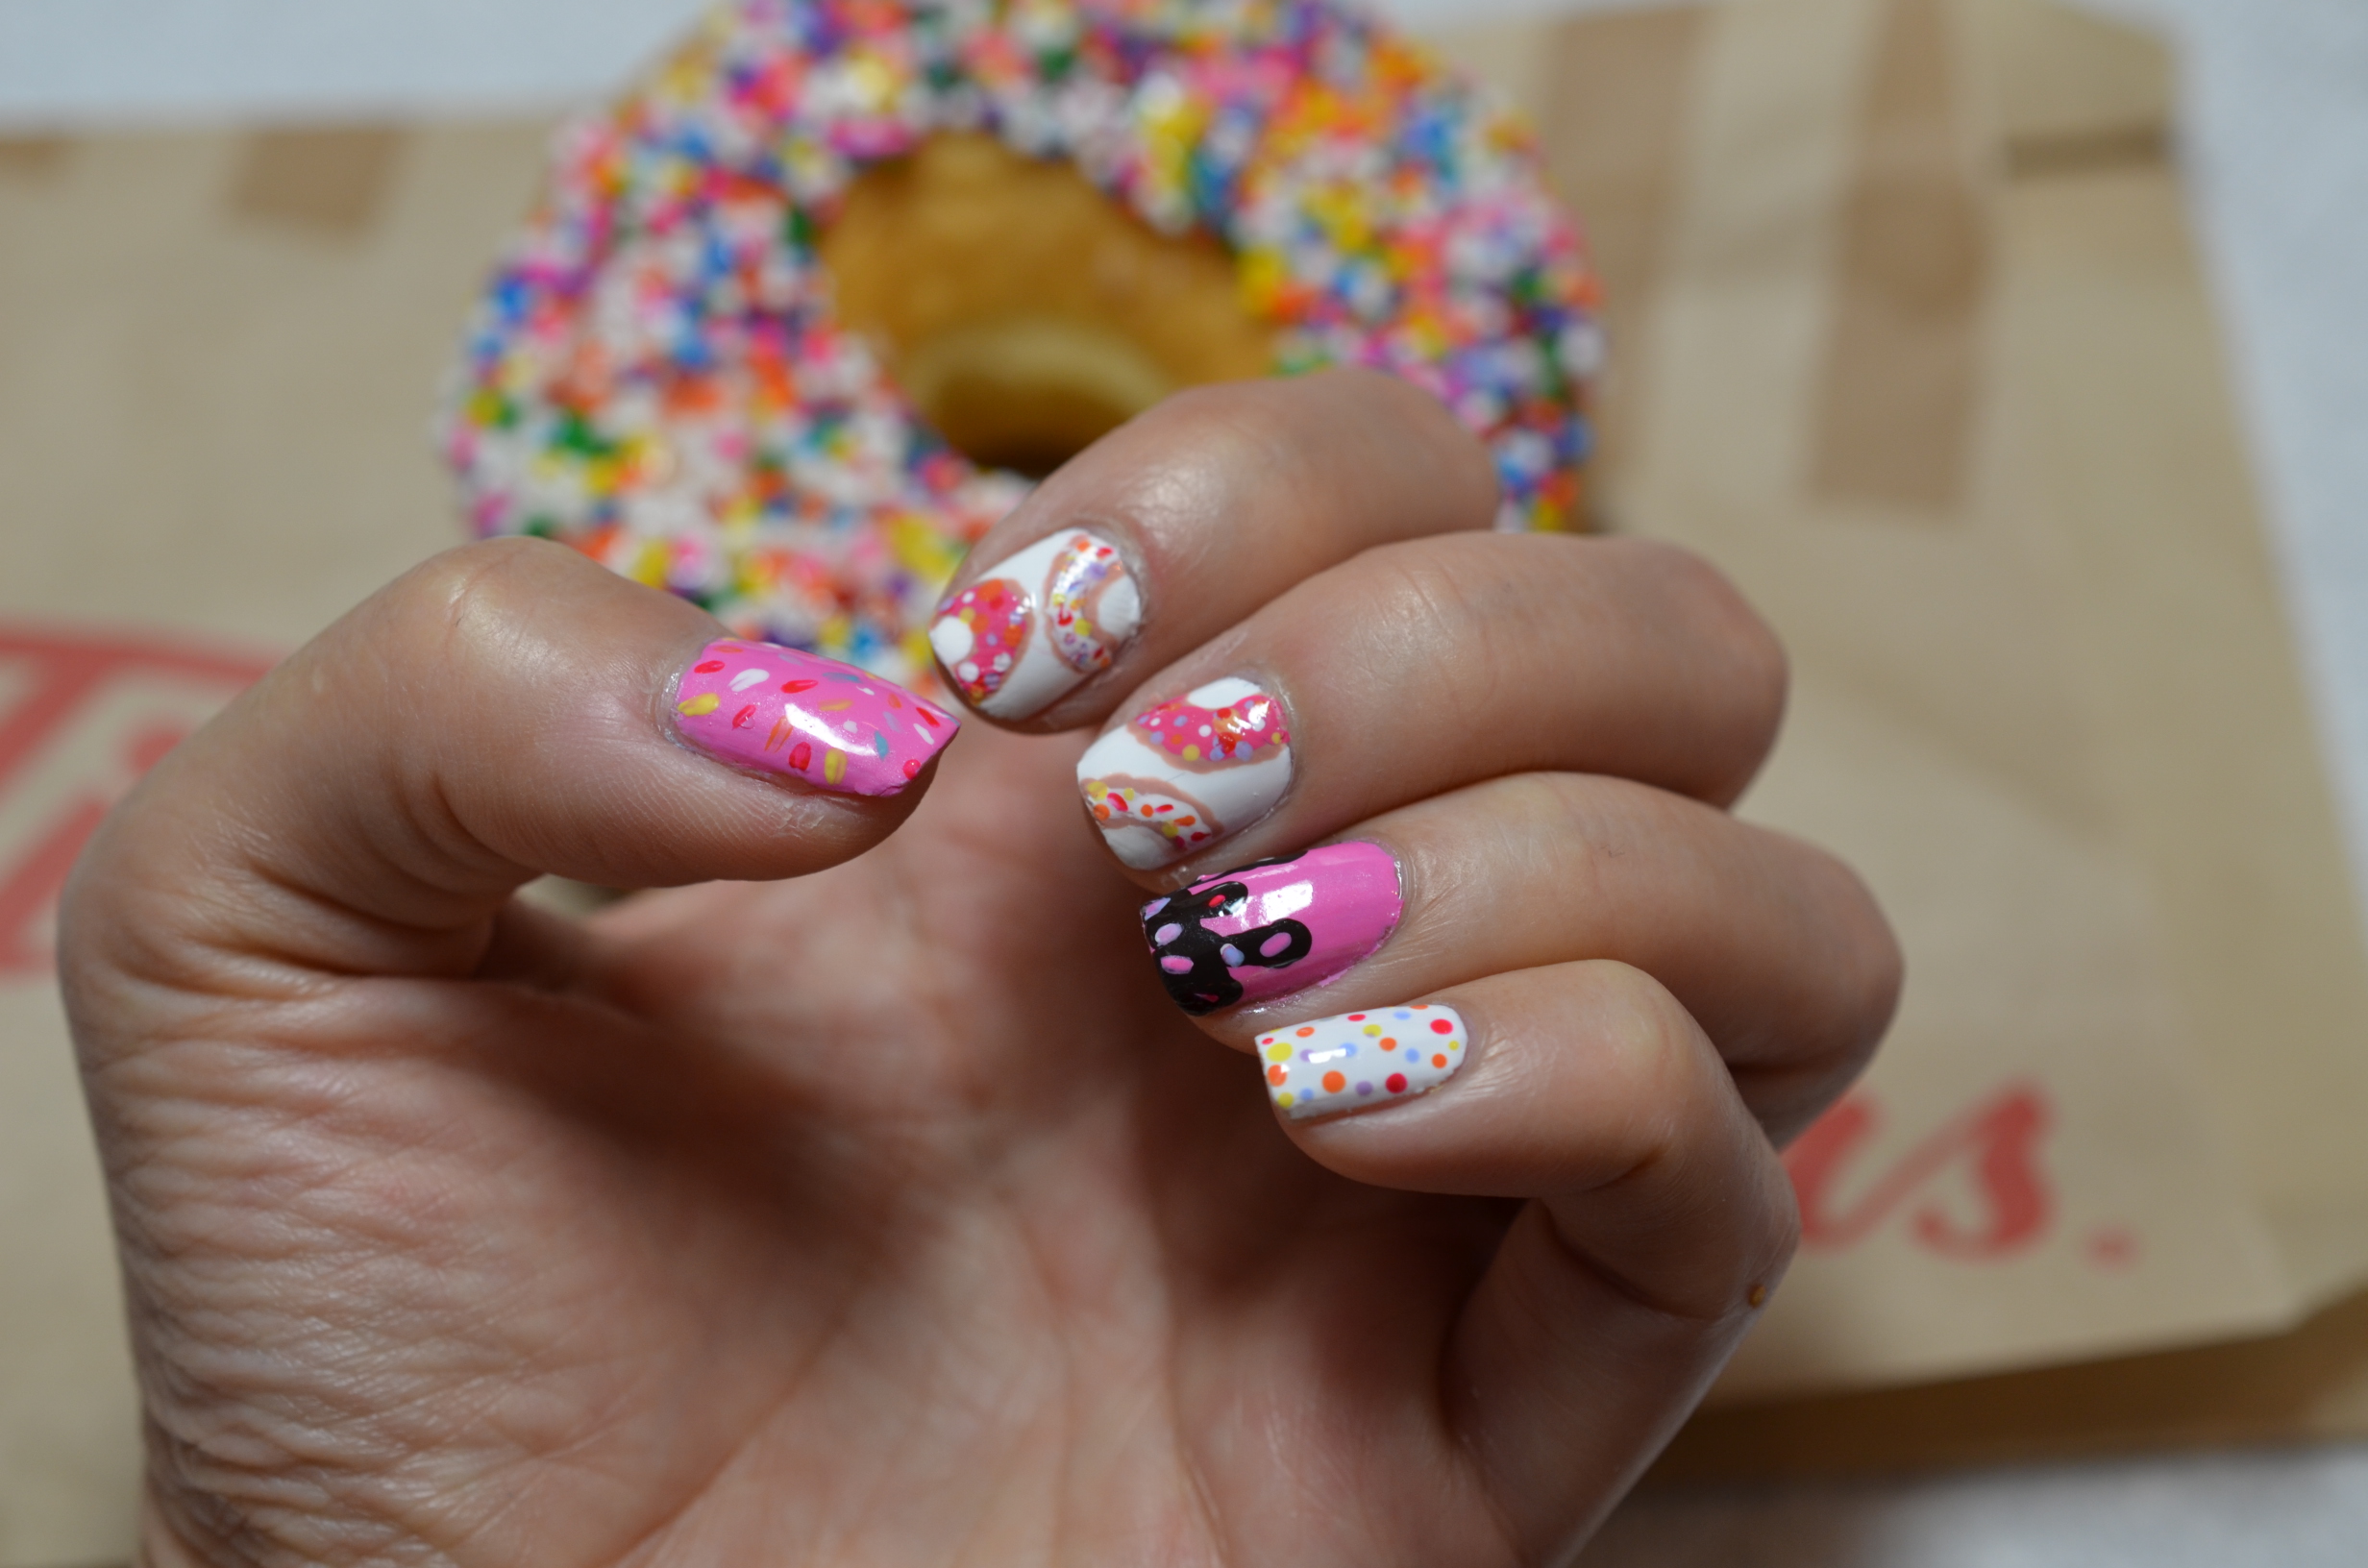
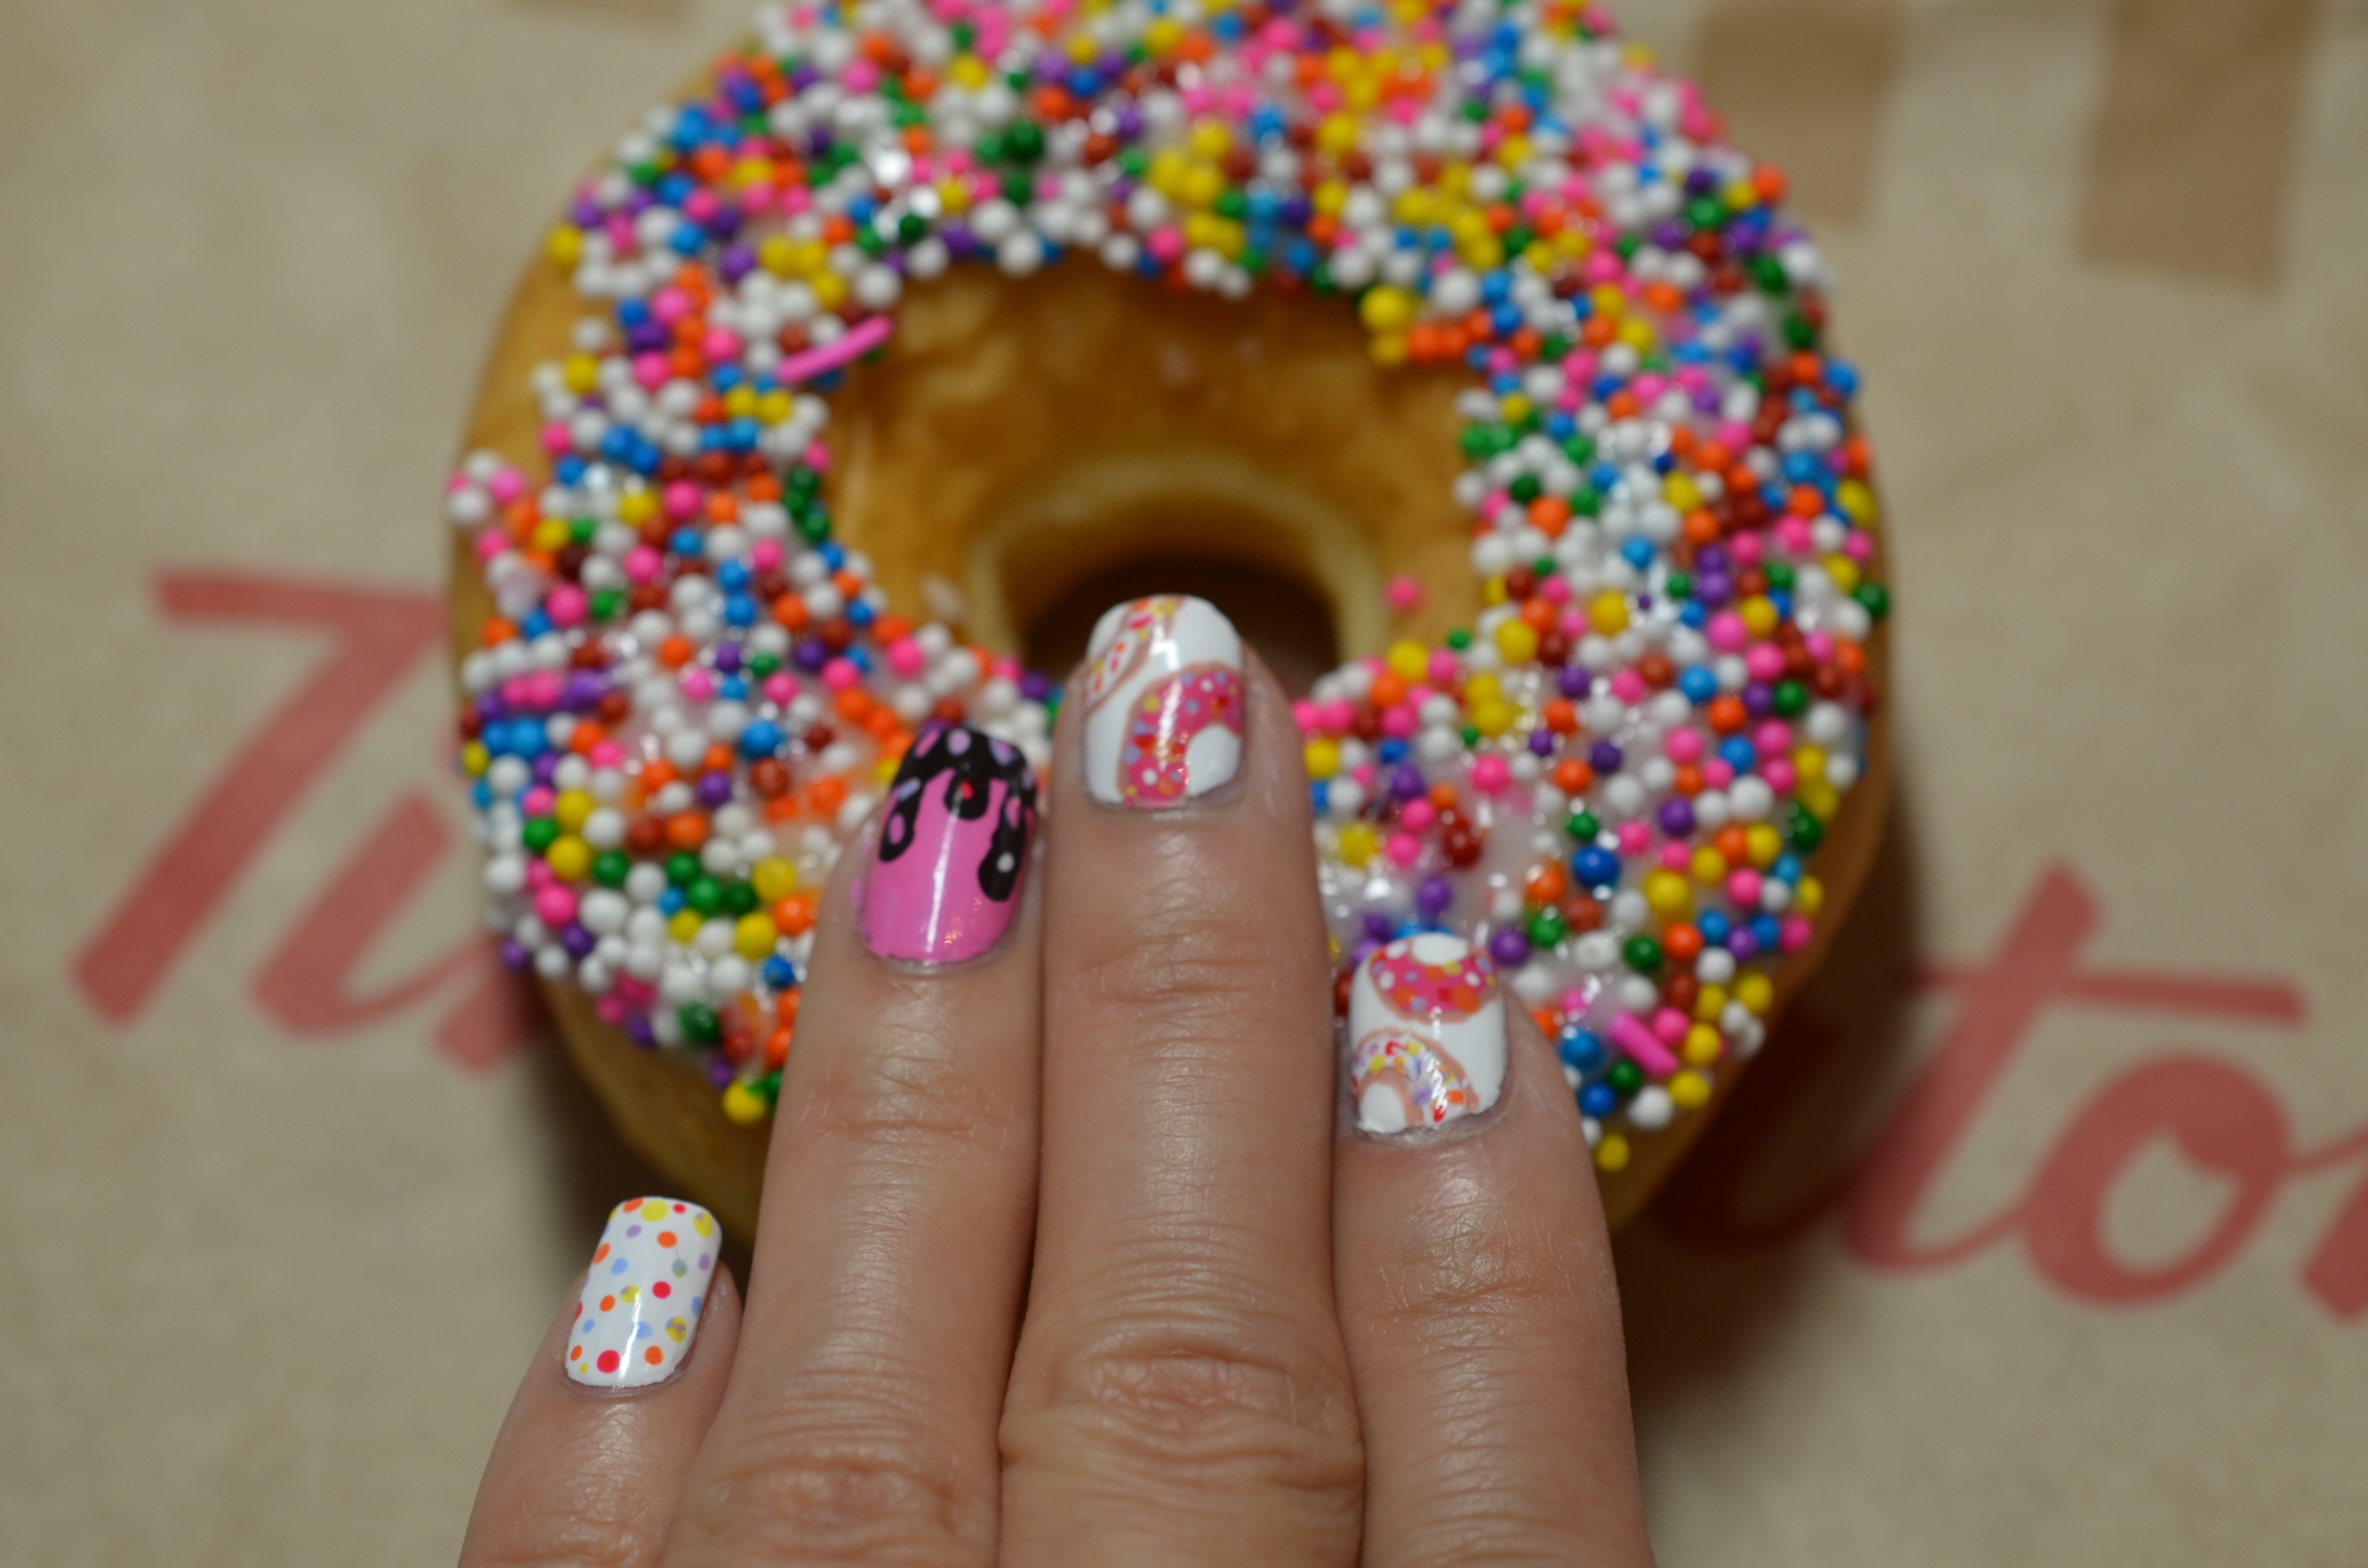
Thank you so much for reading as always! Please don’t forget to share your recreation with me on my GlitterMommy facebook page.
XOXO
GlitterMommy