
Hi my awesome readers, today I share with you a simple polka dot pattern that looks complicated but in reality it’s really easy. This design is perfect for beginners, it only requires dotting tools or back of a bobby pin. This design is very versatile because you can do it all year round. All you need to do is to change up the colours. Today, I chose magenta for the base because this colour reminds me of spring. So let’s get started:
Step 1: Apply your favourite base coat (Natural Nail Base Coat by OPI) to protect your natural nail.

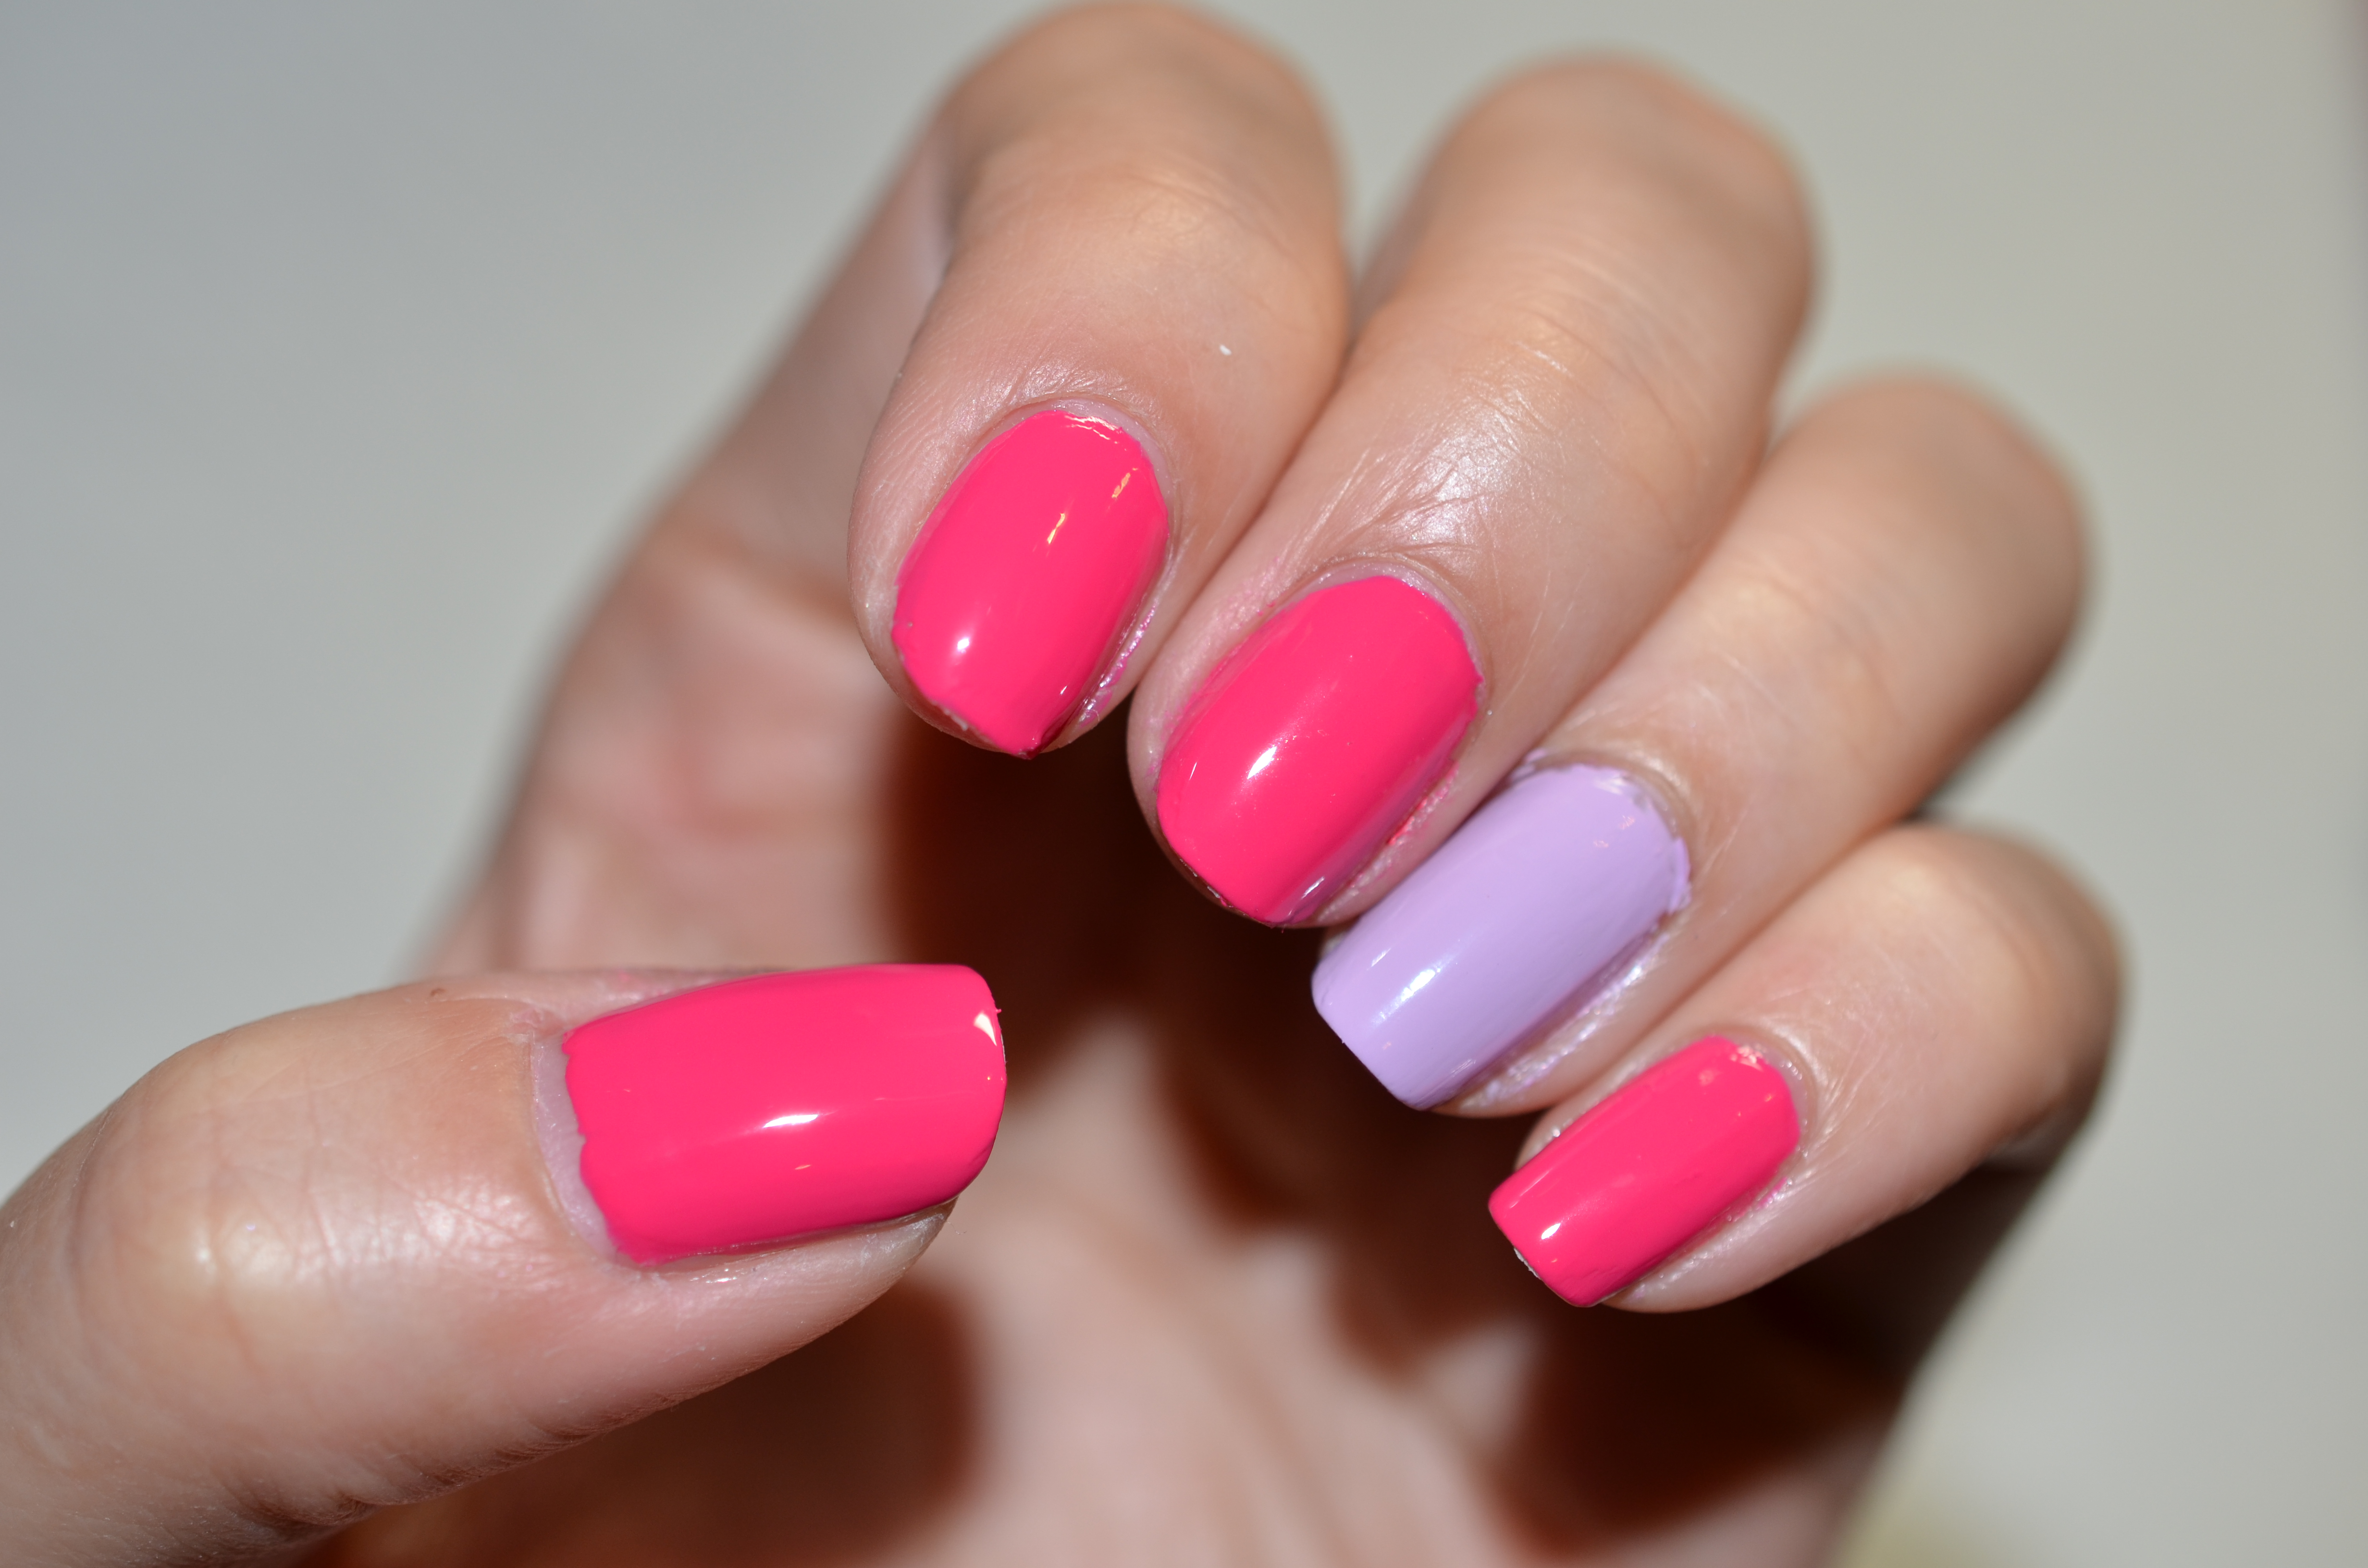
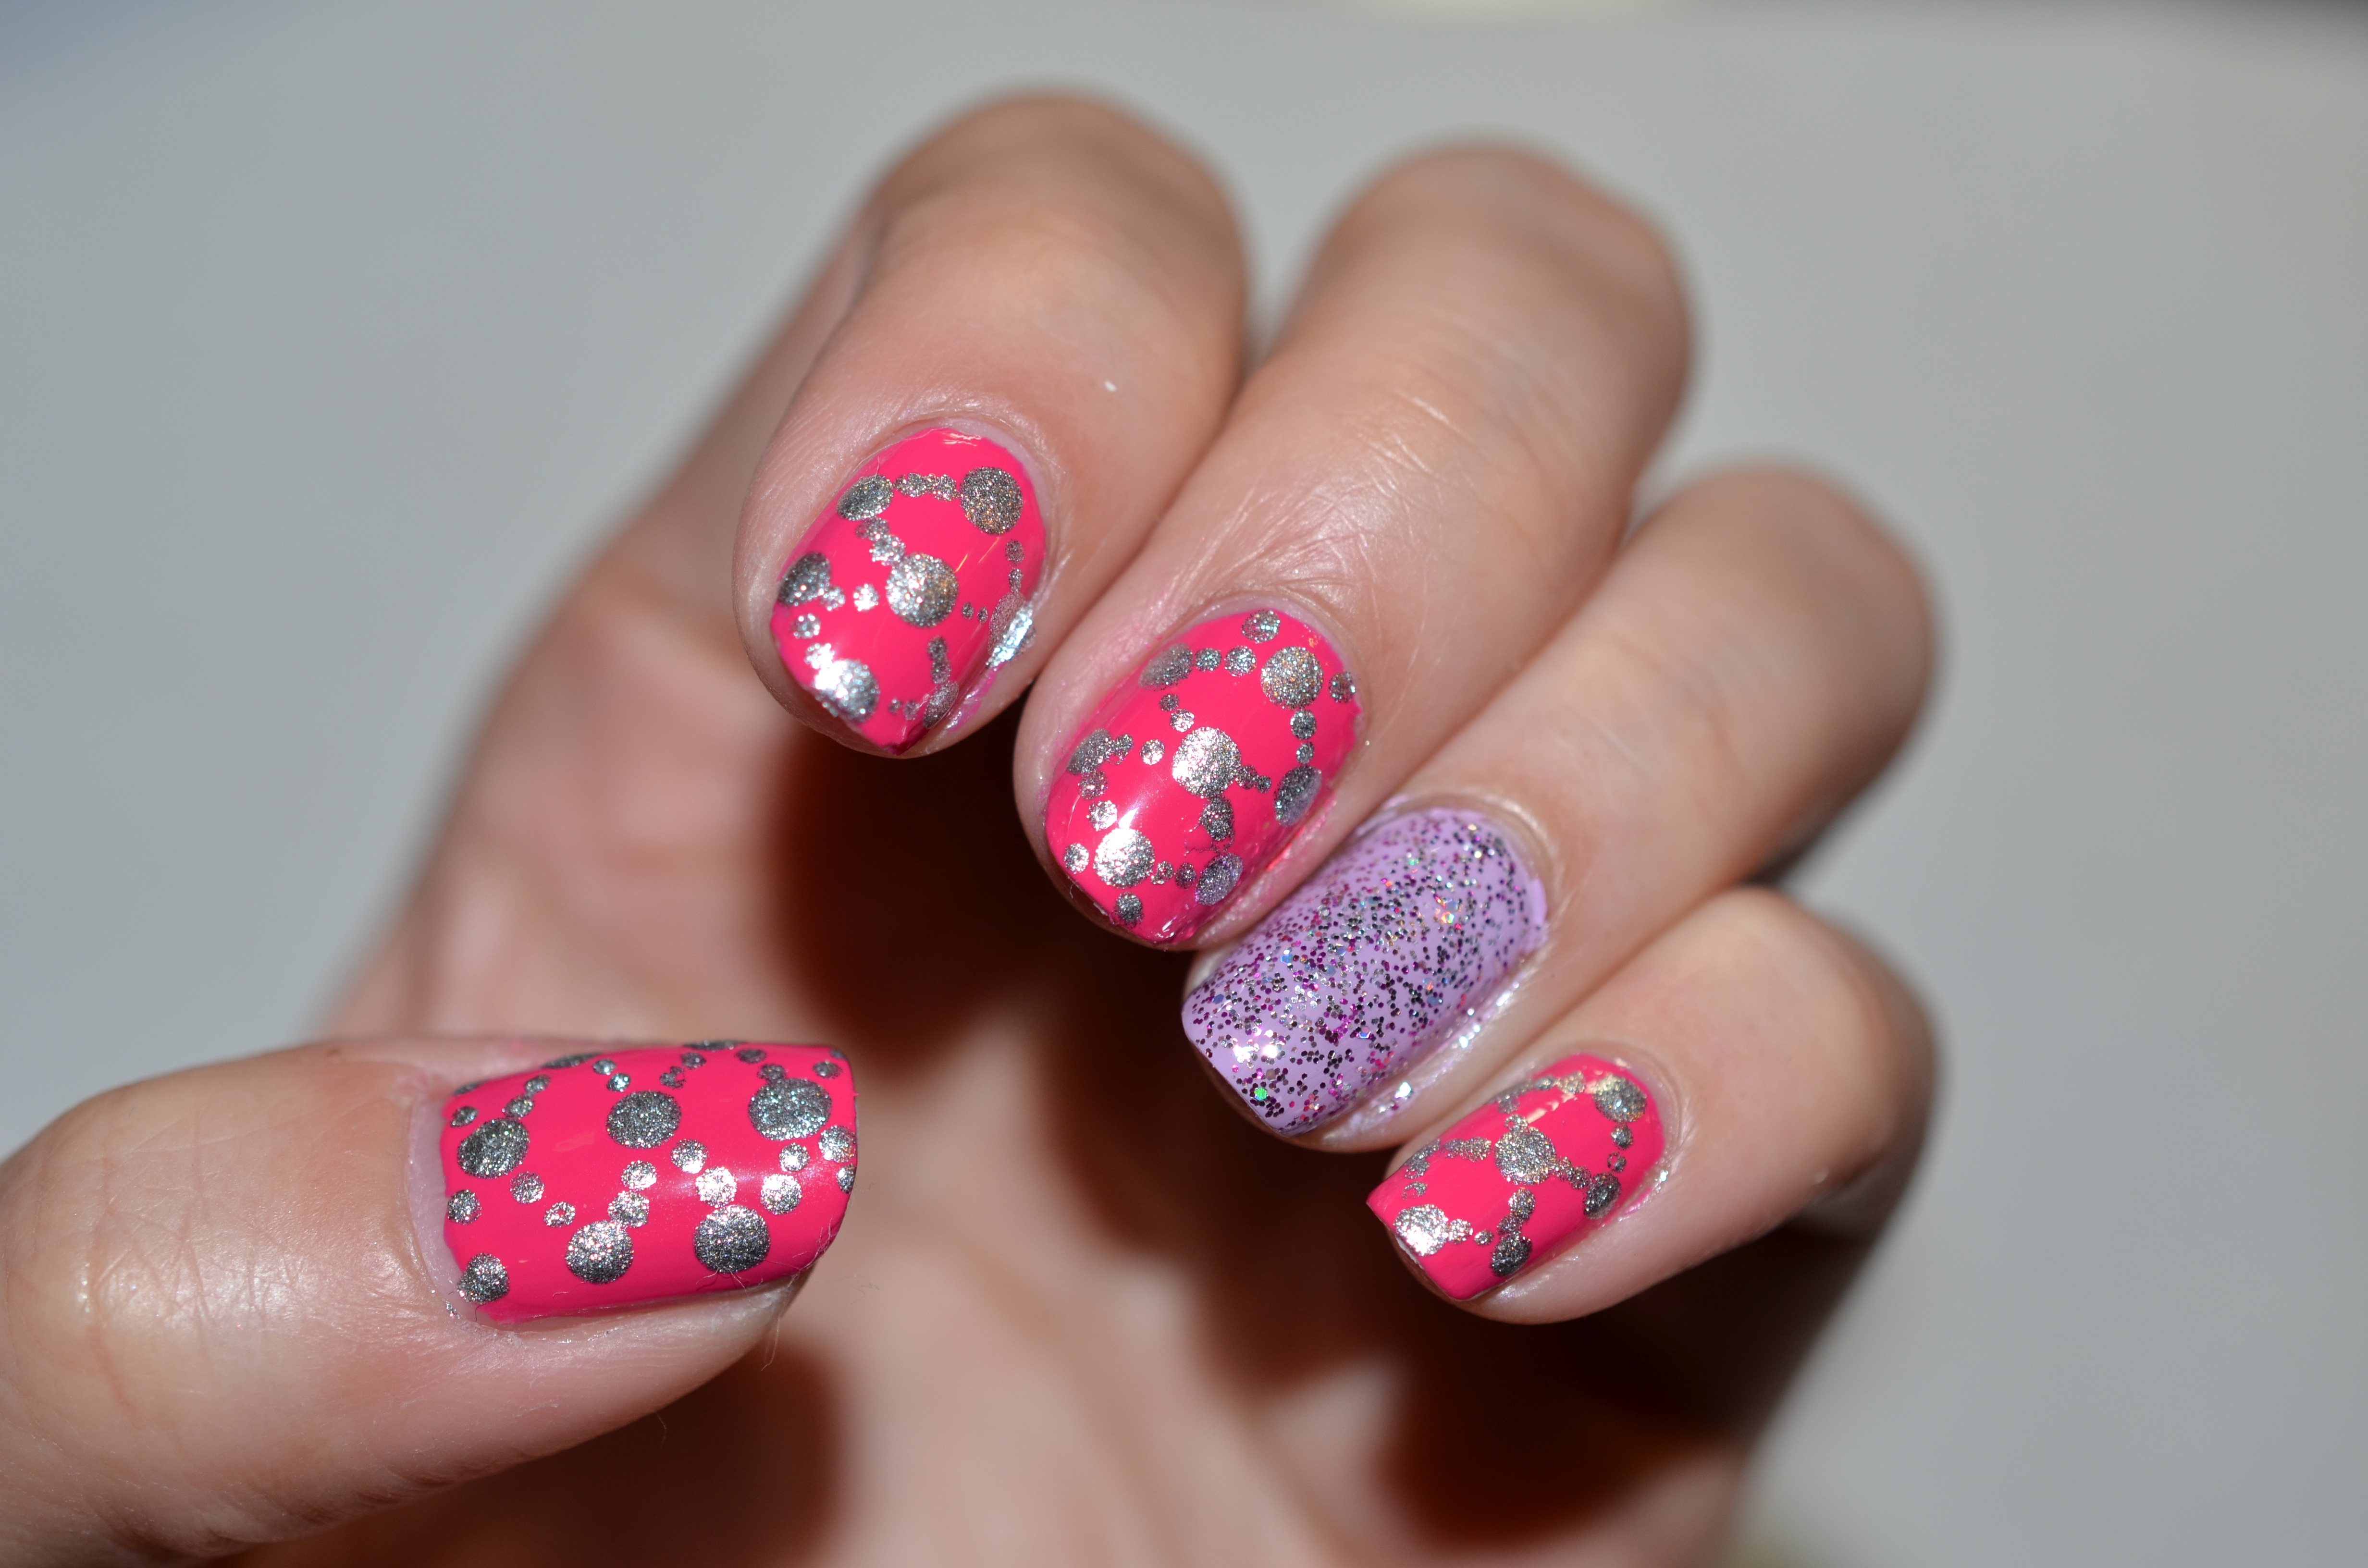
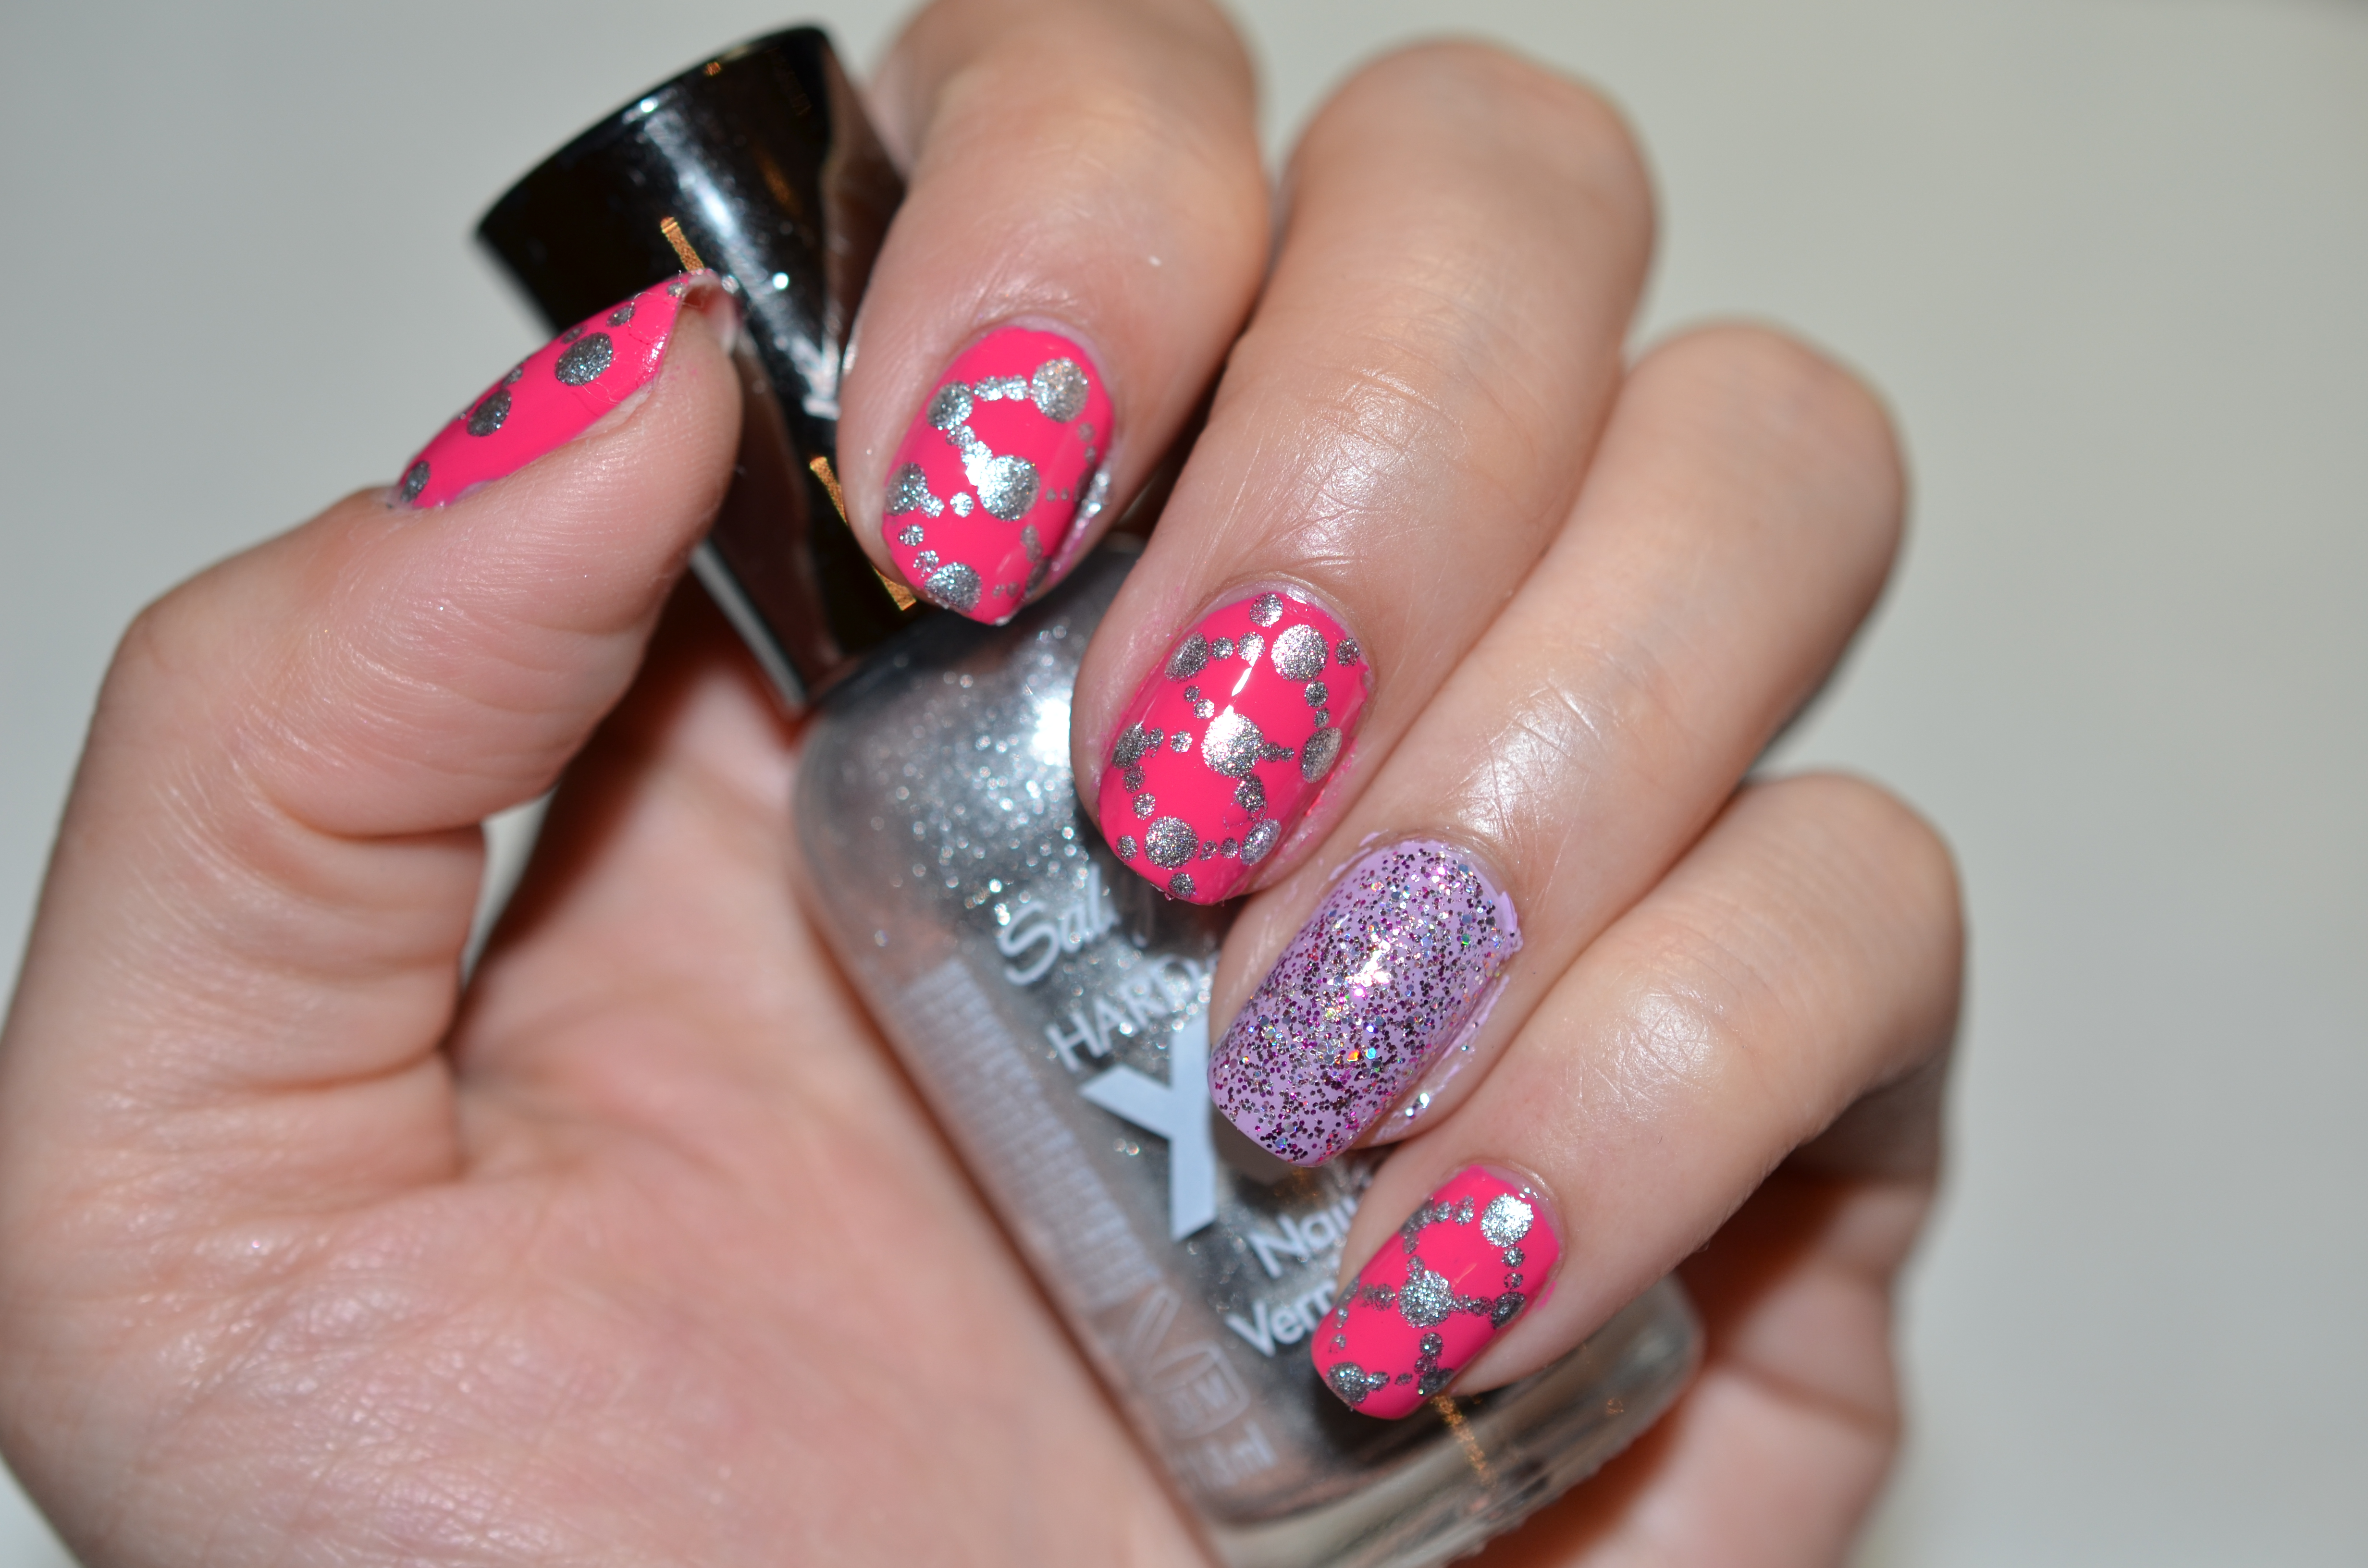
Step 2: Apply 2 coats of magenta (Fuchsia Power by Sally Hansen) on all the fingers except for ring finger. Apply 2 coats of light purple (It’s Hippo to be Square by Sephora by OPI) on the ring finger.
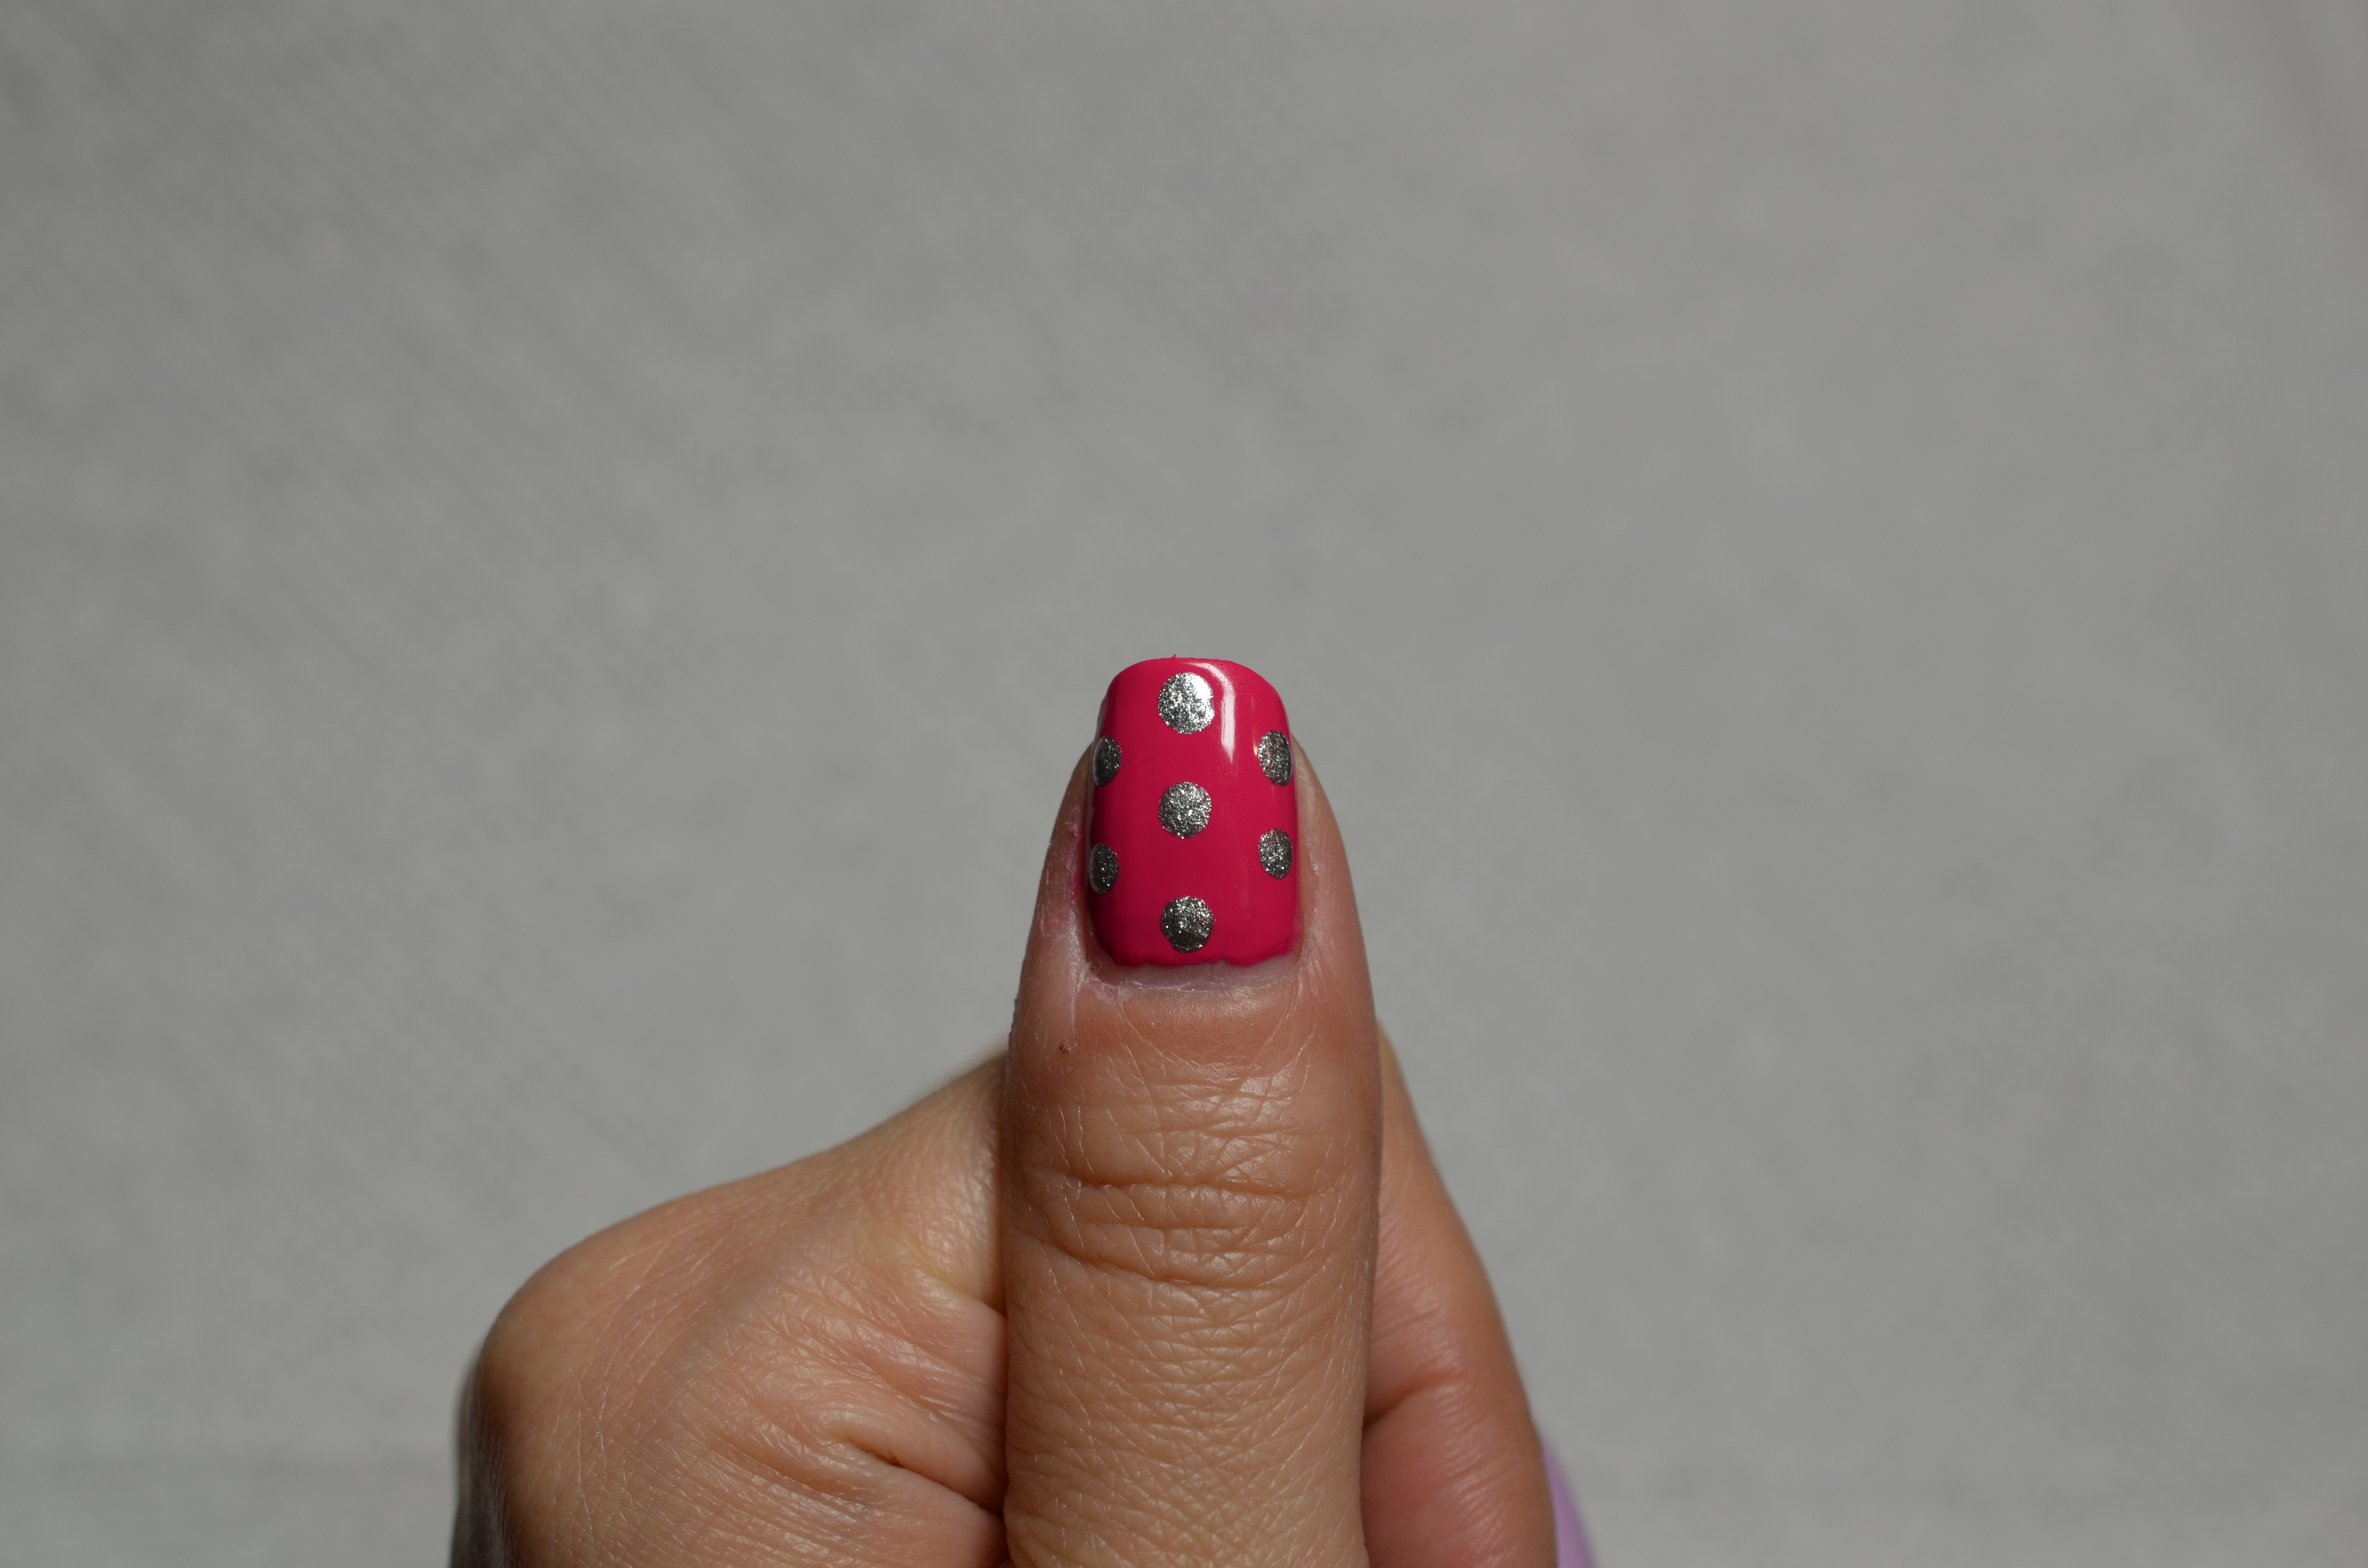
Step 3: Use a medium size dotting tool and dip it into silver polish (Celeb City by Sally Hansen) to create dots in the middle. Then use the same dotting tool and colour to create another row of dots on either side of the middle row. But this time, you dot in between the space of the middle row. Do the same thing for all the fingers except for the ring finger.


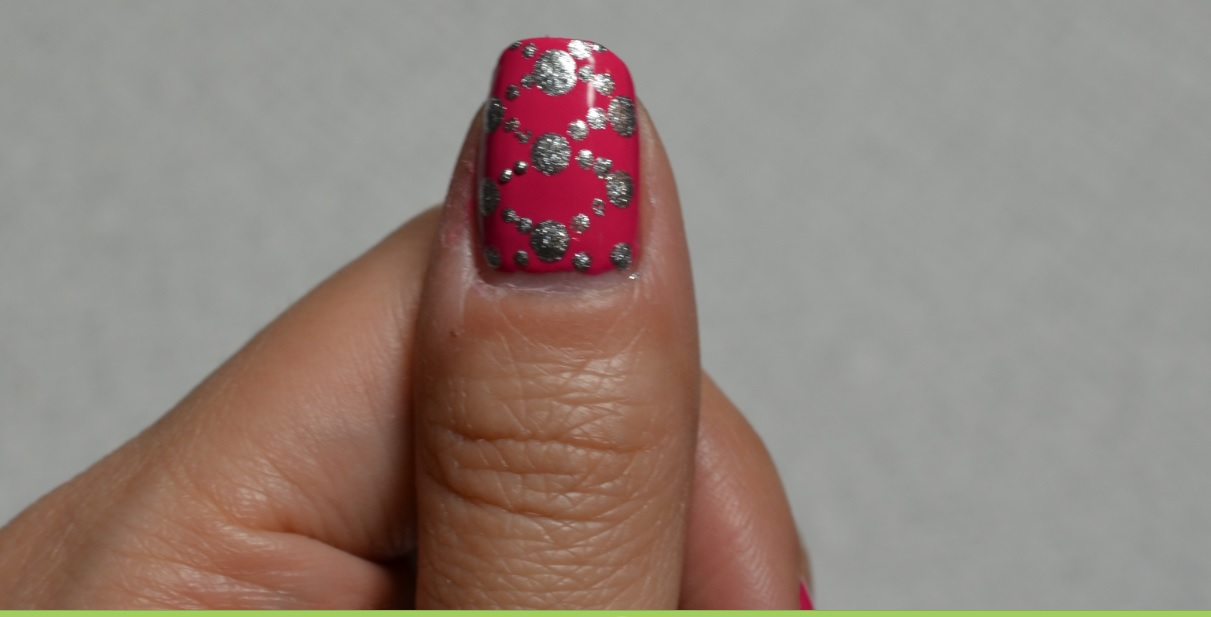
Step 4: Use the smallest dotting tool to dip in the same silver polish (Celeb City by Sally Hansen) and connect the big dots diagonally. Depending on the size of the dot and your nail, you could put up to 3 smaller dots between the big dots. As for me, I managed to put 2 dots. Do the same thing for all the nails except for your ring finger.
Step 5: Apply 2 coats of your favourite glitters on your ring finger. In this tutorial I used a dense purple glitter (It’s Bouquet with Me by Sephora by OPI).
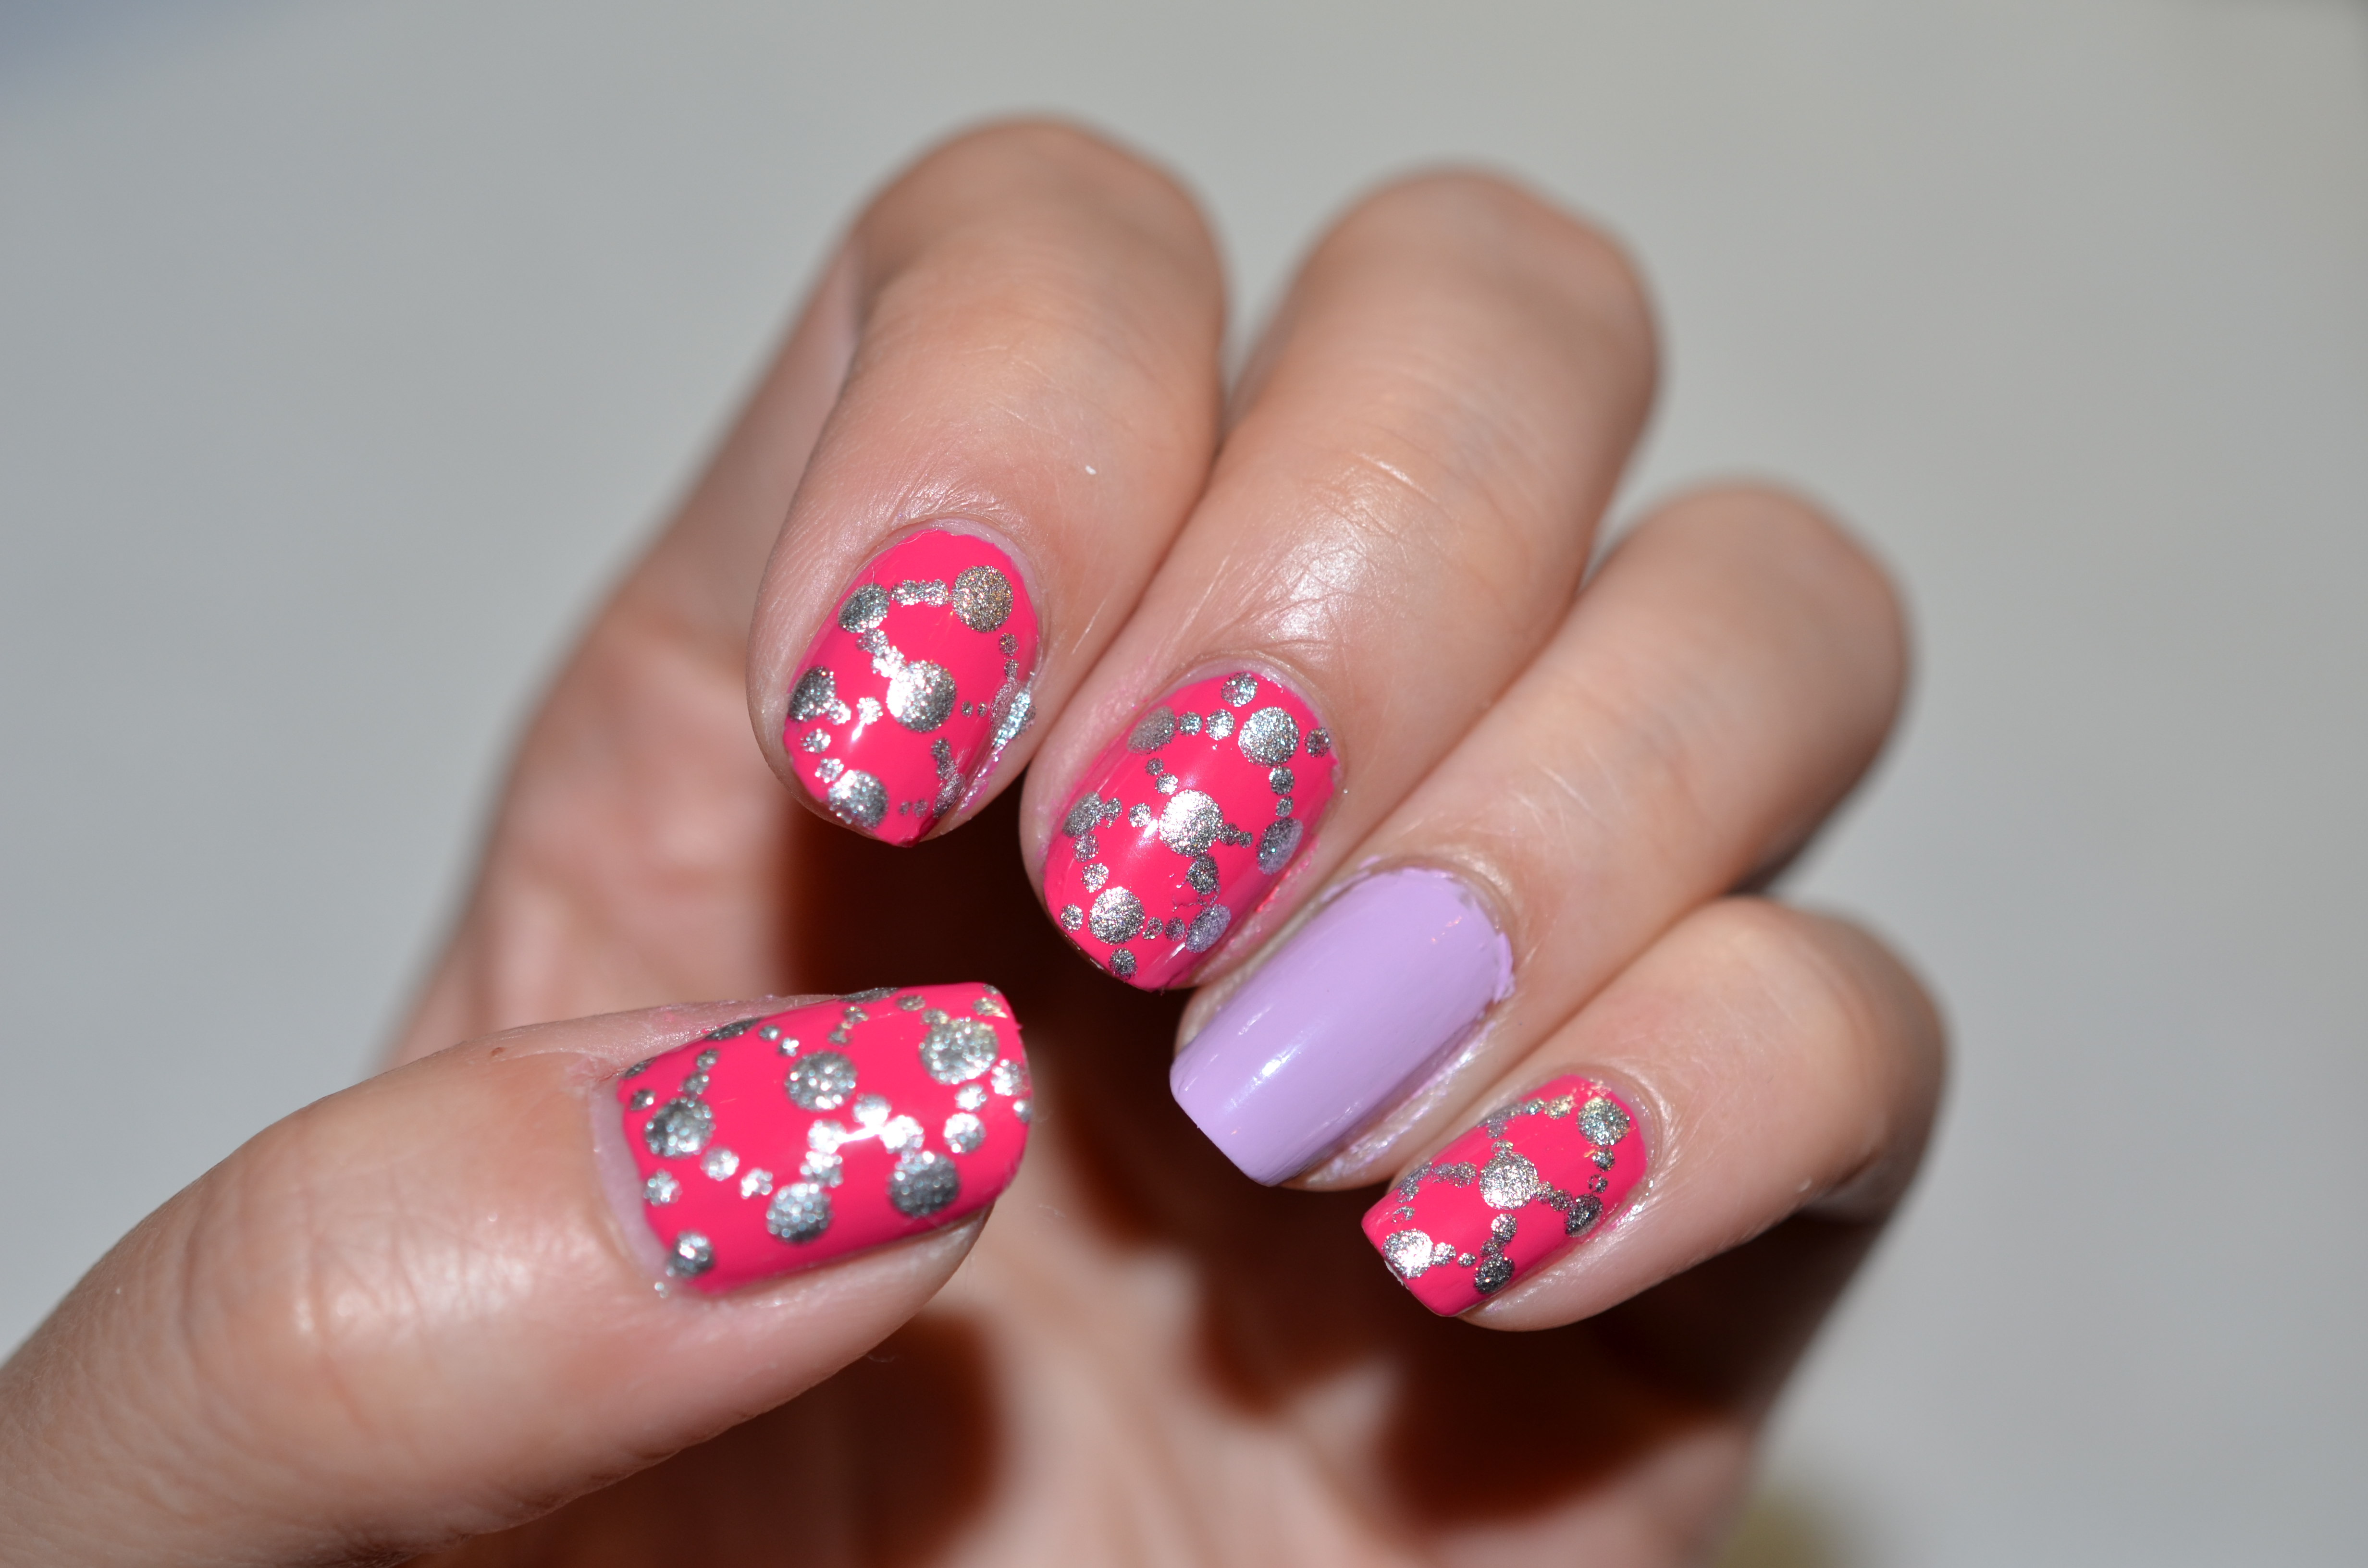
Step 6: Finally apply your favourite top coat (Seche Vite) to seal in your design and add a beautiful shine.
Then you are DONE! This is so easy to do, it only takes 6 steps and that includes applying base coat and top coat. Please try it out and don’t forget to share your recreation with me on my GlitterMommy Facebook Page or share your recreation on instagram by #GlitterMommyNailArt.
Thank you very much for reading and have a serene evening everyone!
XOXO