Hi my beautiful friends, today I am very excited to share with you this very girly, lace inspired design. This nail art is perfect for a romantic date or even on your wedding day. Even though this design looks very complicated, but it’s actually quite easy. All you need is dotting tools and you can complete this nail art. So let’s get started.
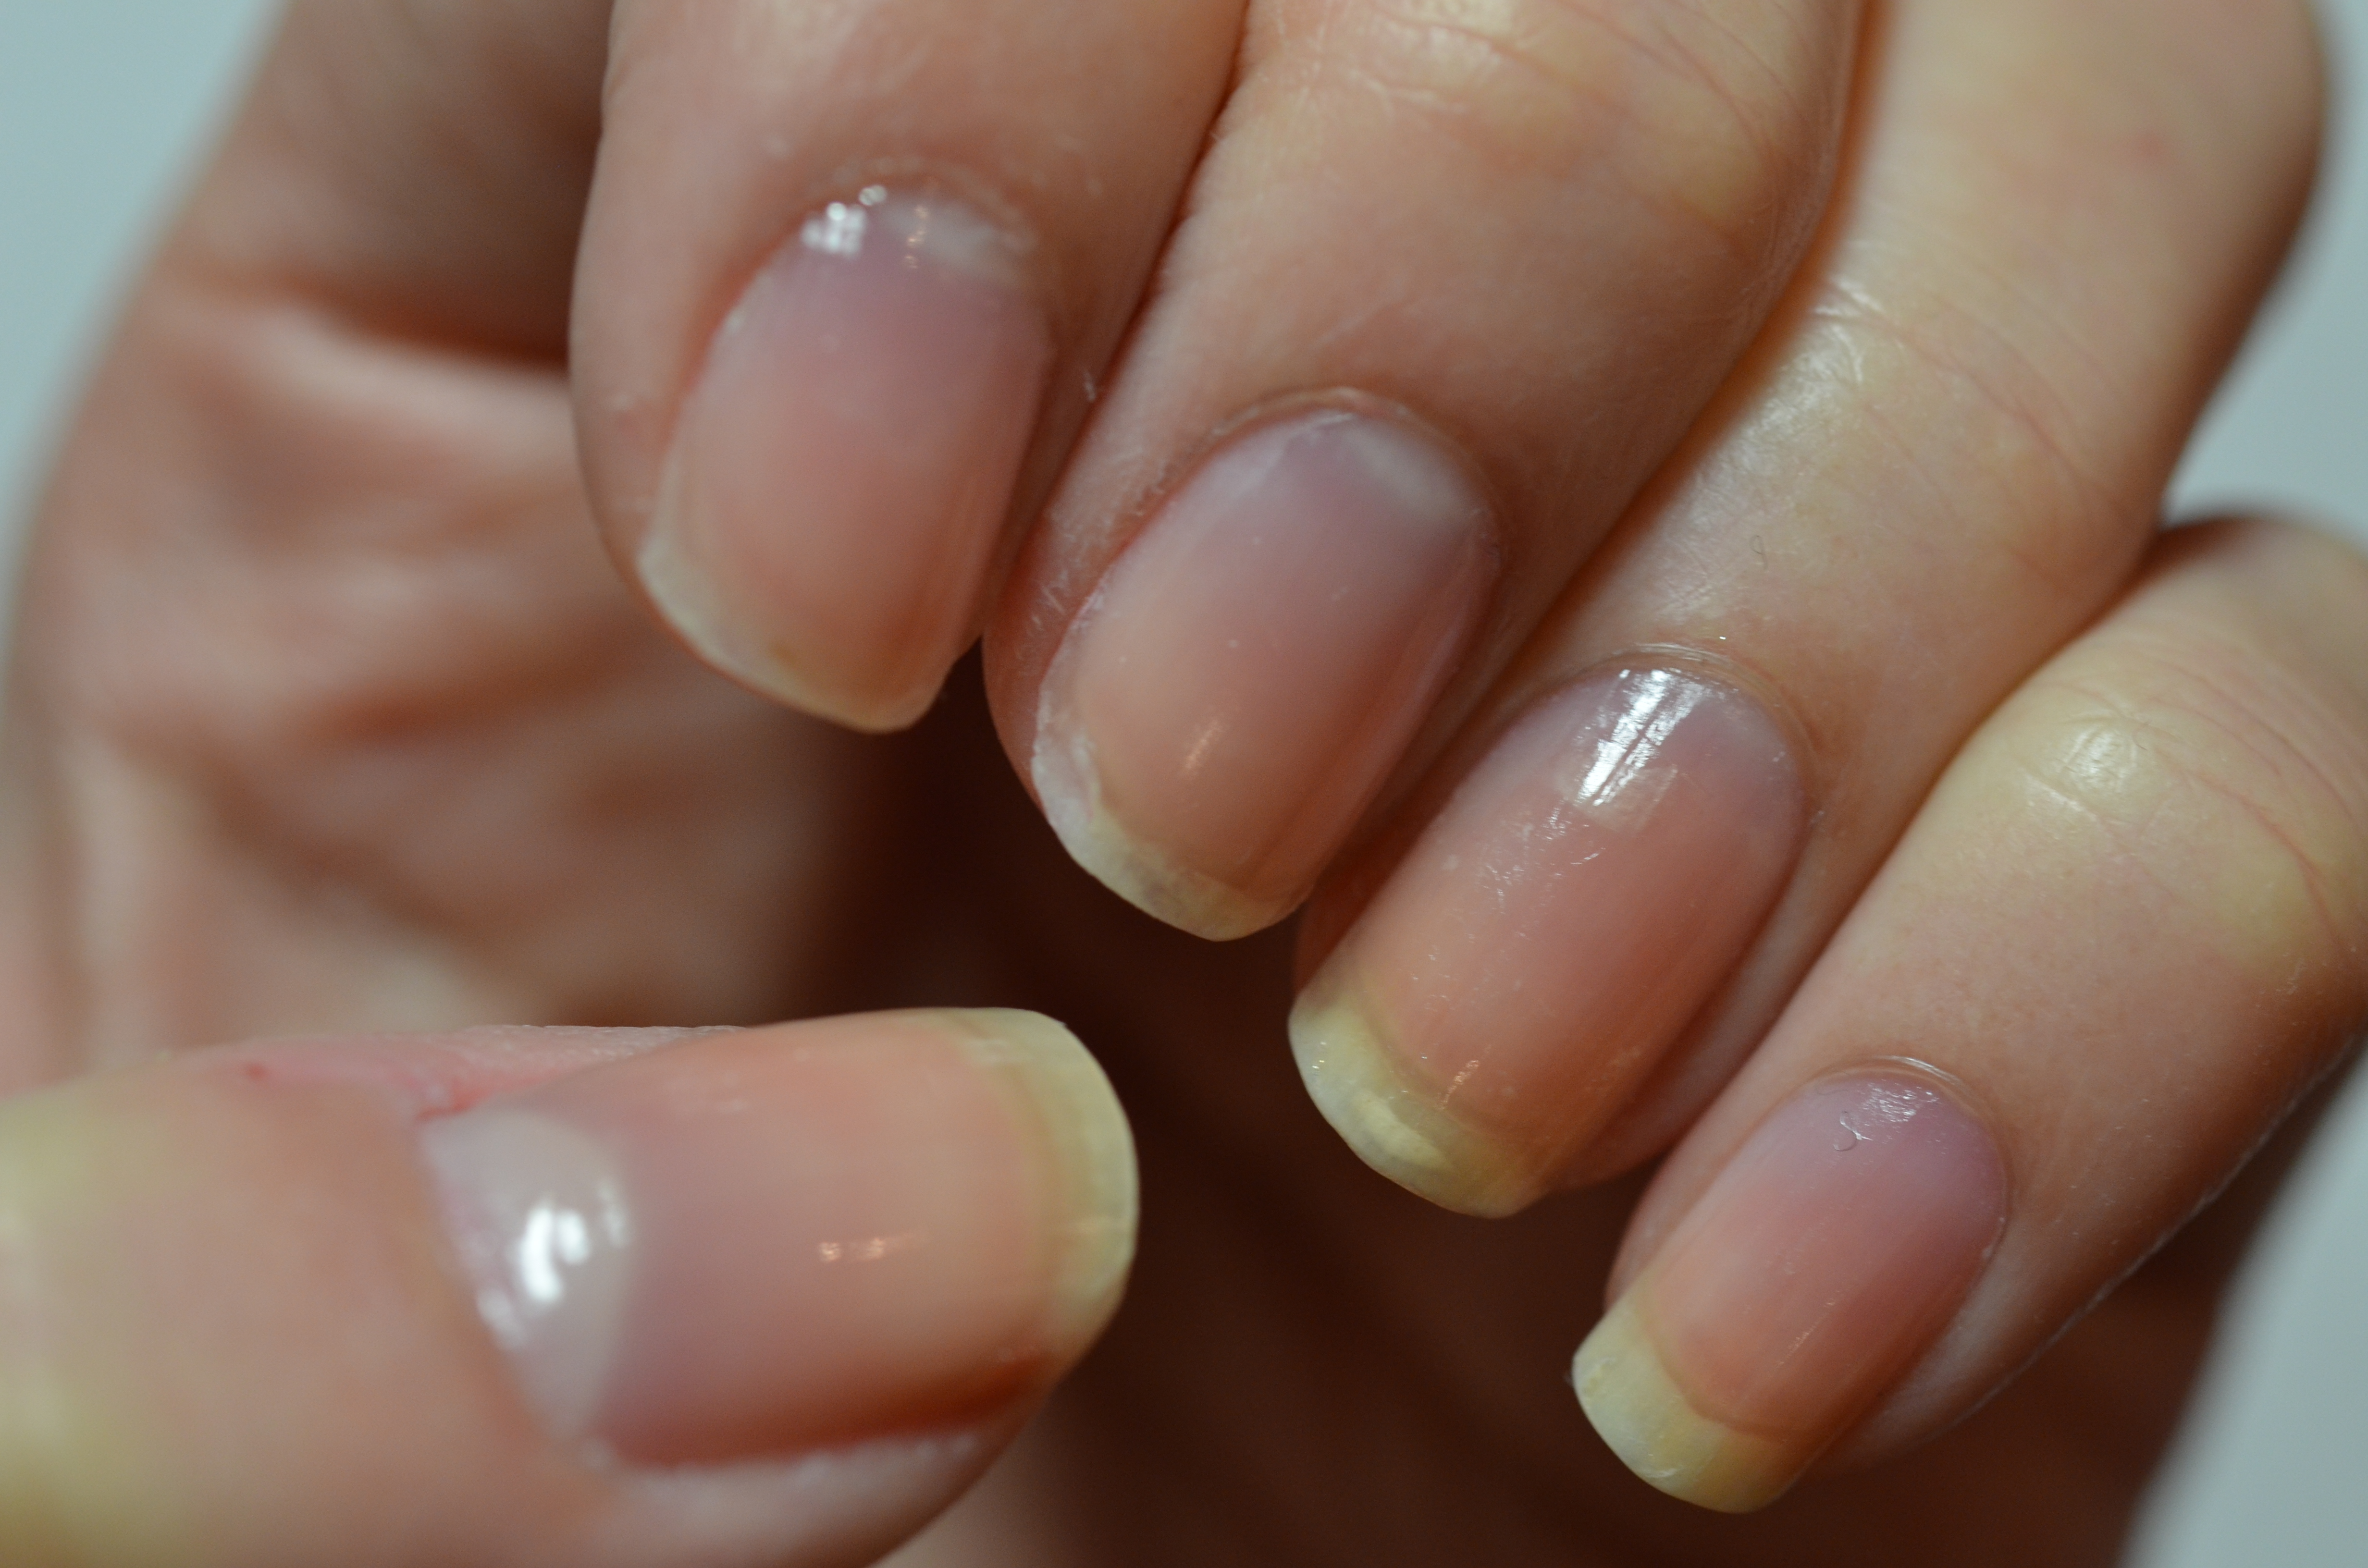
Step 1: Apply your favourite base coat (OPI Natural Nail Base Coat) to protect your natural nail.
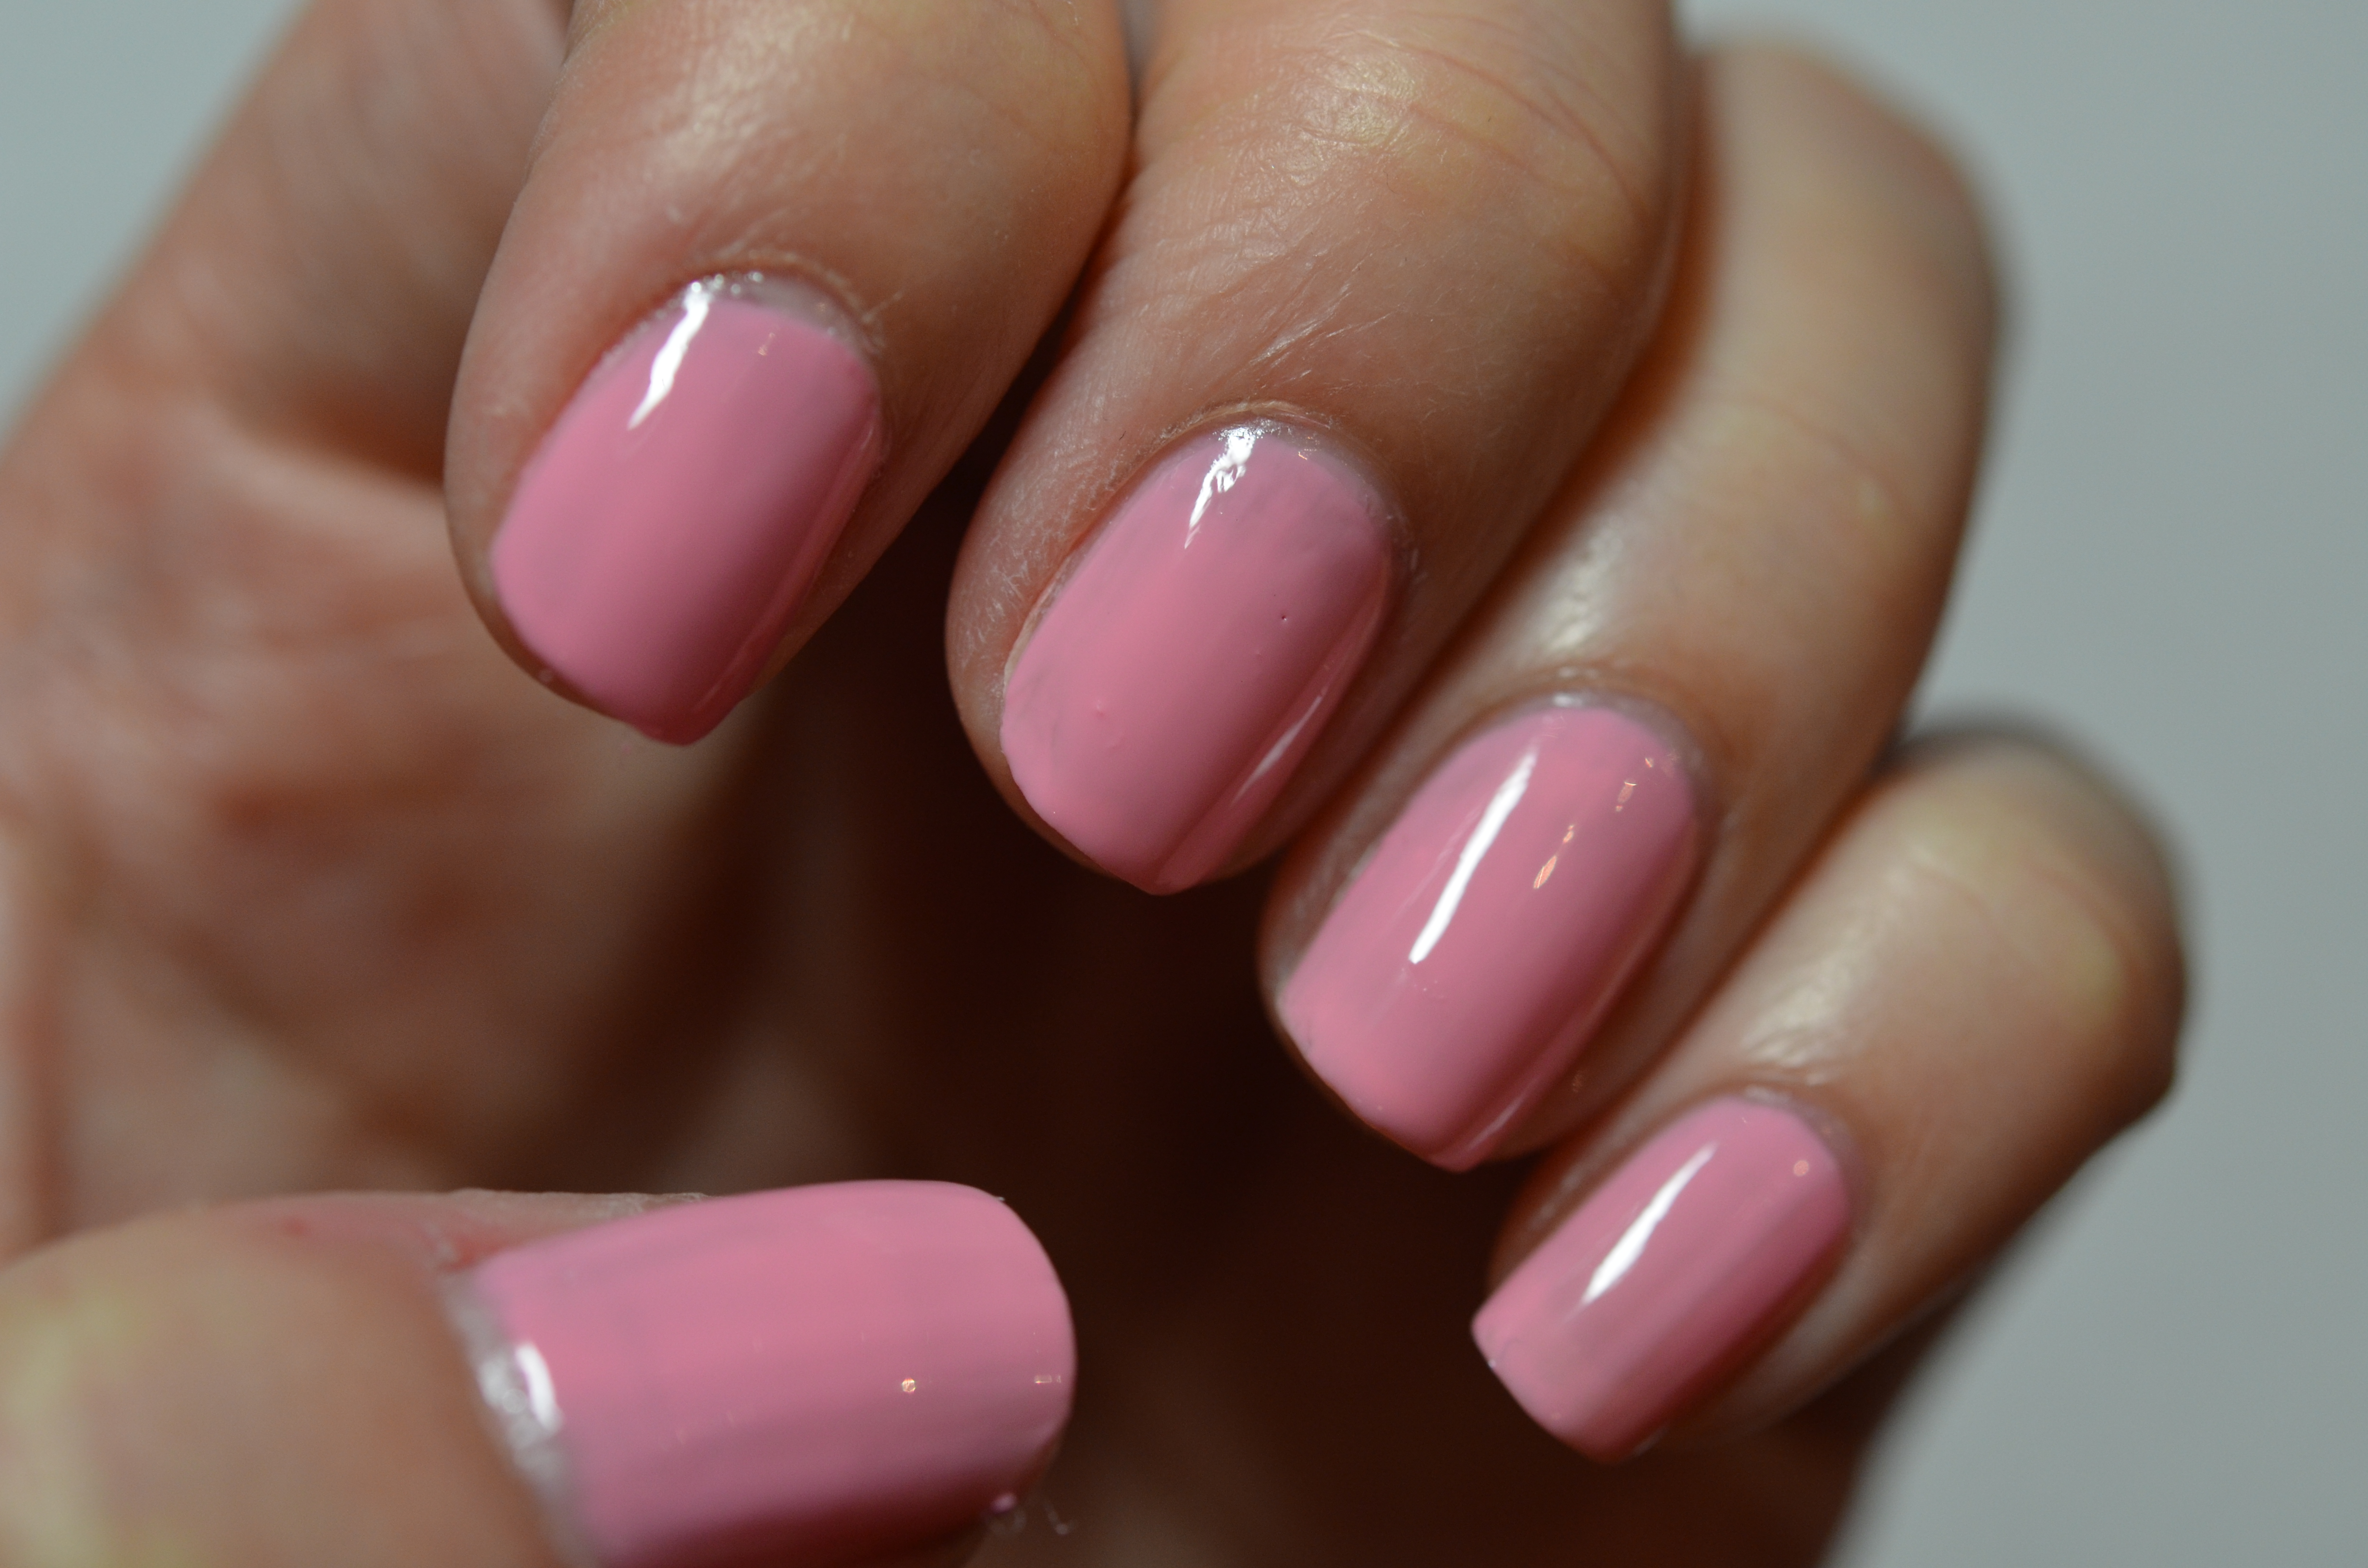
Step 2: Apply 2 coats of of pink (Bon Bon by Covergirl) onto all fingers.
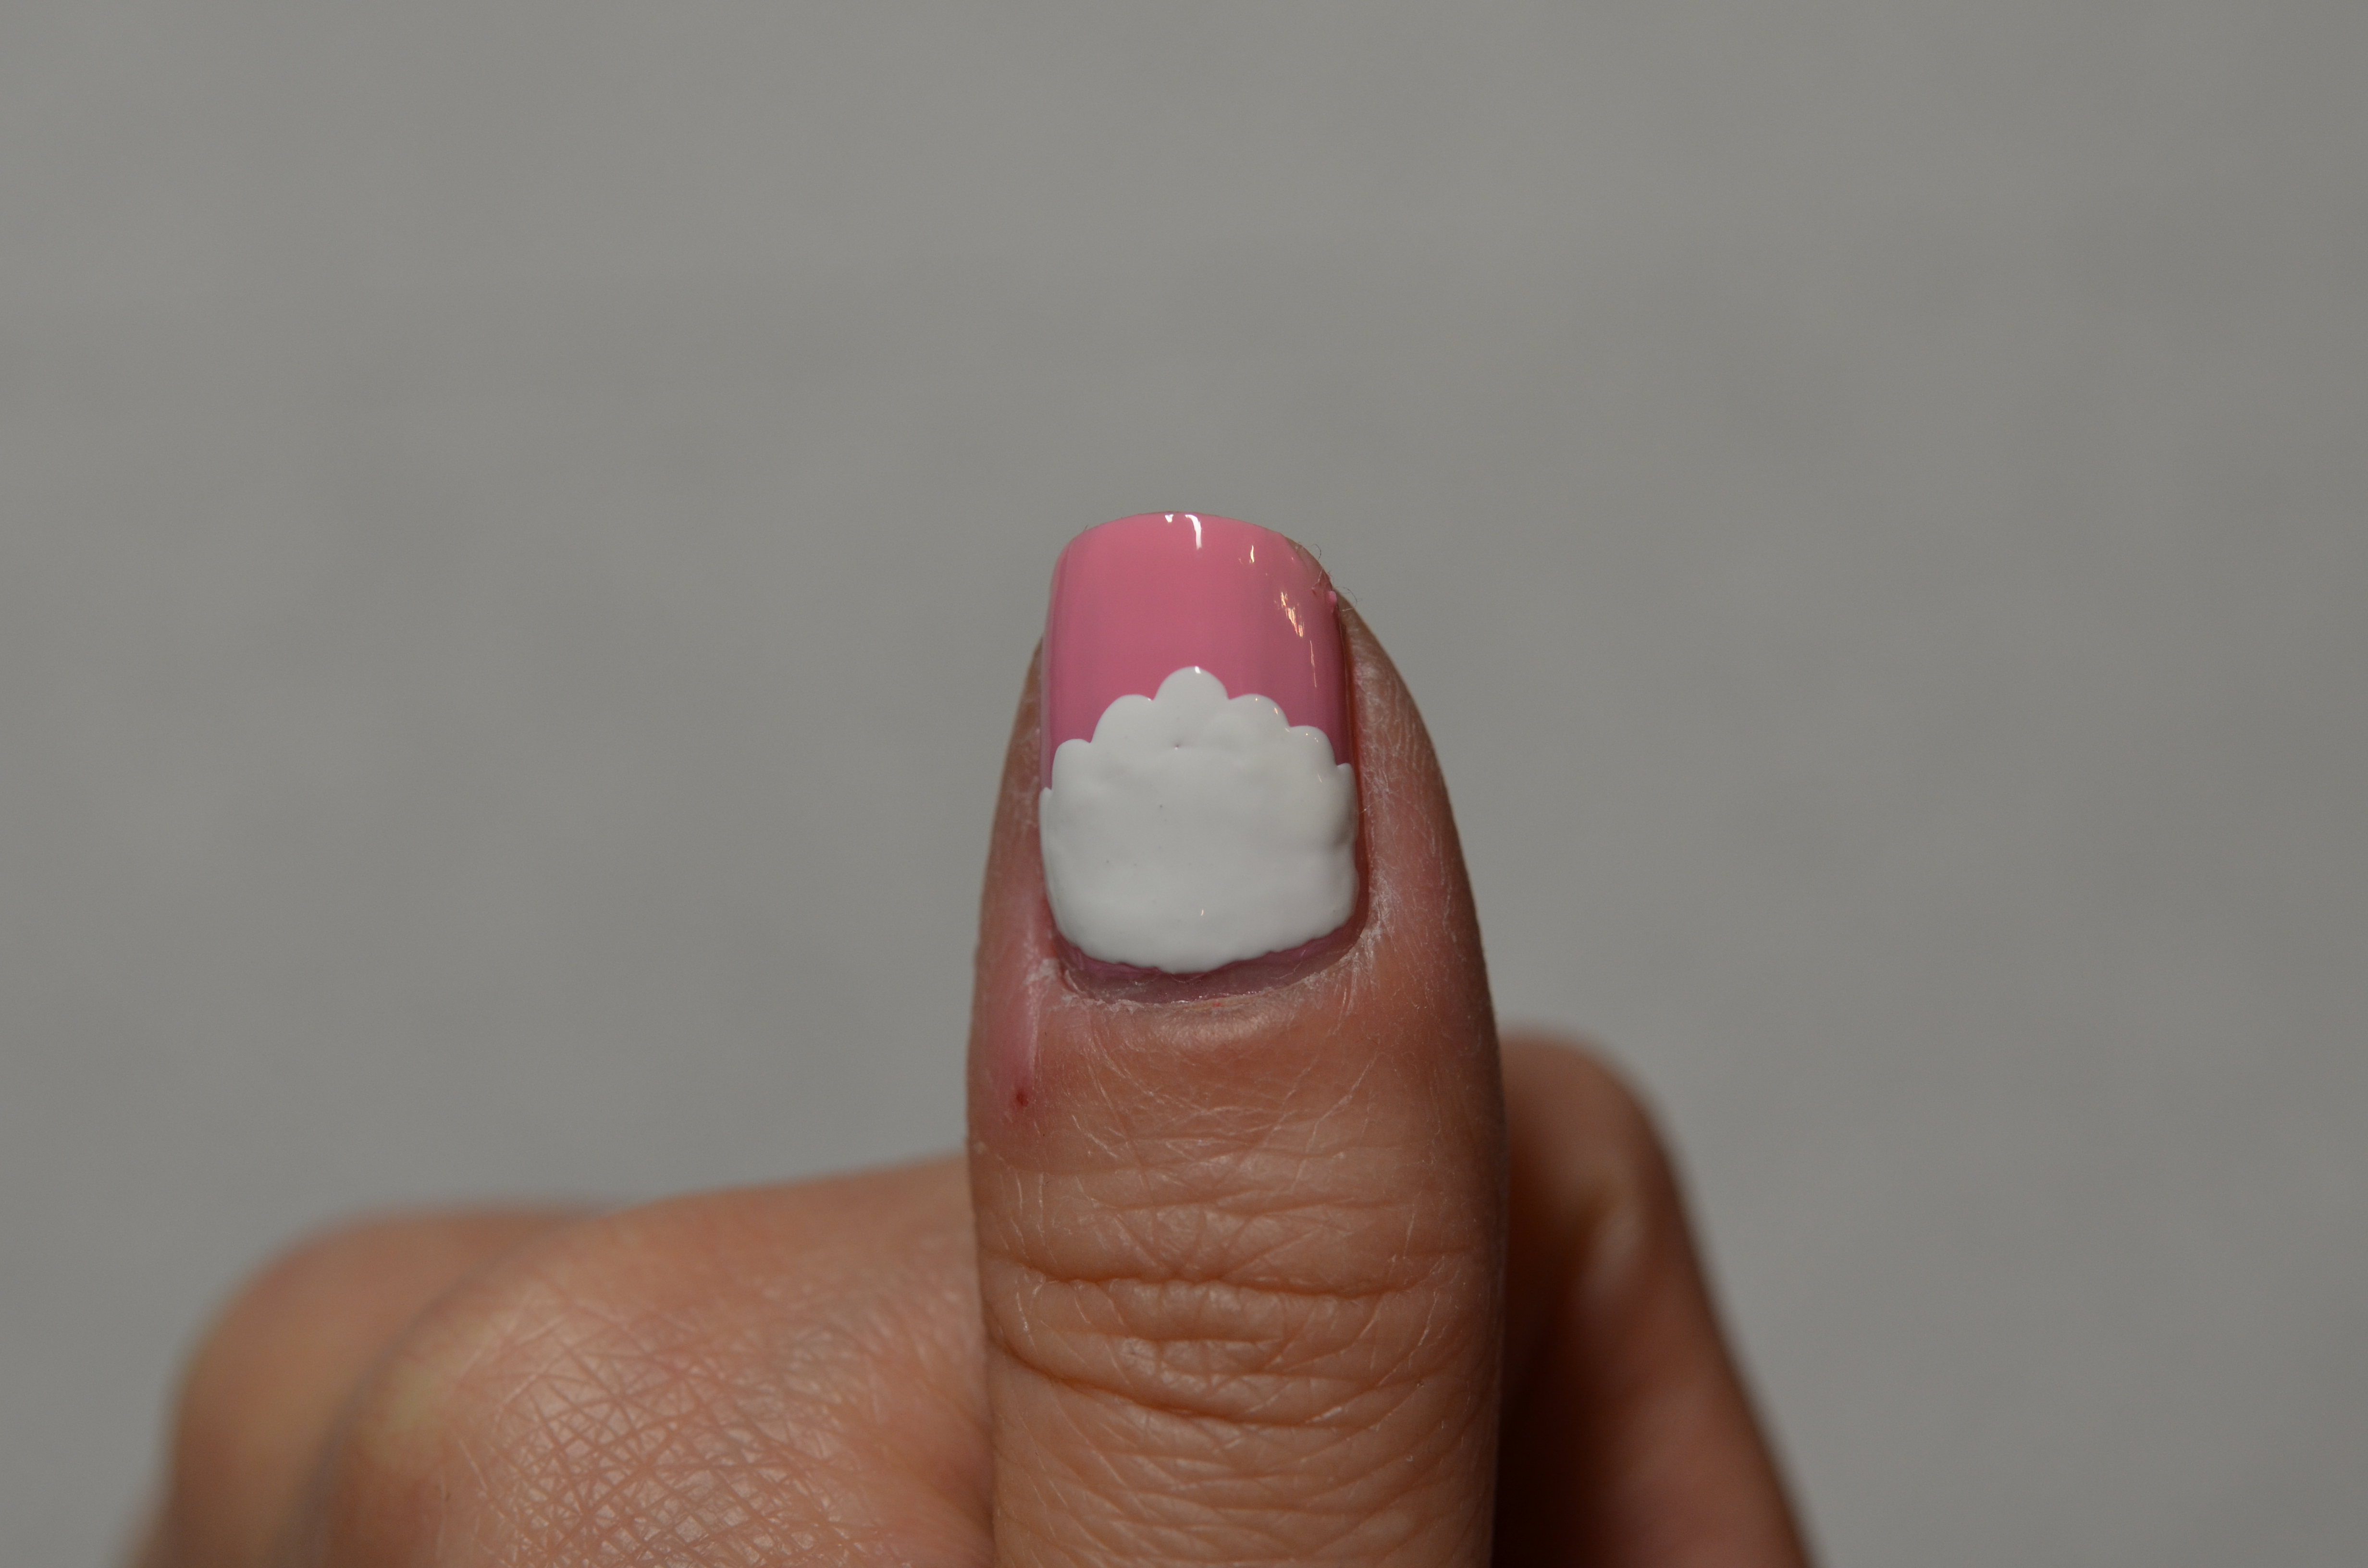
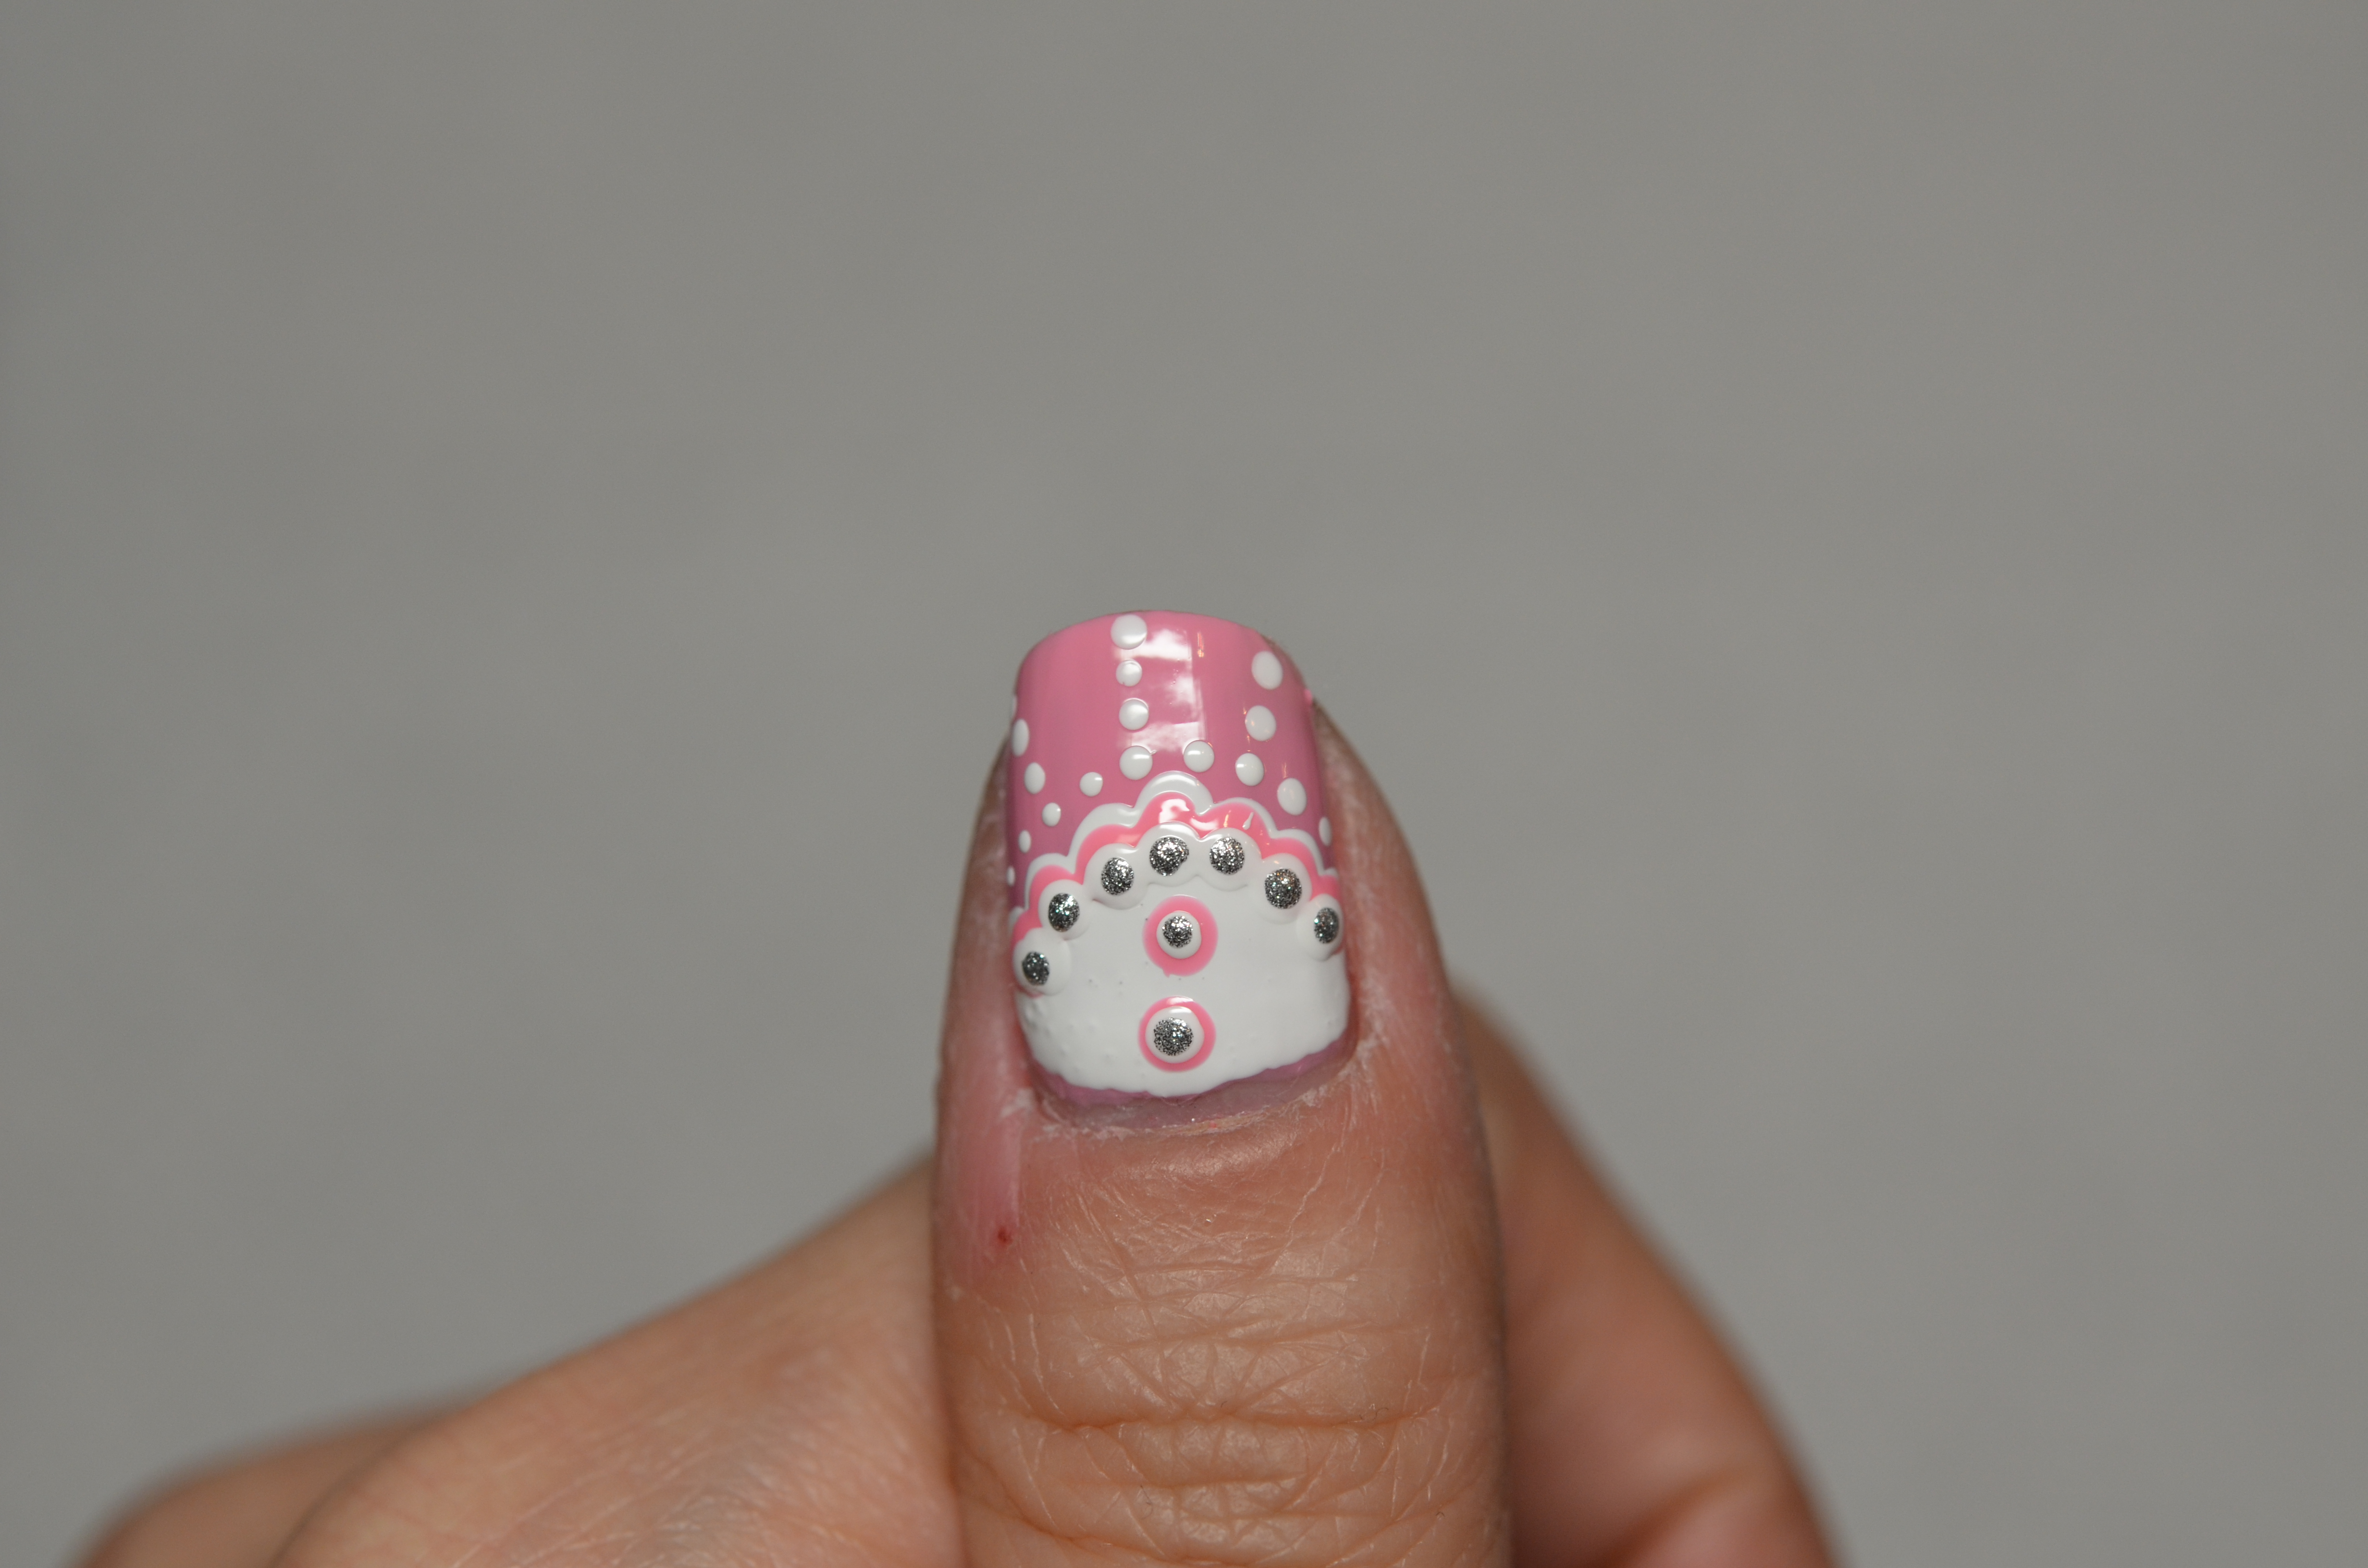
Step 3: Using the biggest dotting tool to dip into the white (White On by Sally Hansen) nail polish to dot a triangular shape onto the bottom half of the nail. Repeat the same step on the middle finger.
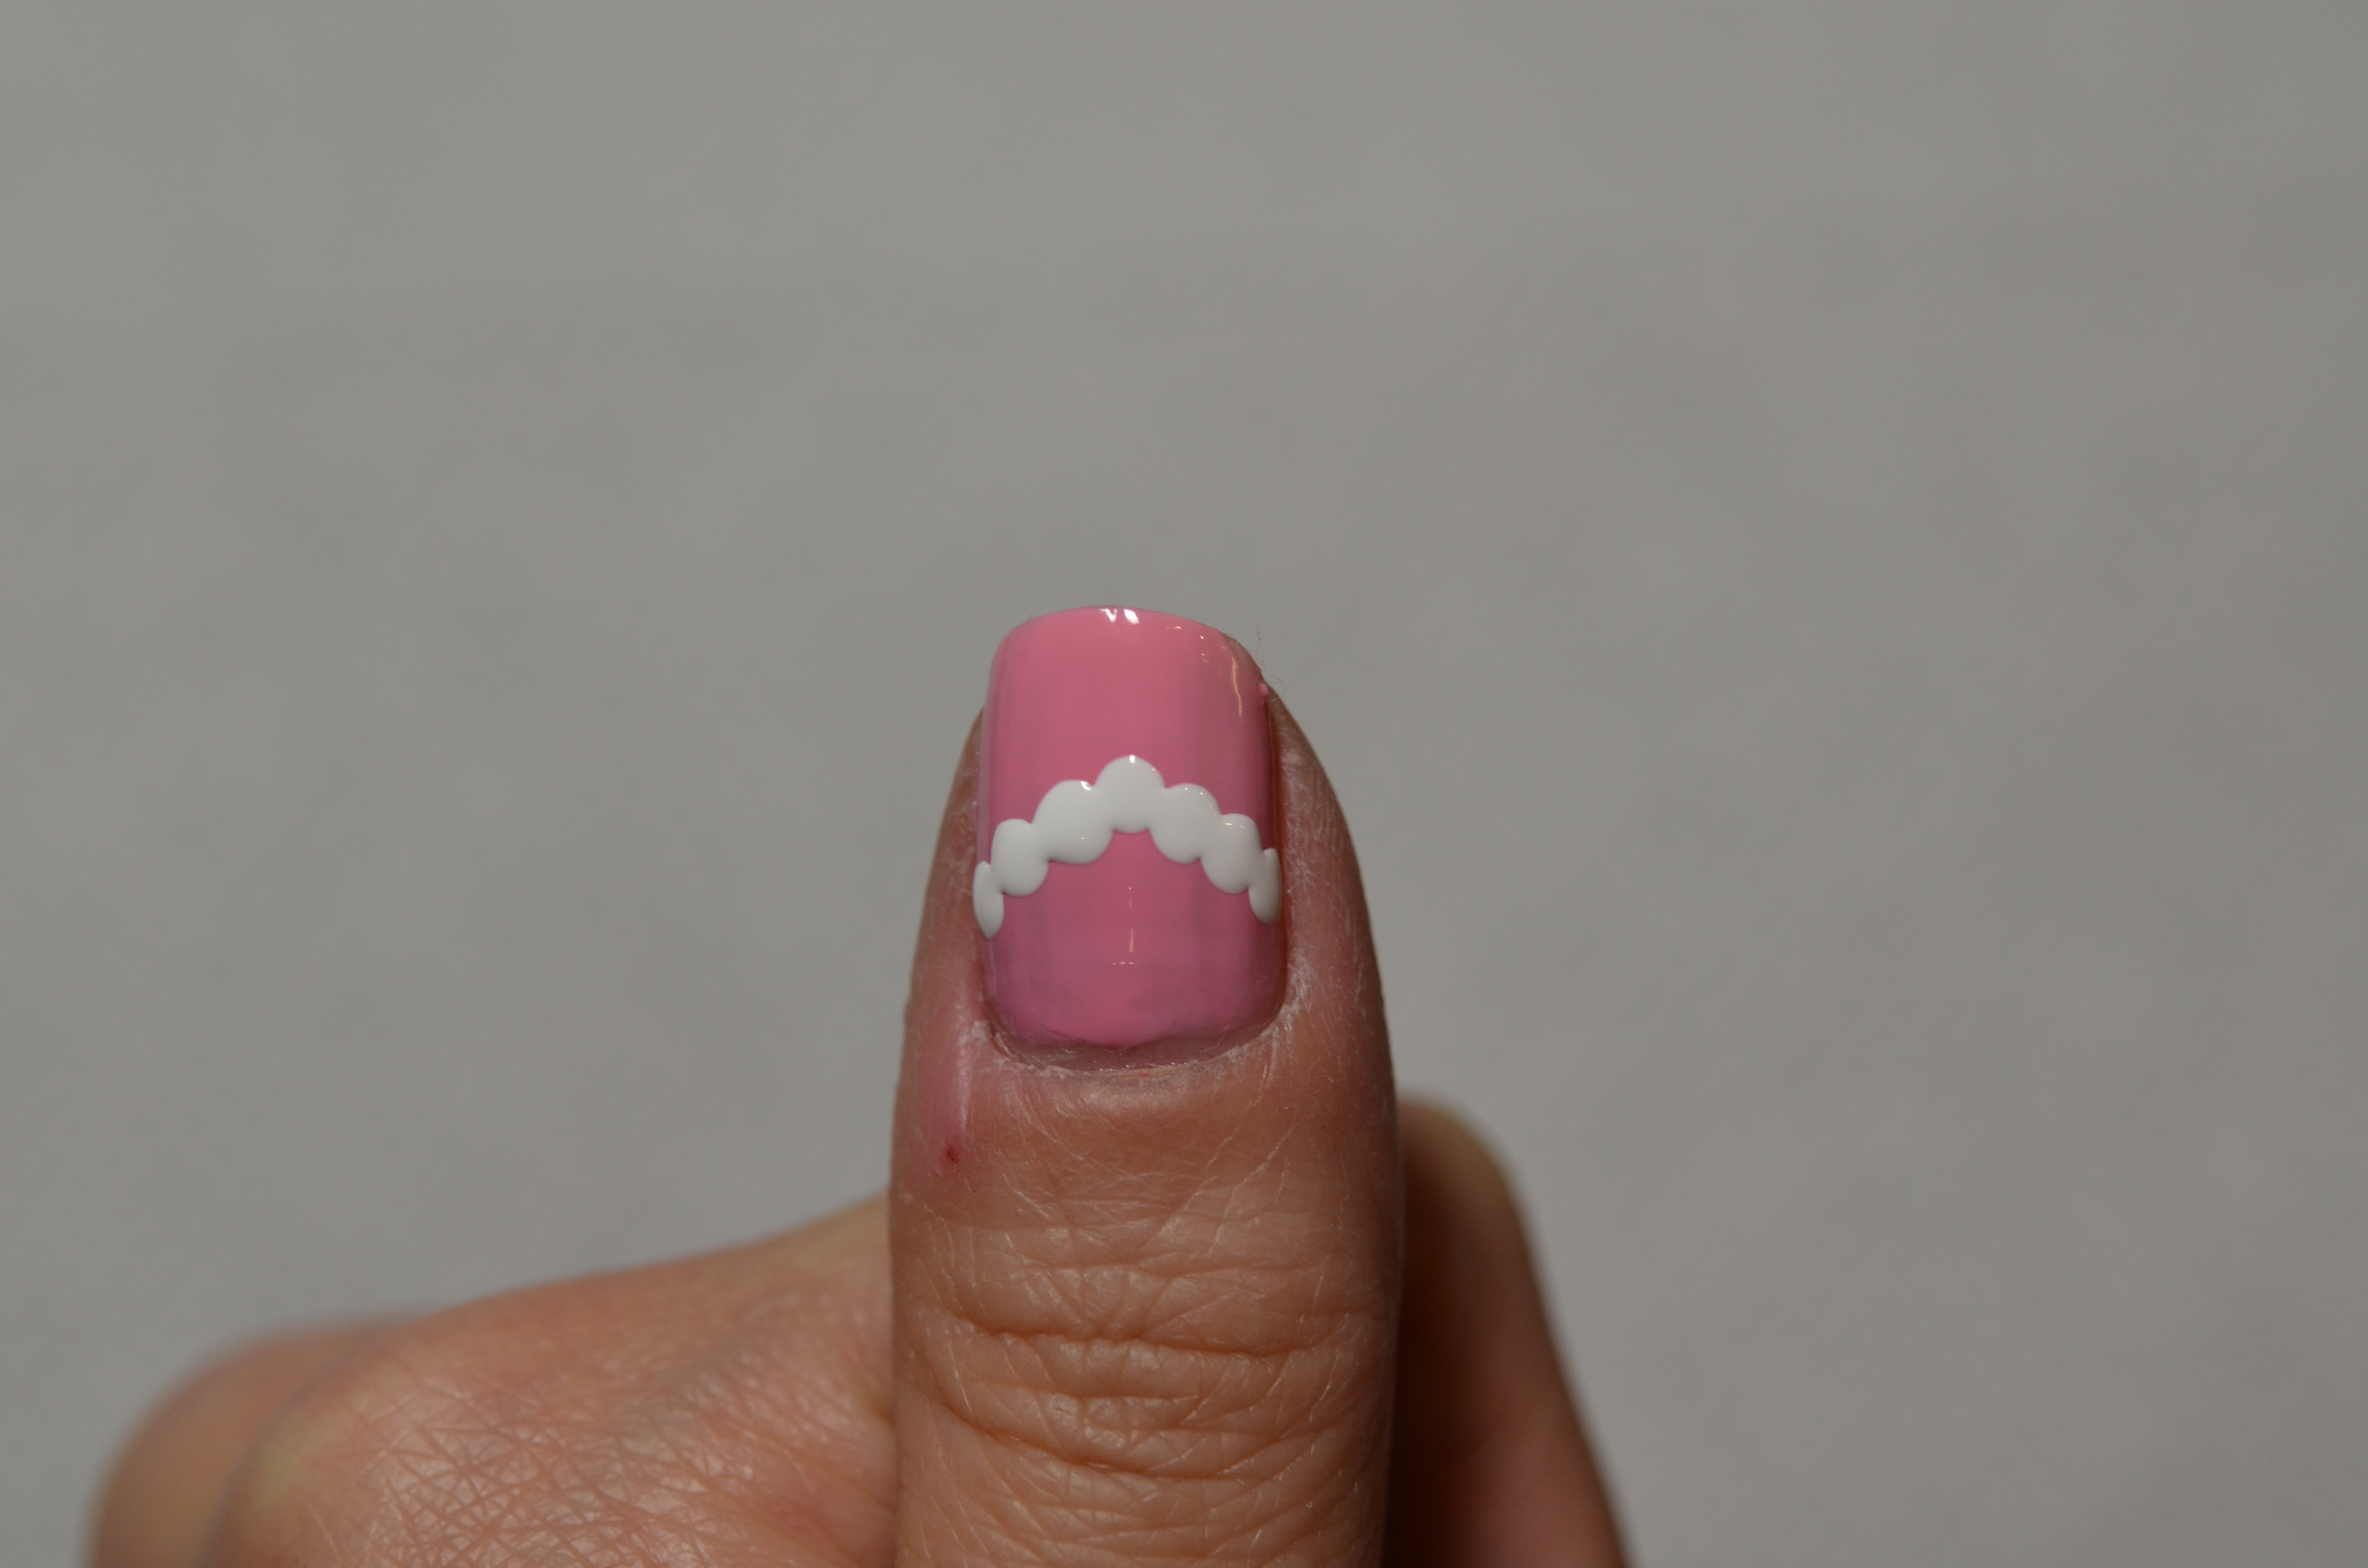
Step 4: Fill in the bottom half of the nail with white (White On by Sally Hansen) nail polish. Repeat the same step on the middle finger.
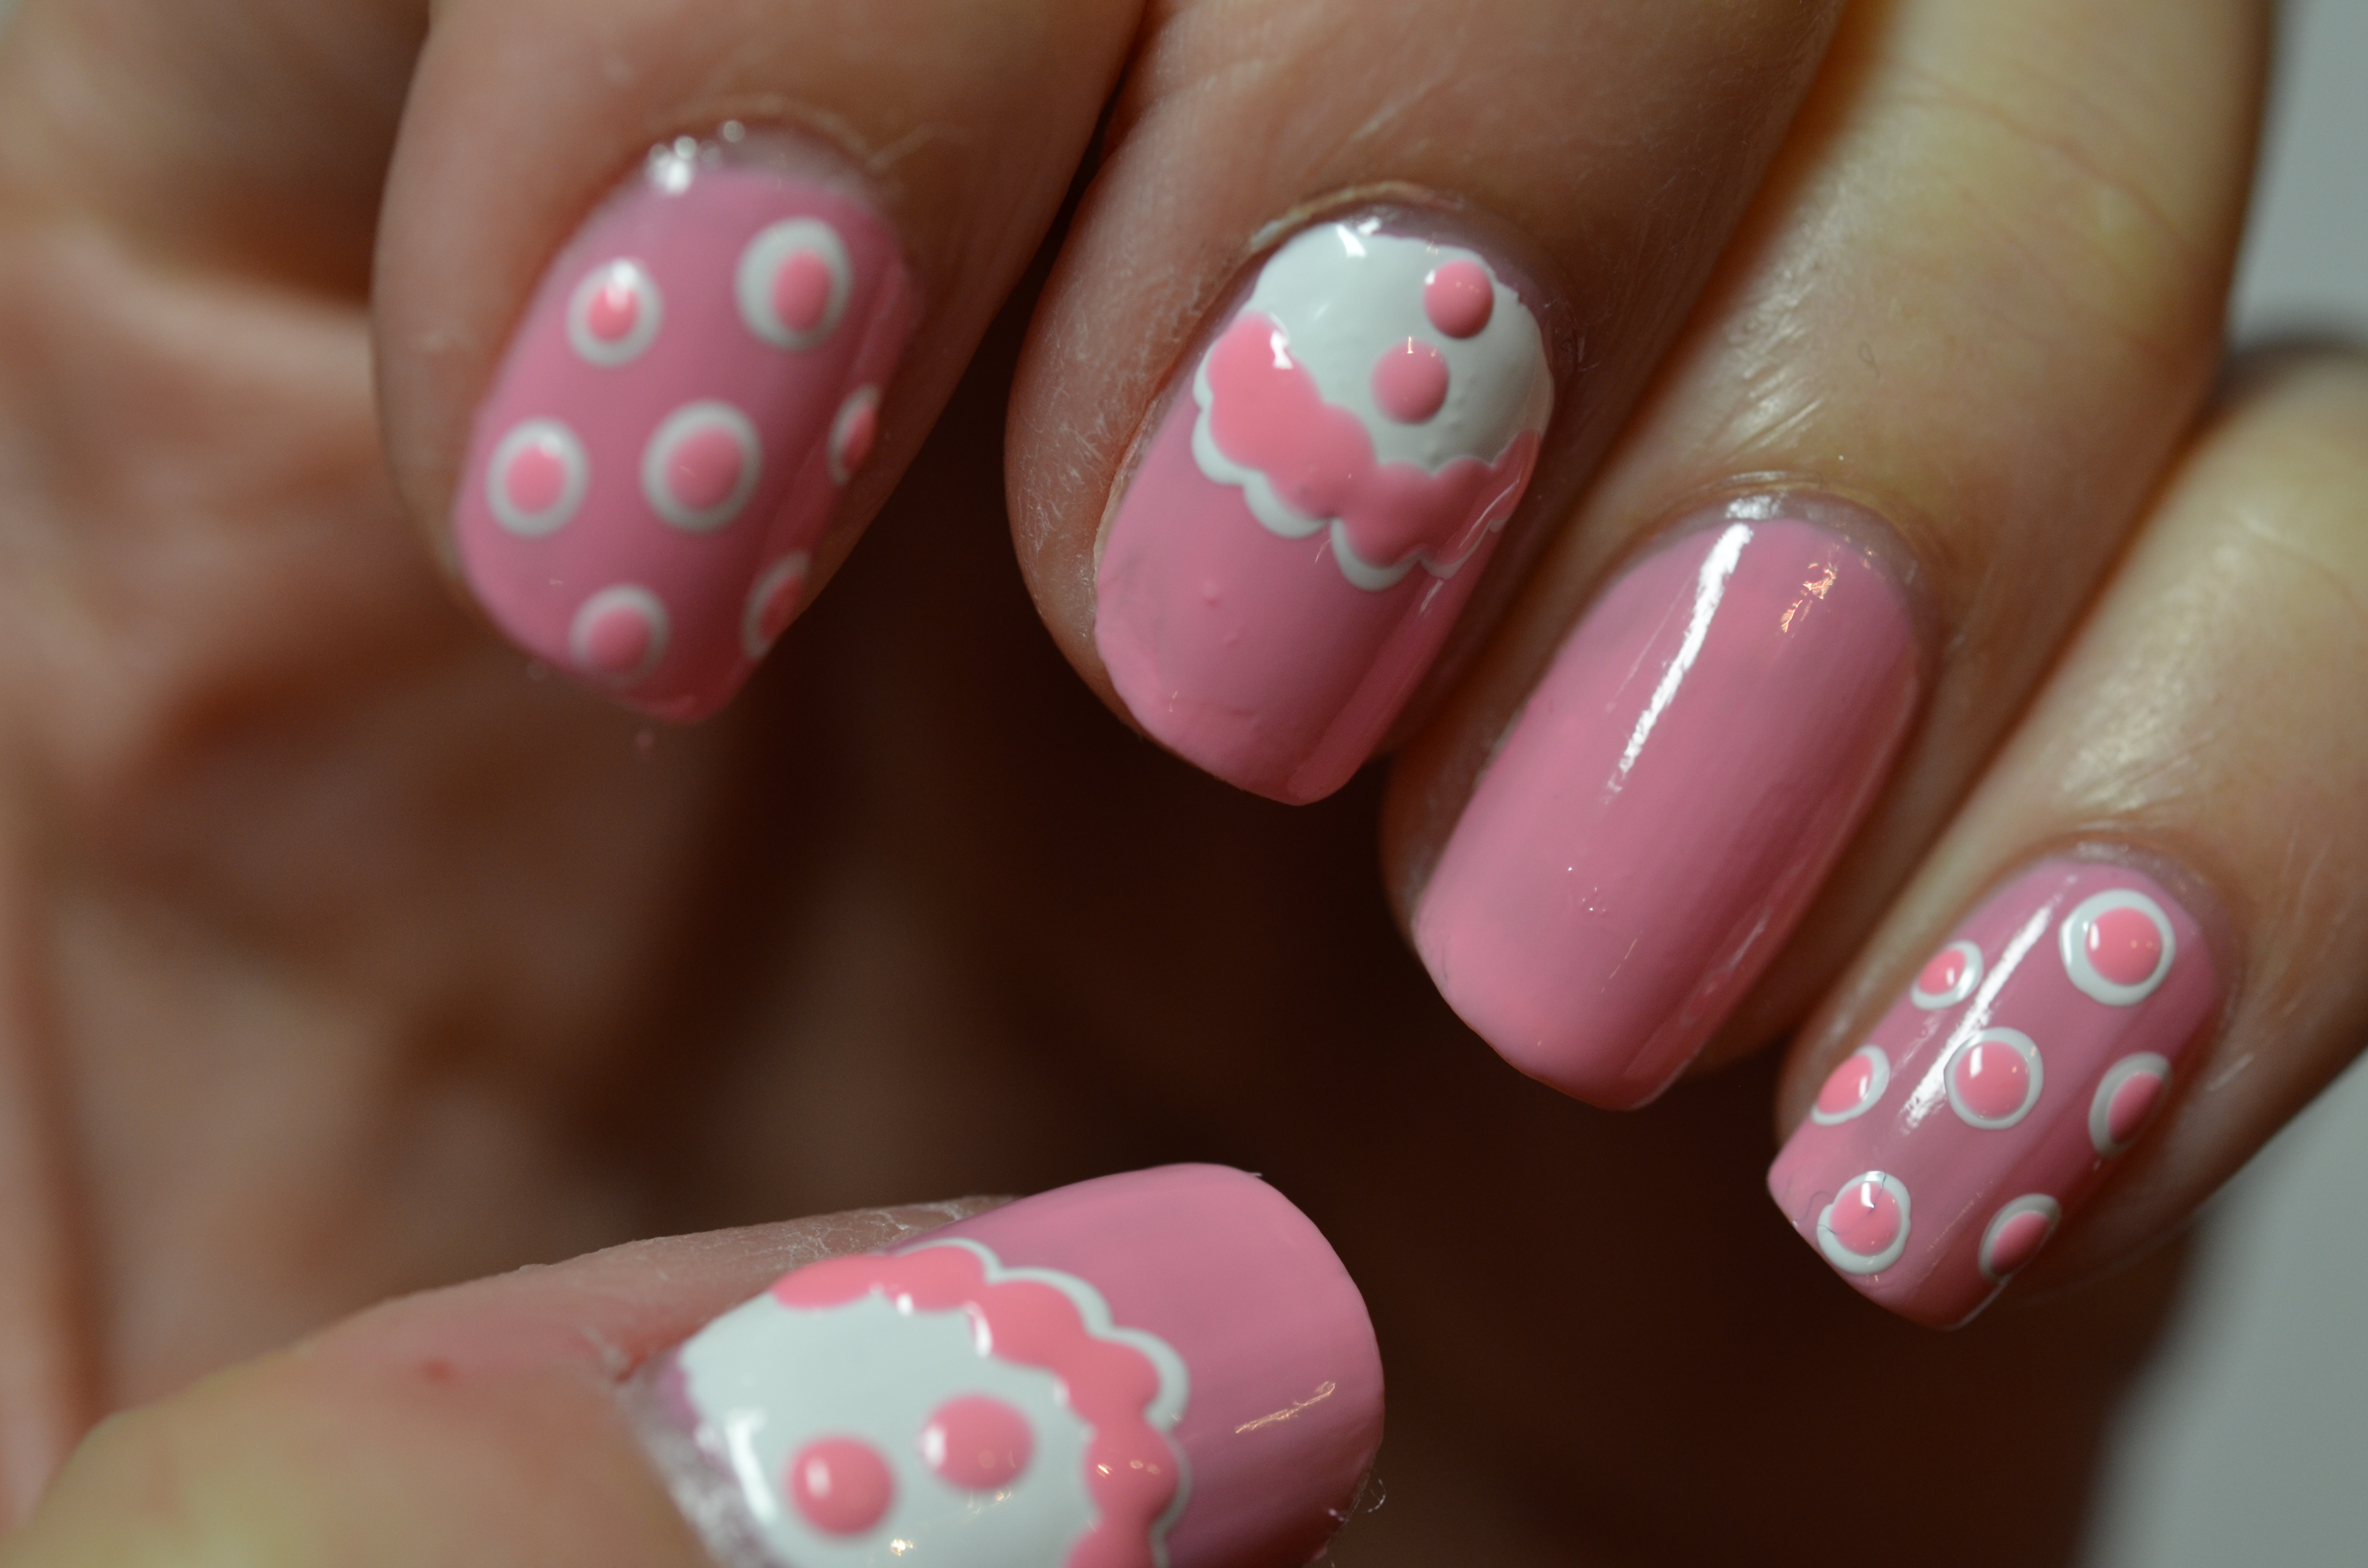
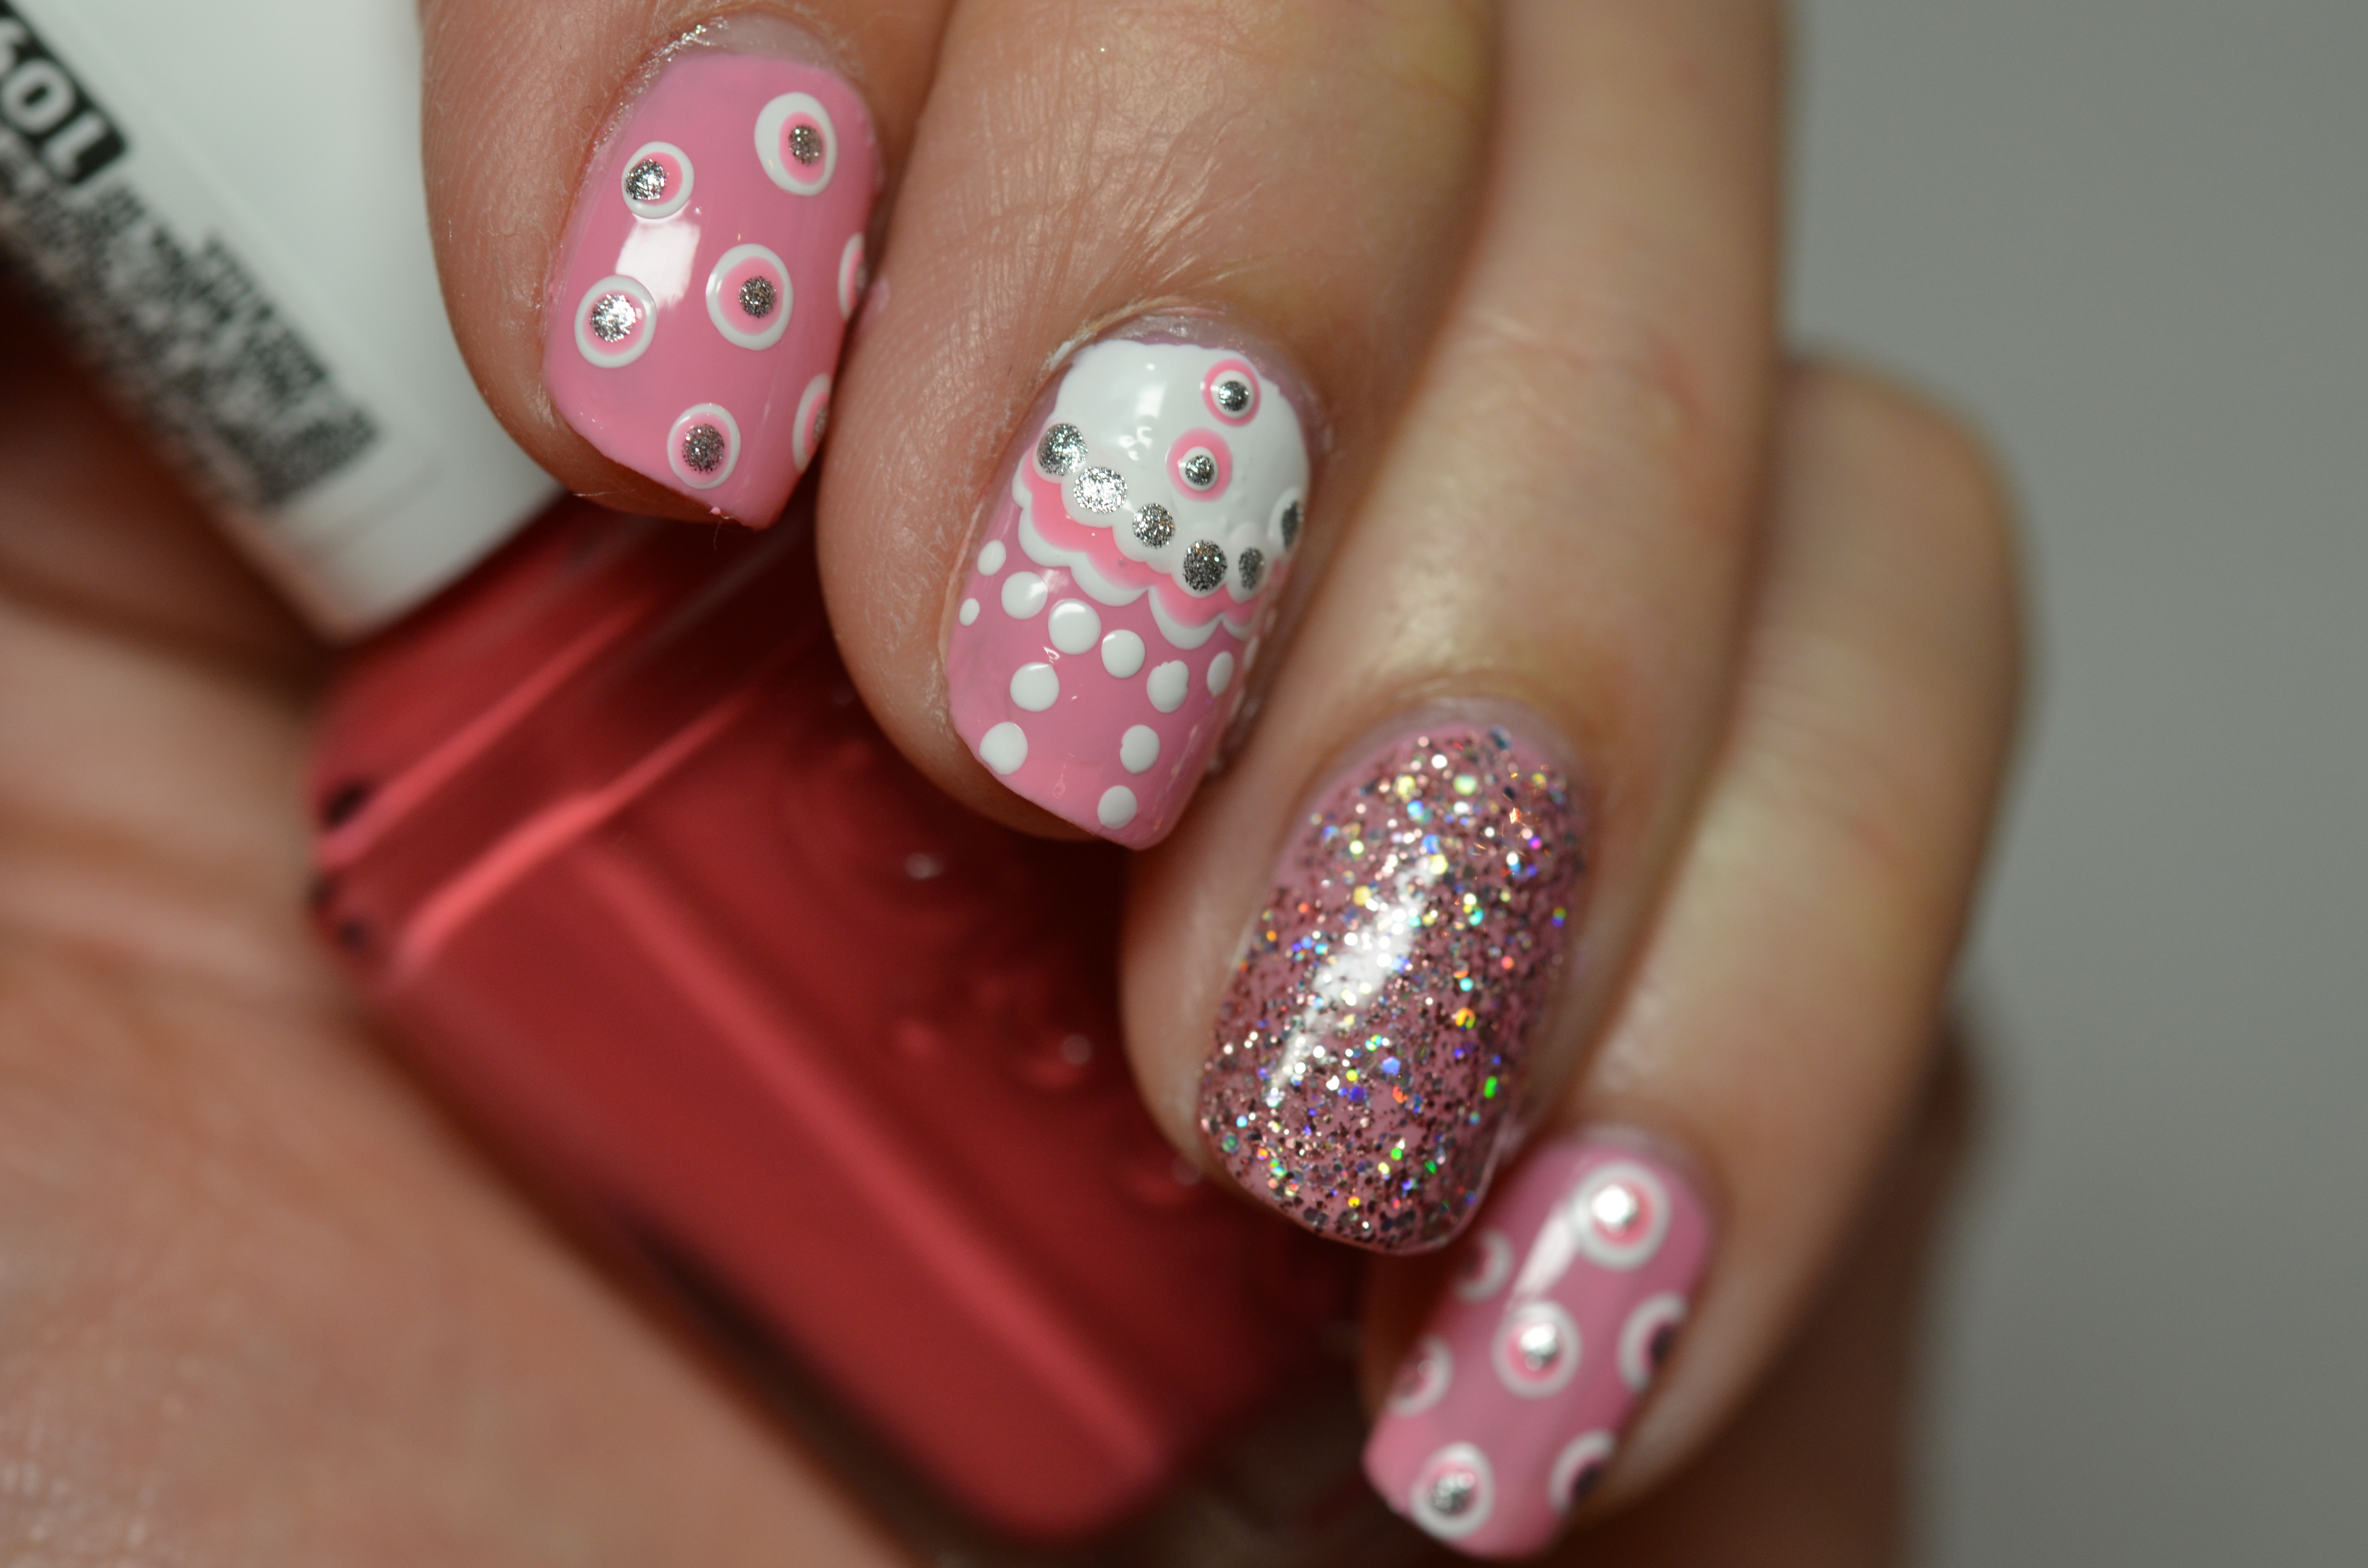
Step 5: Dot the index finger and pinky with white (White On by Sally Hansen) dots.

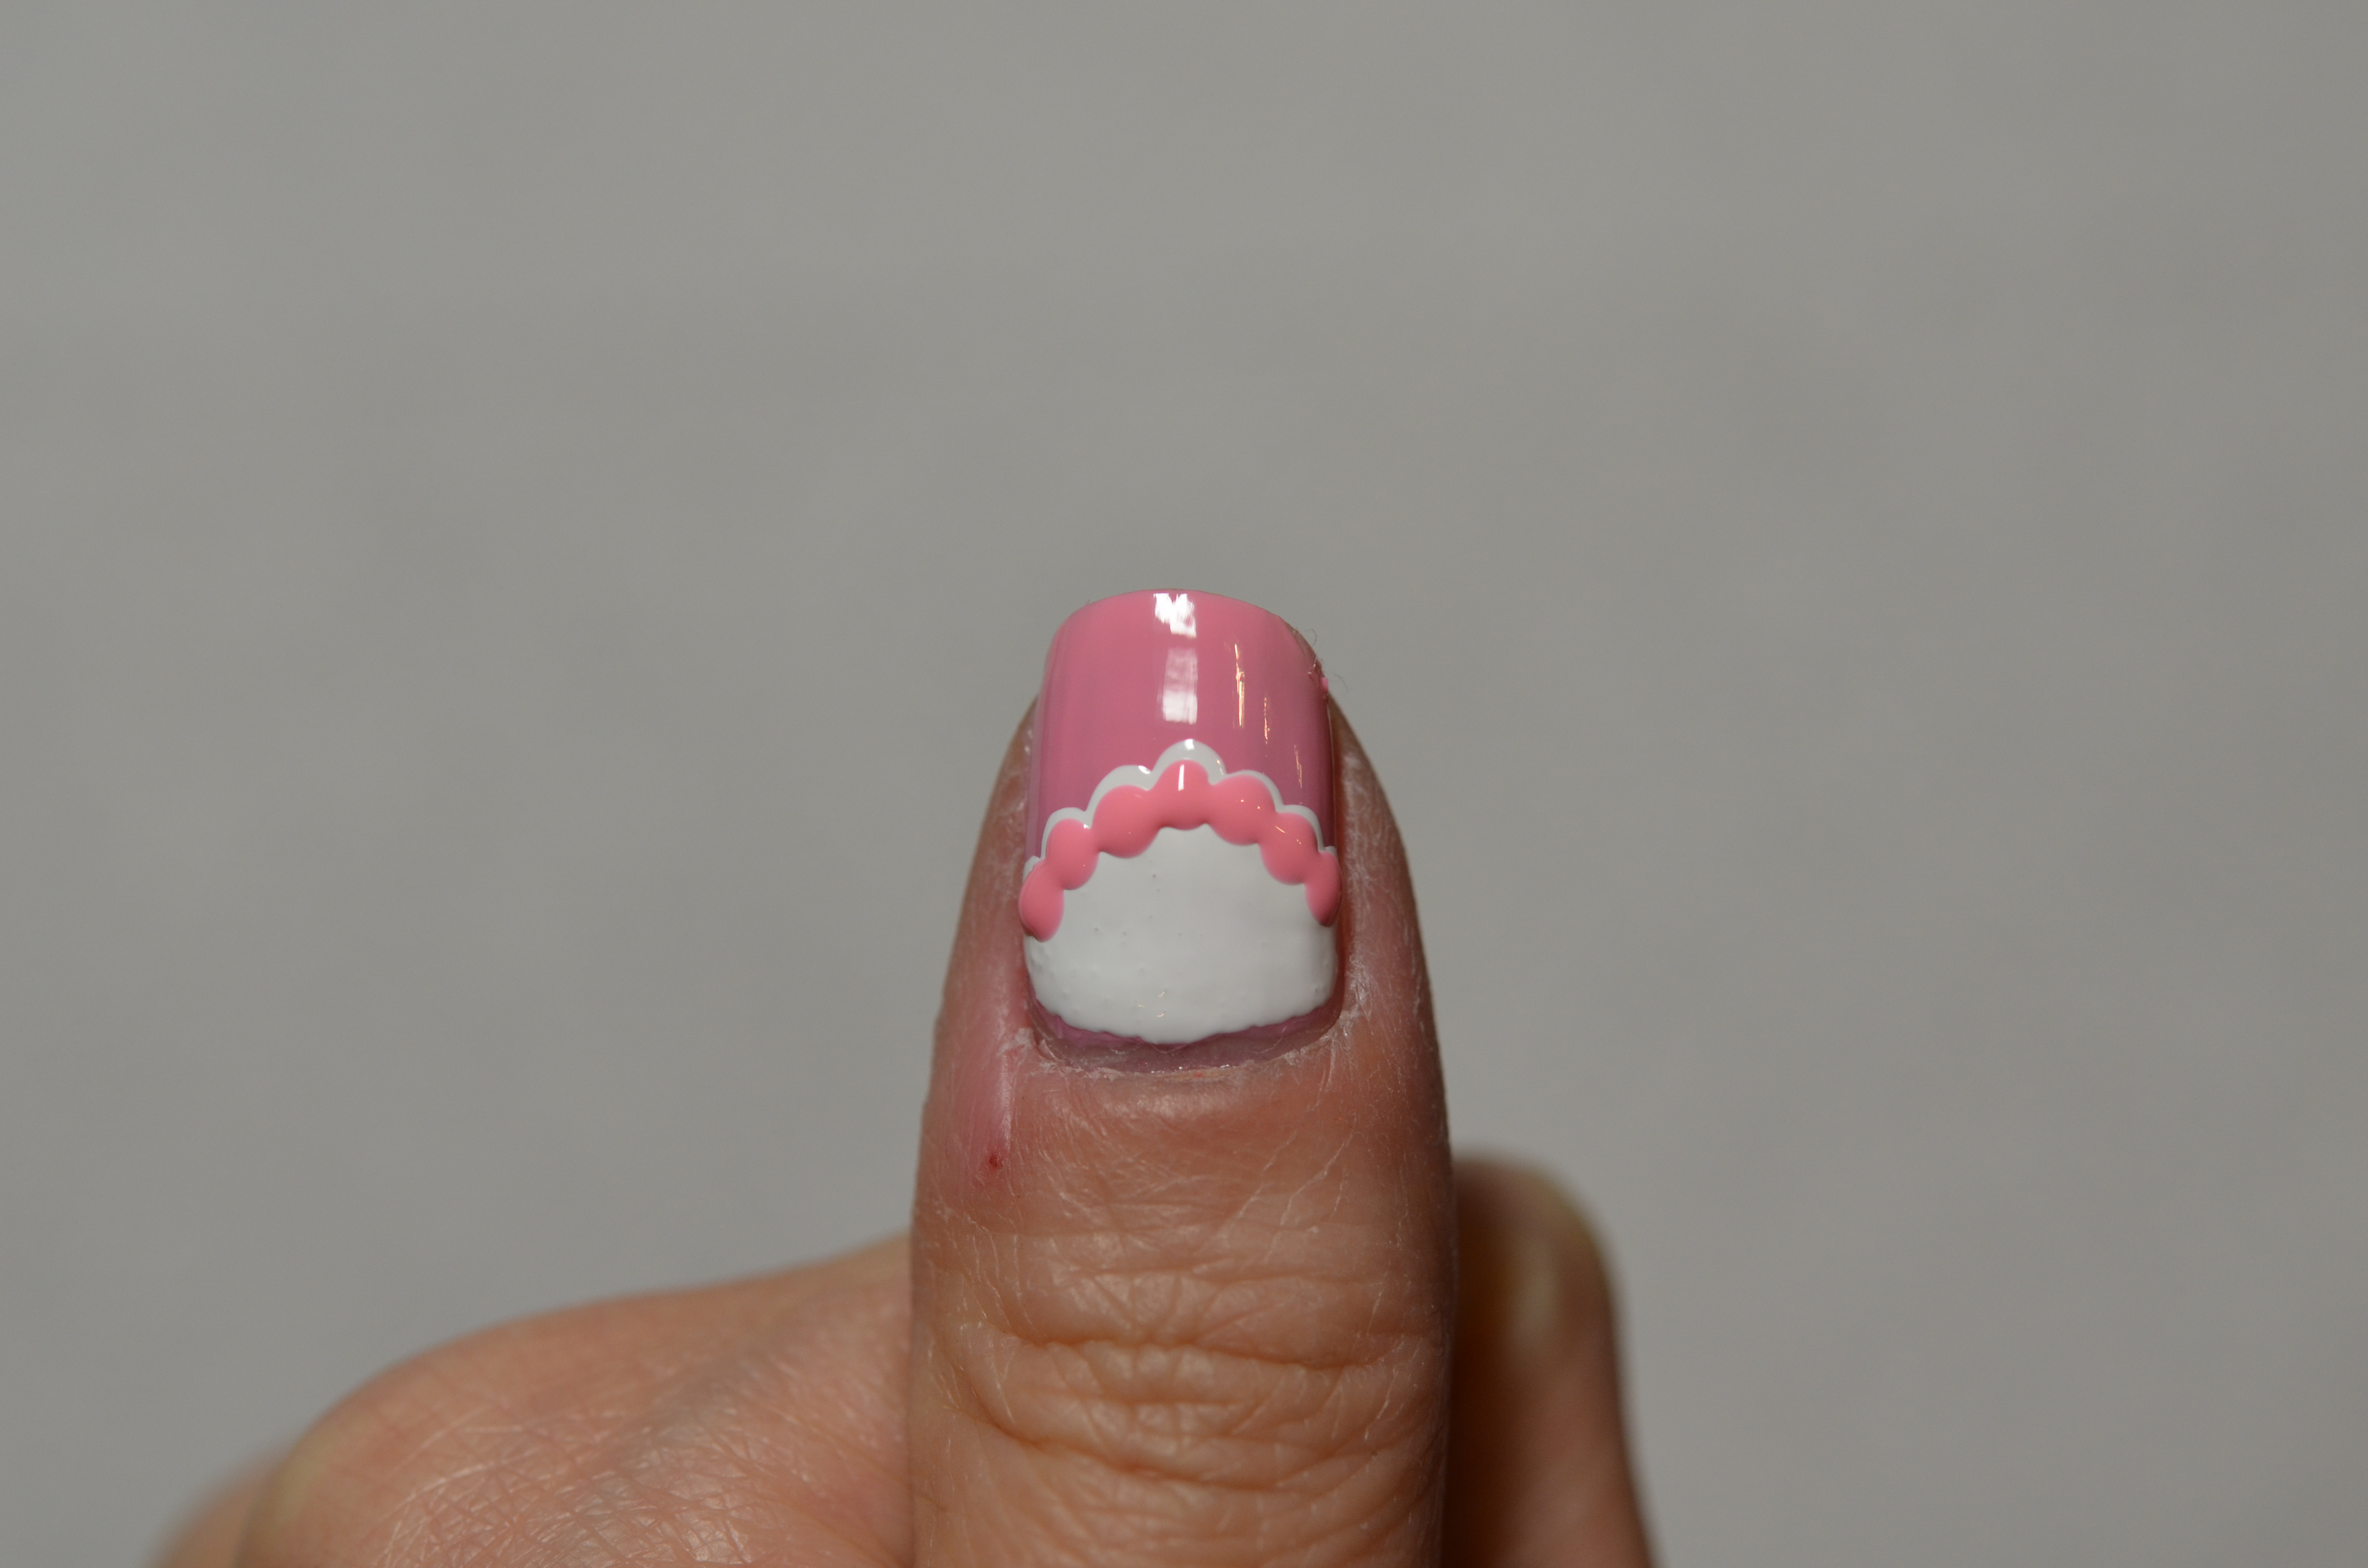
Step 6: Use the pink (Bon Bon by Covergirl) nail polish to dot right underneath the white scallop edge. Repeat the same step on the middle finger.
Step 7: Use the same pink (Bon Bon by Covergirl) to dot on top of the white dots on index finger and pinky.
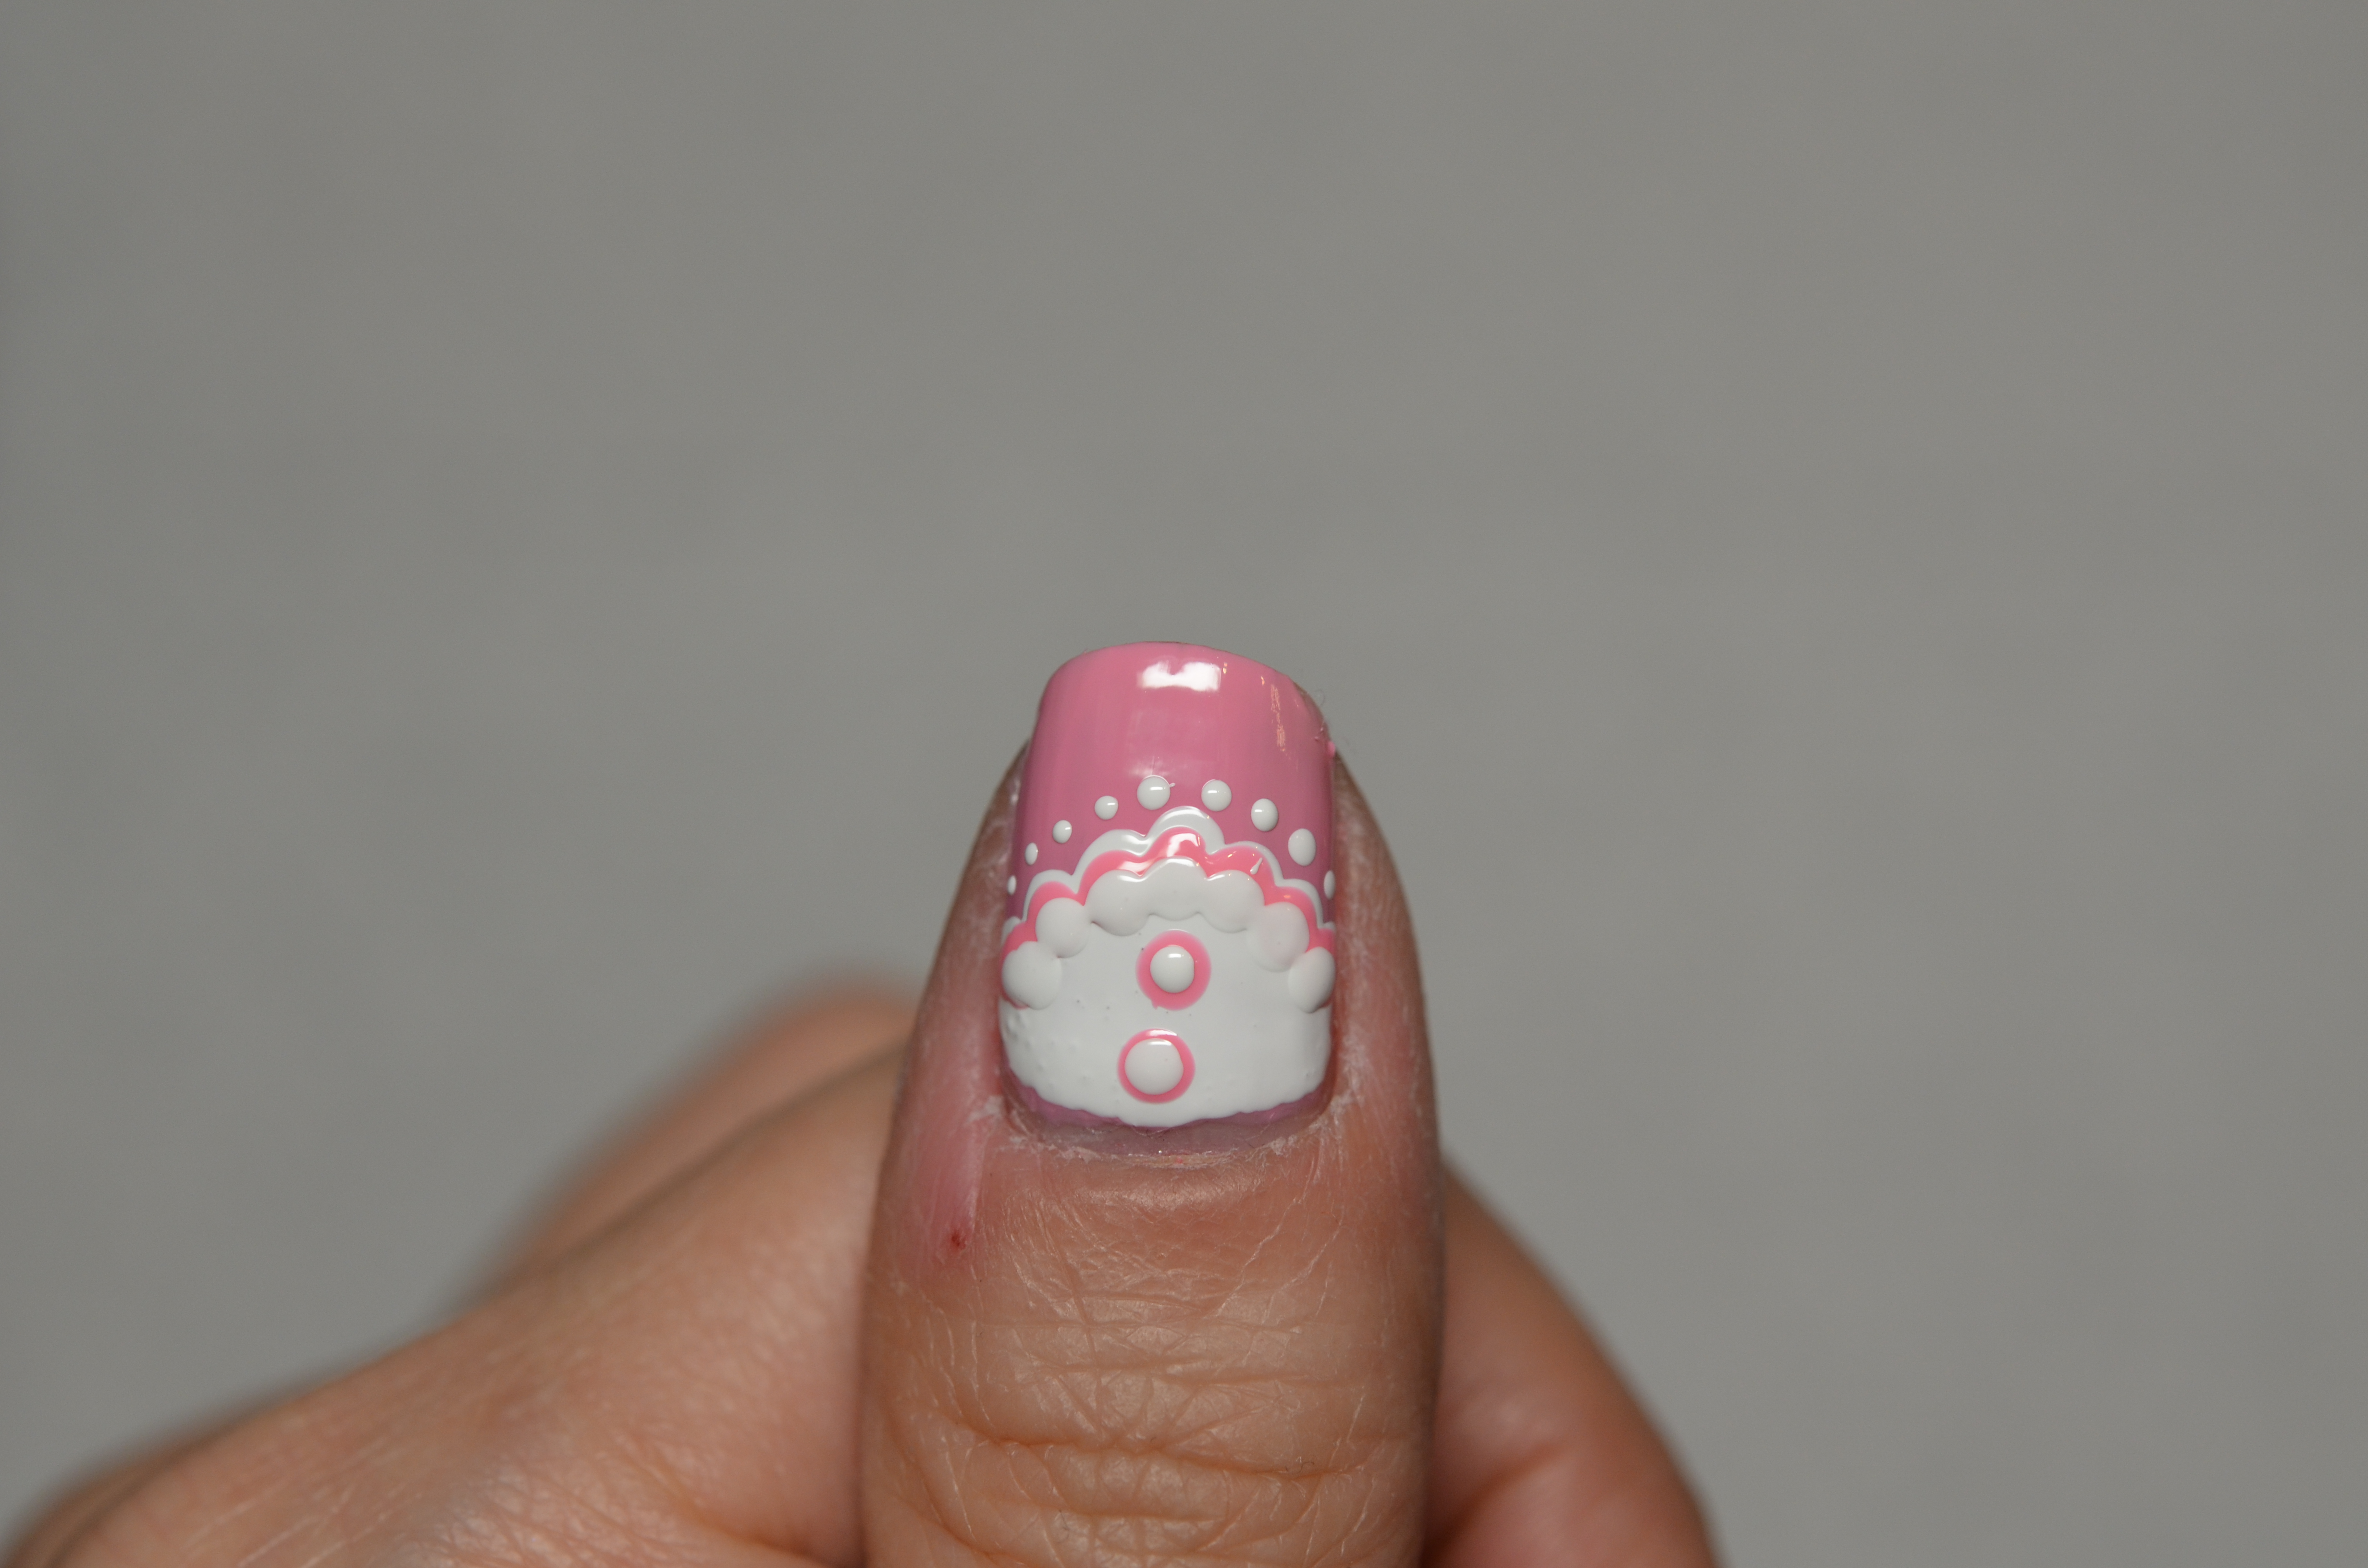
Step 8: Use a smaller dotting tool to dip in the white (White On by Sally Hansen) to dot on the lower half of the pink dots to create the lace effect. Repeat the same step on the middle finger.
Step 9: Use the smallest dotting tool to dot around the scallop edge then extend the dots out from the middle and then the 2 sides to complete the design. Repeat the same step on the middle finger.

Step 10: Use silver (Celeb City by Sally Hansen) to dot on top of the white. Repeat the same step on the middle finger.
Step 11: Use the same silver from Step 10 to dot on top of the white on the index finger and pinky.

Step 12: Put multi-colour (Strobe Light by Sally Hansen) glitter to put on the ring ringer.
Step 13: Apply your favourite top coat (Seche Vite) to seal in your design and add a beautiful shine.

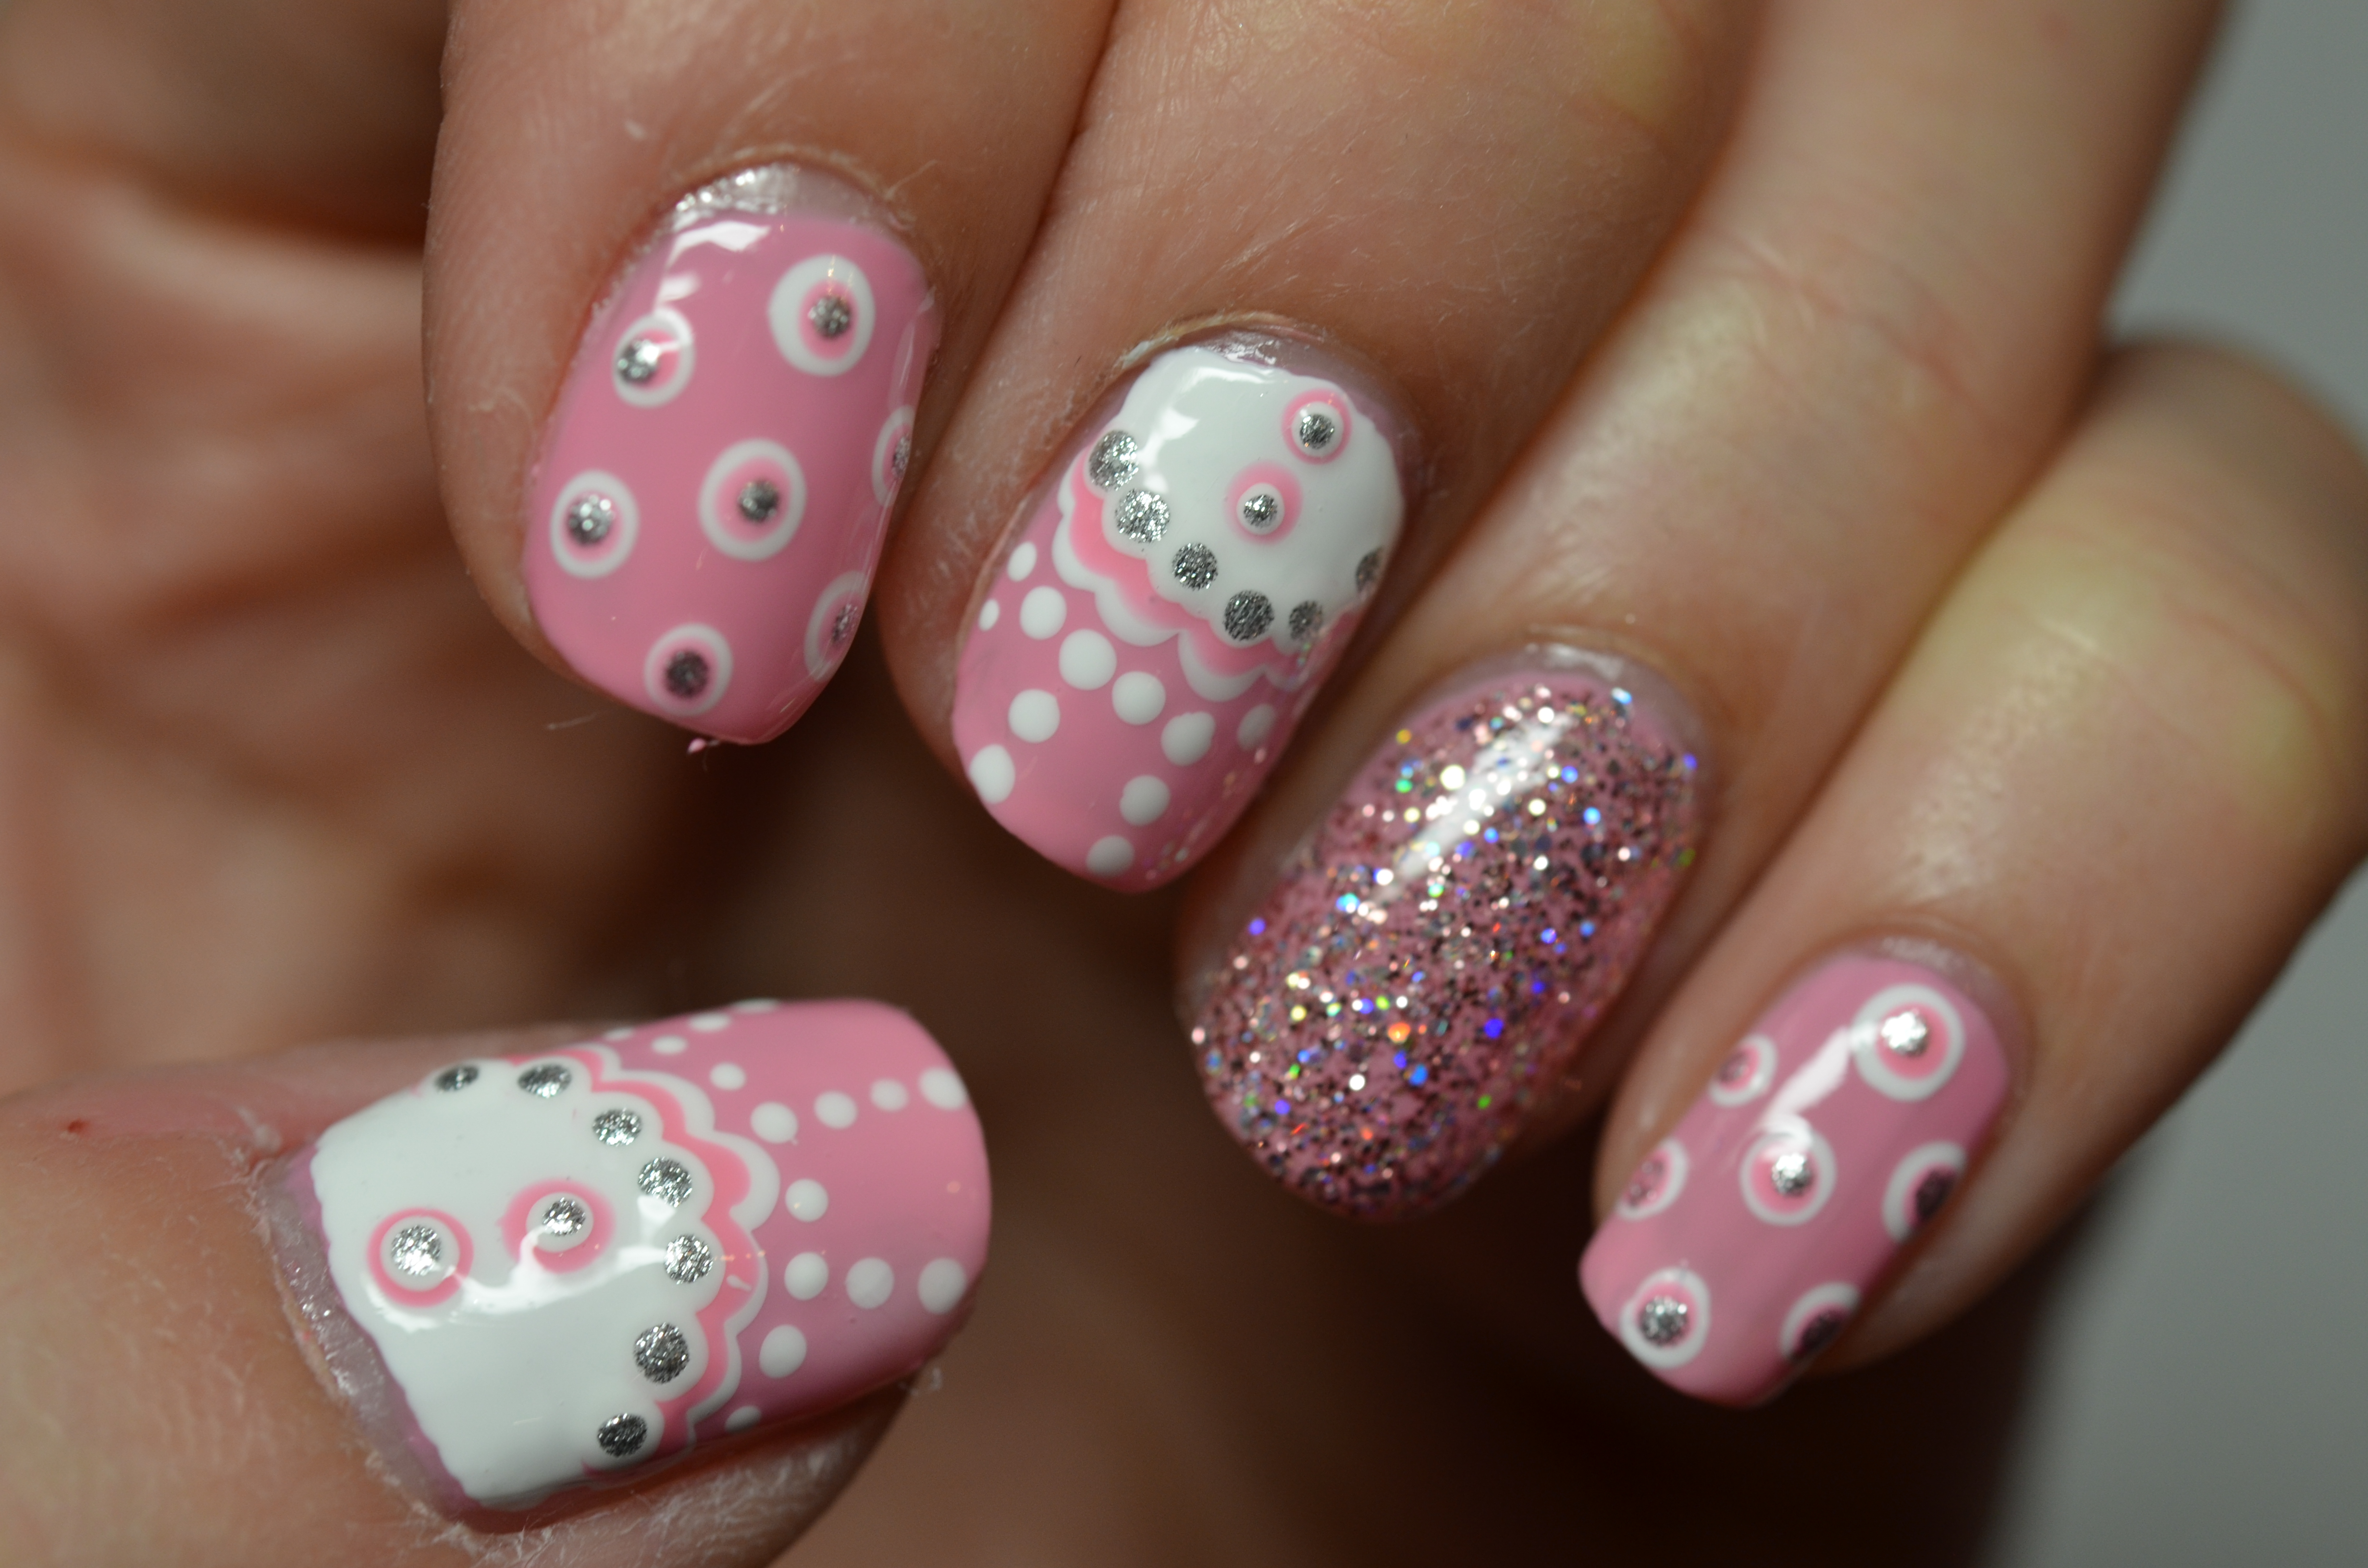
Then you are DONE! Even though this design requires a few more steps than our usual tutorial but it’s well worth it because of how intricate and beautiful it looks. Please like my GlitterMommy Facebook Page to get the latest update and if you re-create this amazing design, please share them with me there. Also, please follow me on instagram @GlitterMommy_Official to get pictures that I don’t usually share on my facebook page.
Thank you very much for reading and Have Fun painting your nails!