Hi my winter bunnies, today I am going to share with you my tips and tricks on false eyelashes! Falsies is definitely a single most effective way to glam up any look. I know a lot of people are intimated by putting this darn thing on but it is honestly very easy to apply once you know some of the tricks. Also, if you apply them correctly, you shouldn’t feel them at all. Furthermore, if you clean and store them appropriately, you should be able to reuse them multiple times.
In this blog post, I will walk you through how I pick my lashes, apply the lashes and finally clean and store the lashes.
Picking the False Eyelashes
Nowadays, there are hundreds of lashes for you to choose from, but where do we start? As for me, I choose my lashes depending on whether it is a day or night event. Obviously, I will choose more natural lashes for day time and more dramatic lashes for night time. For beginners or someone who is looking for something more natural, I would recommend something like the Ardell Fashion Lashes #110 Black. 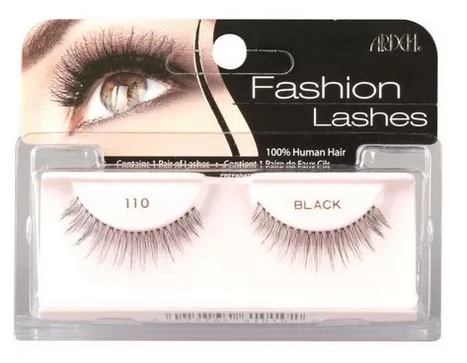
 If you are looking for something more dramatic, you can try Ardell Double Volume 201. As the name suggested, these lashes are doubled up, instead of just one layer of lashes, it has two to give it a more dramatic effect.
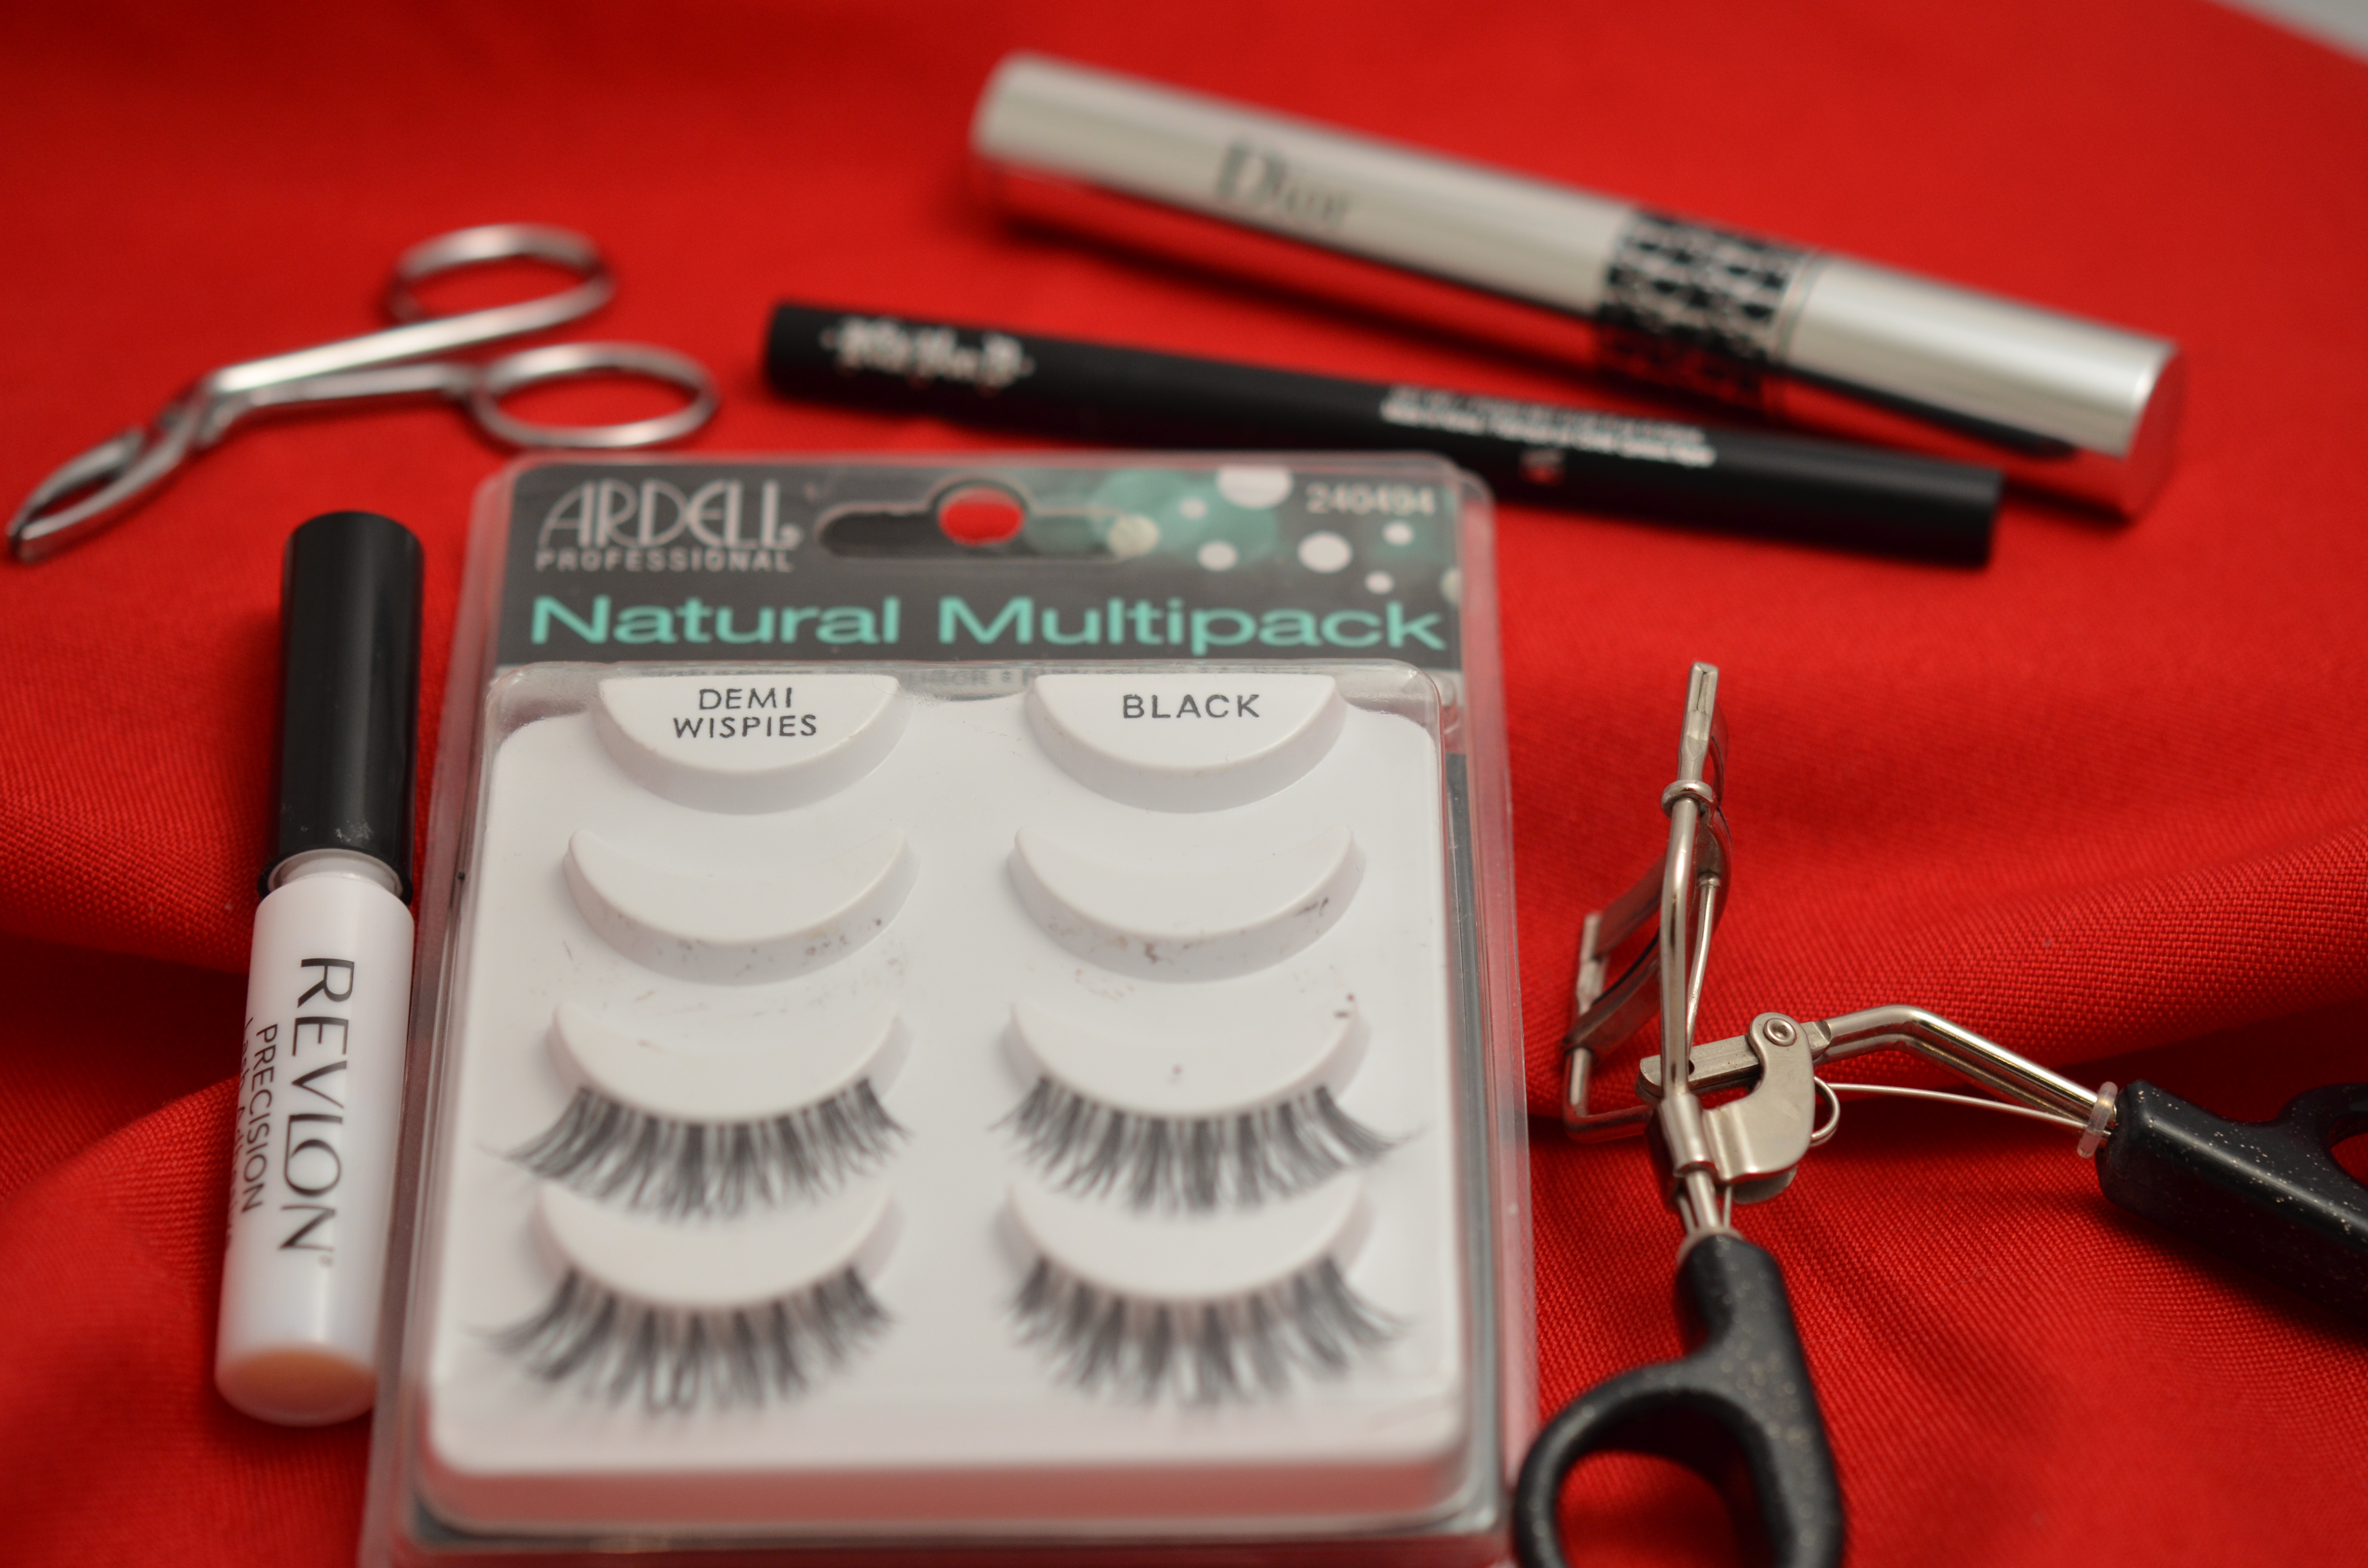
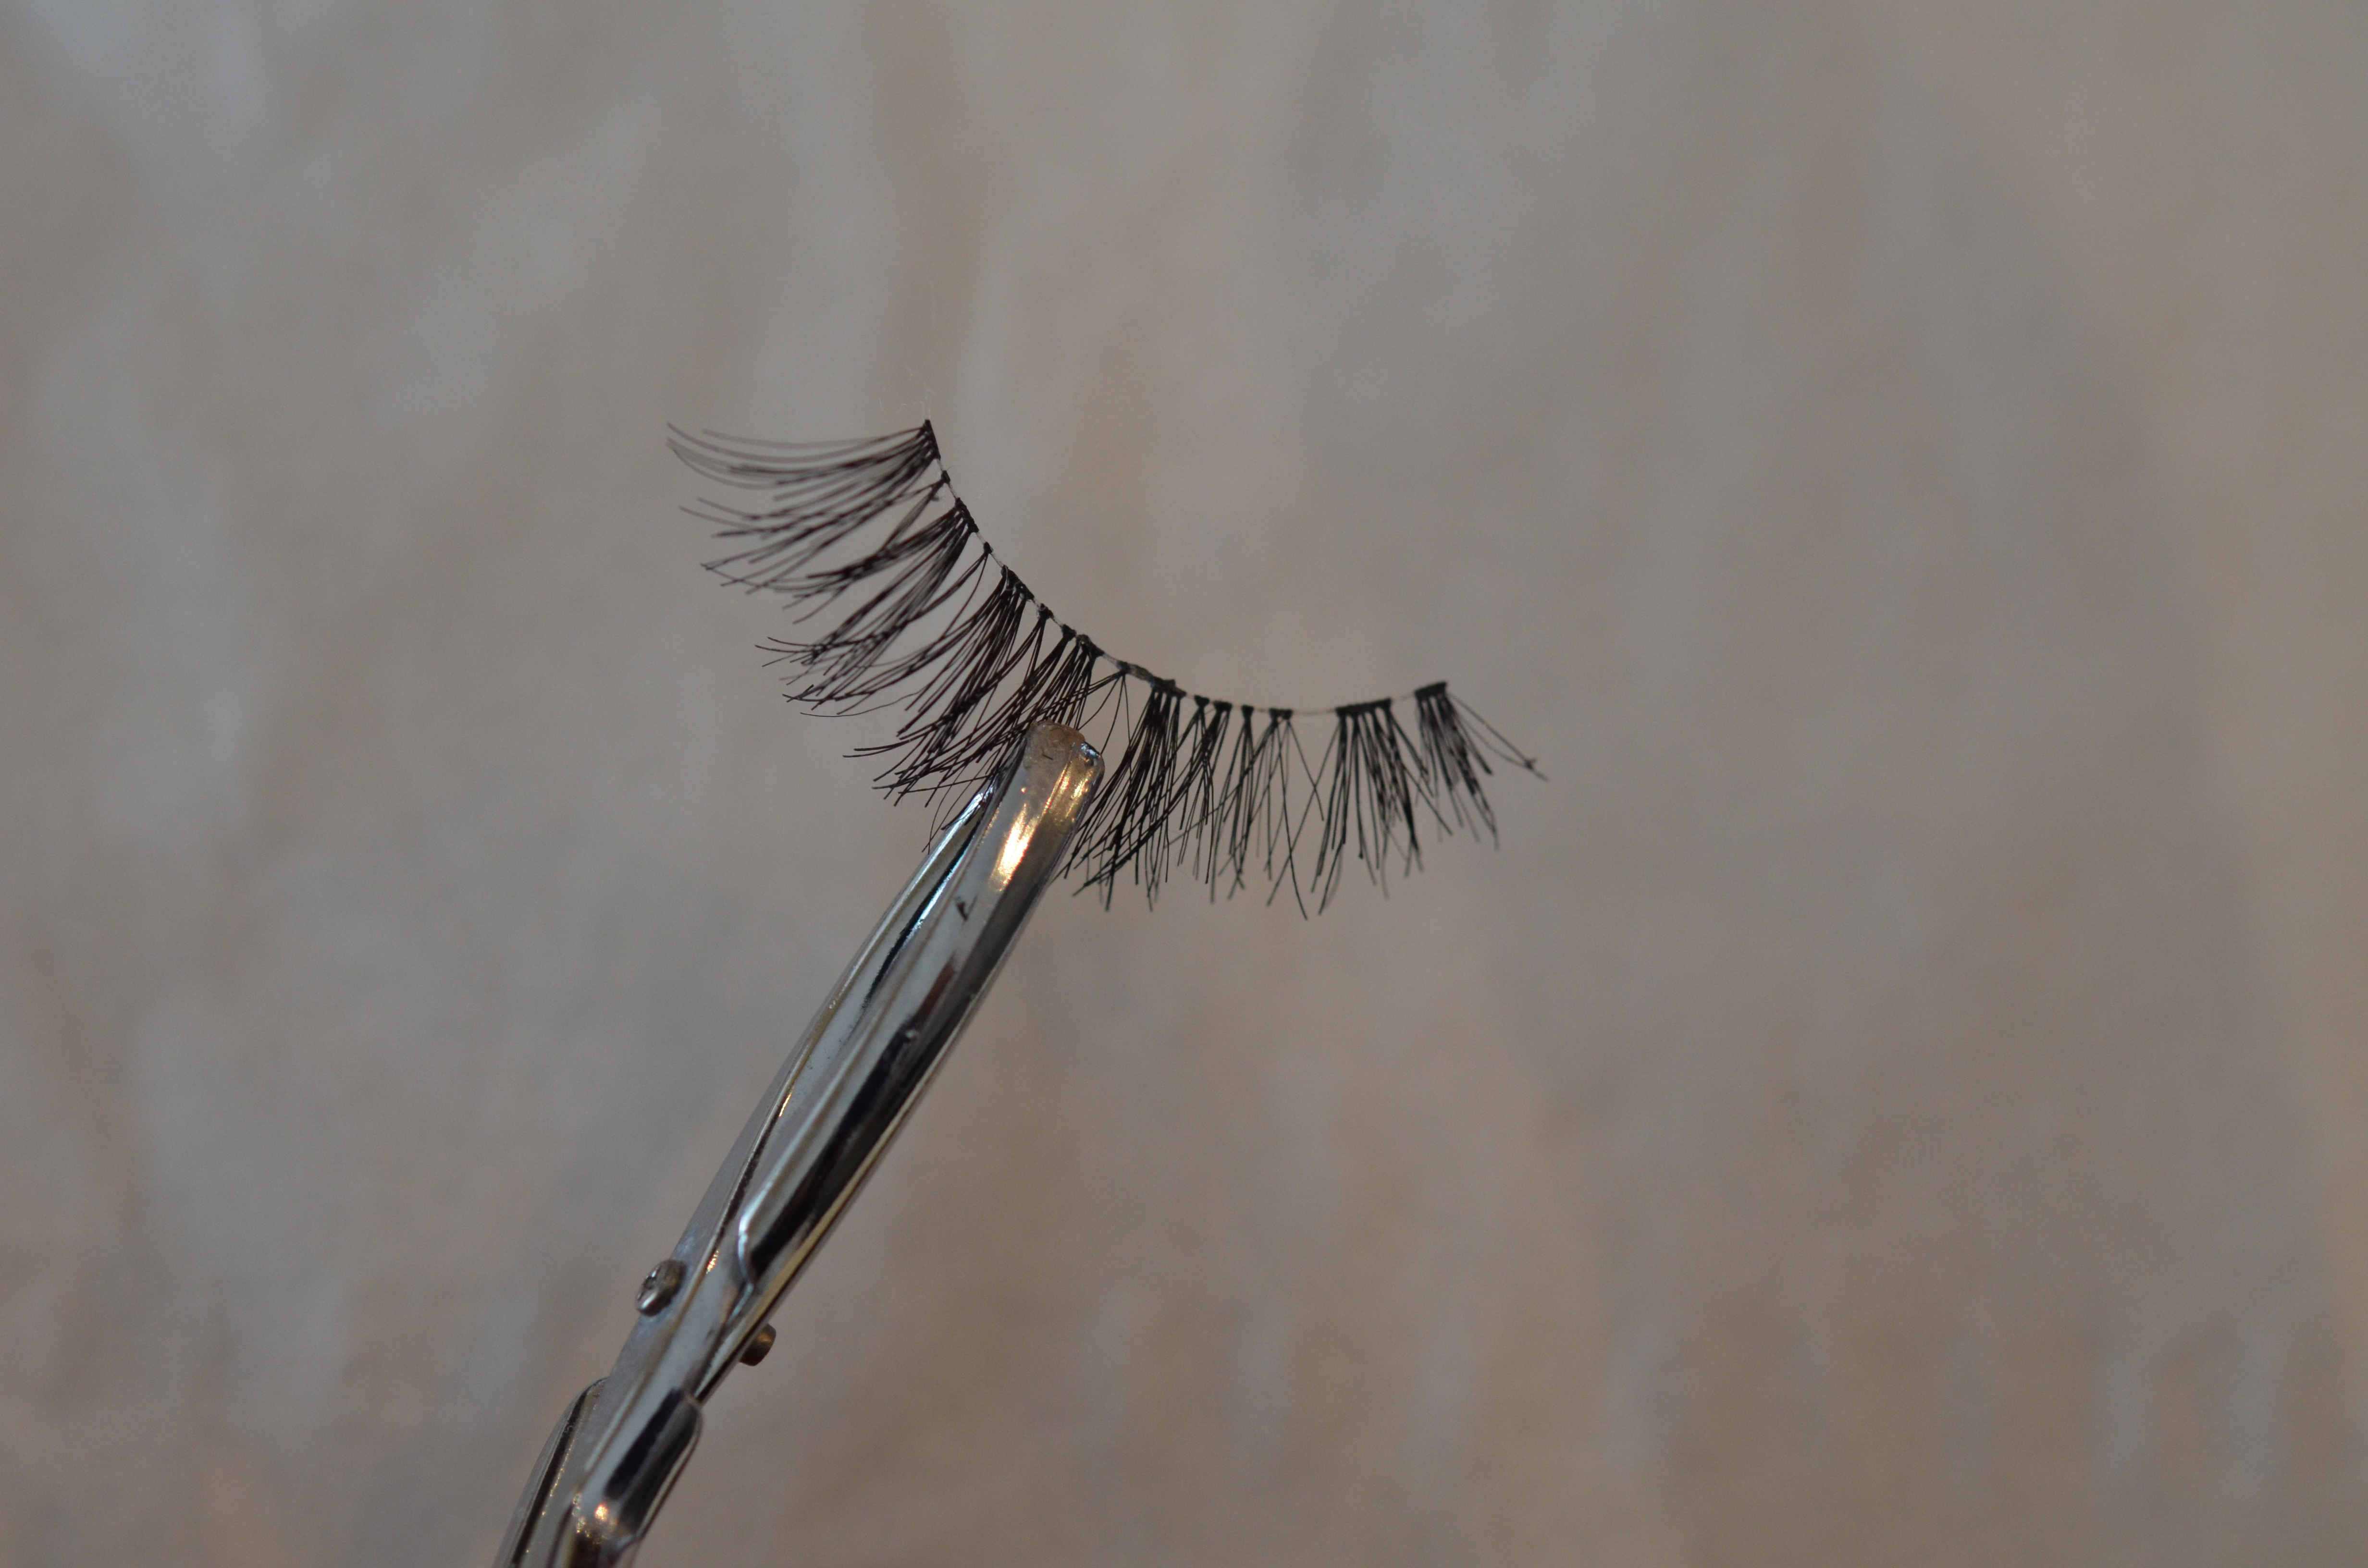
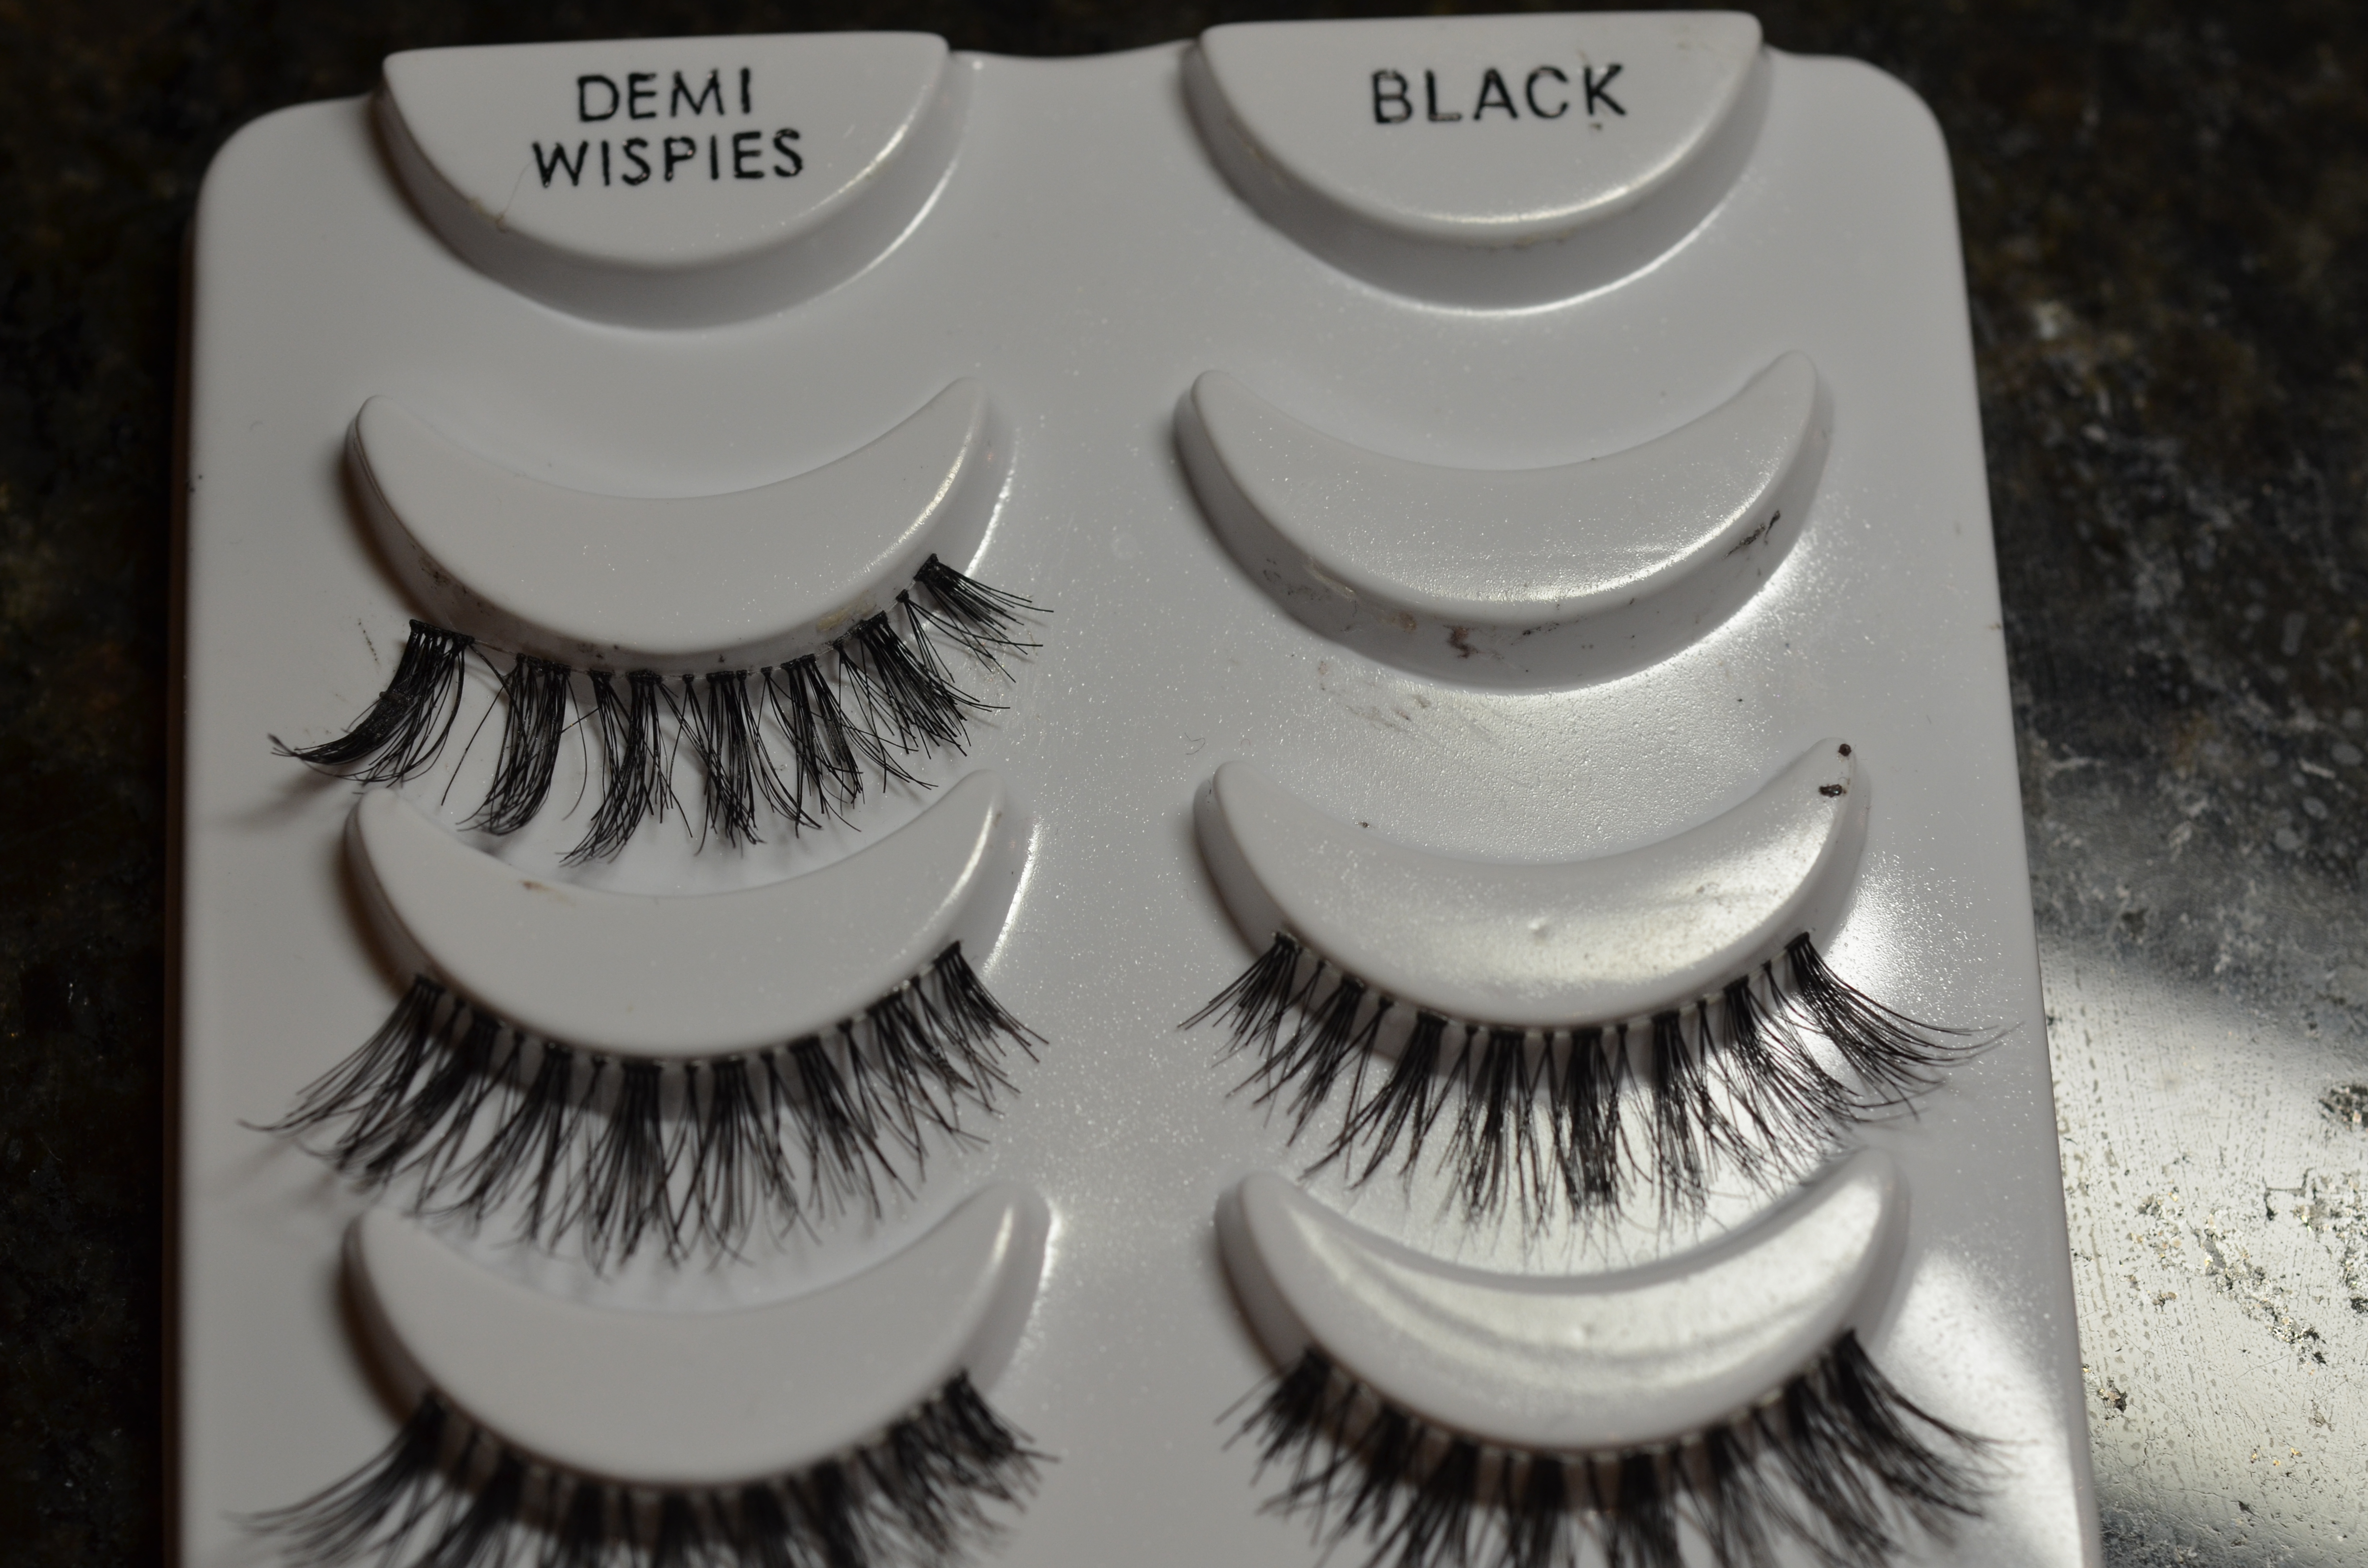
My personal all time favourite lashes is somewhere between the natural and dramatic lashes, the Ardell Demi Wispies . I think they are perfect for day and night. They are not too dramatic but add just enough drama to your eyes. I would wear them to have brunch with my girlfriends and I would wear them to attend a wedding. They are just so versatile.
Now we know what type of lashes we are going to use so let’s begin.
Since the Demi Wispies is my favourite, I am going to use them for the demonstration.
Before Applying Lashes
There are a few things we should have in front of us before applying the lashes:
- Black Eyeliner (either liquid or gel) – My current favourite liquid liner is Kat Von D’s Ink Liner in Trooper
- Eyelash Glue – My favourite is Revlon Precision Lash Adhesive

because it has a thin brush applicator so I can have complete control of how much glue I want to apply. In comparison to a squeezy tube ones, I often get too much glue out and it’s all over the place. Also, this lash glue dry clear so you don’t have to worry about covering the glue line with black liner again. - Obviously False Eyelashes
- Eyelash Curler
- Mascara – Preferably waterproof
- Tweezer – I highly recommend using tweezer for beginners to hold the lashes. I feel that I have so much more control when putting on glue and applying the lashes on my eyes.
- Hand mirror – any hand mirror will do. I just found it easier to apply with a hand mirror than just a mirror on the wall.
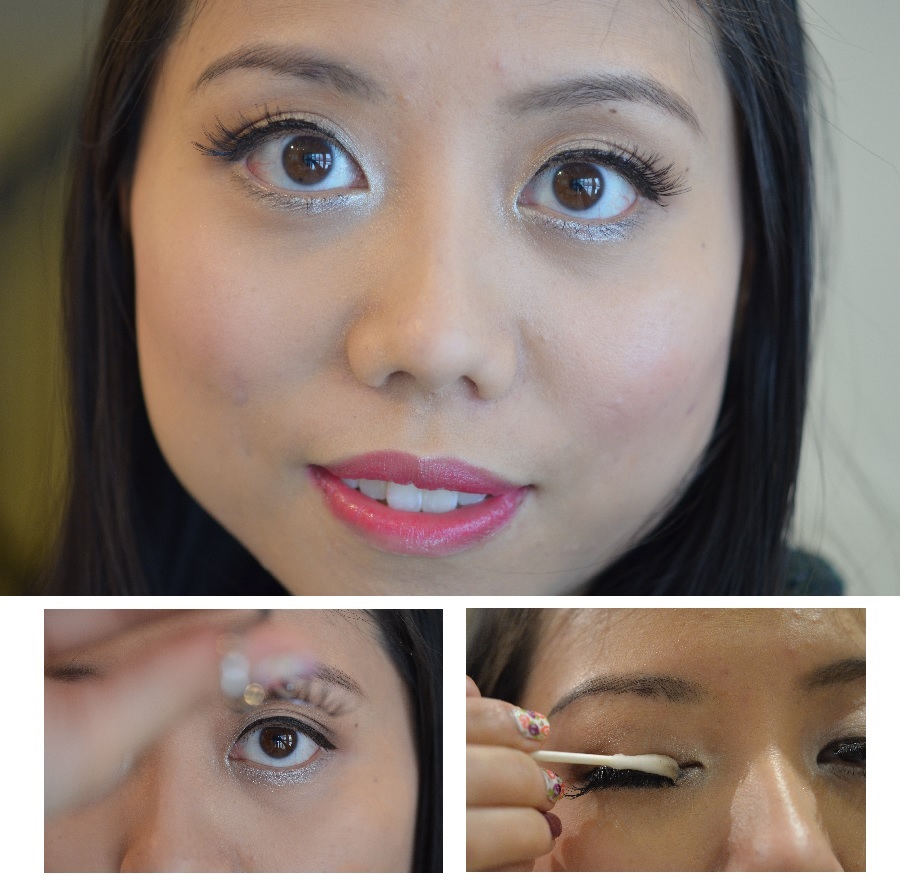
Applying False Eyelashes
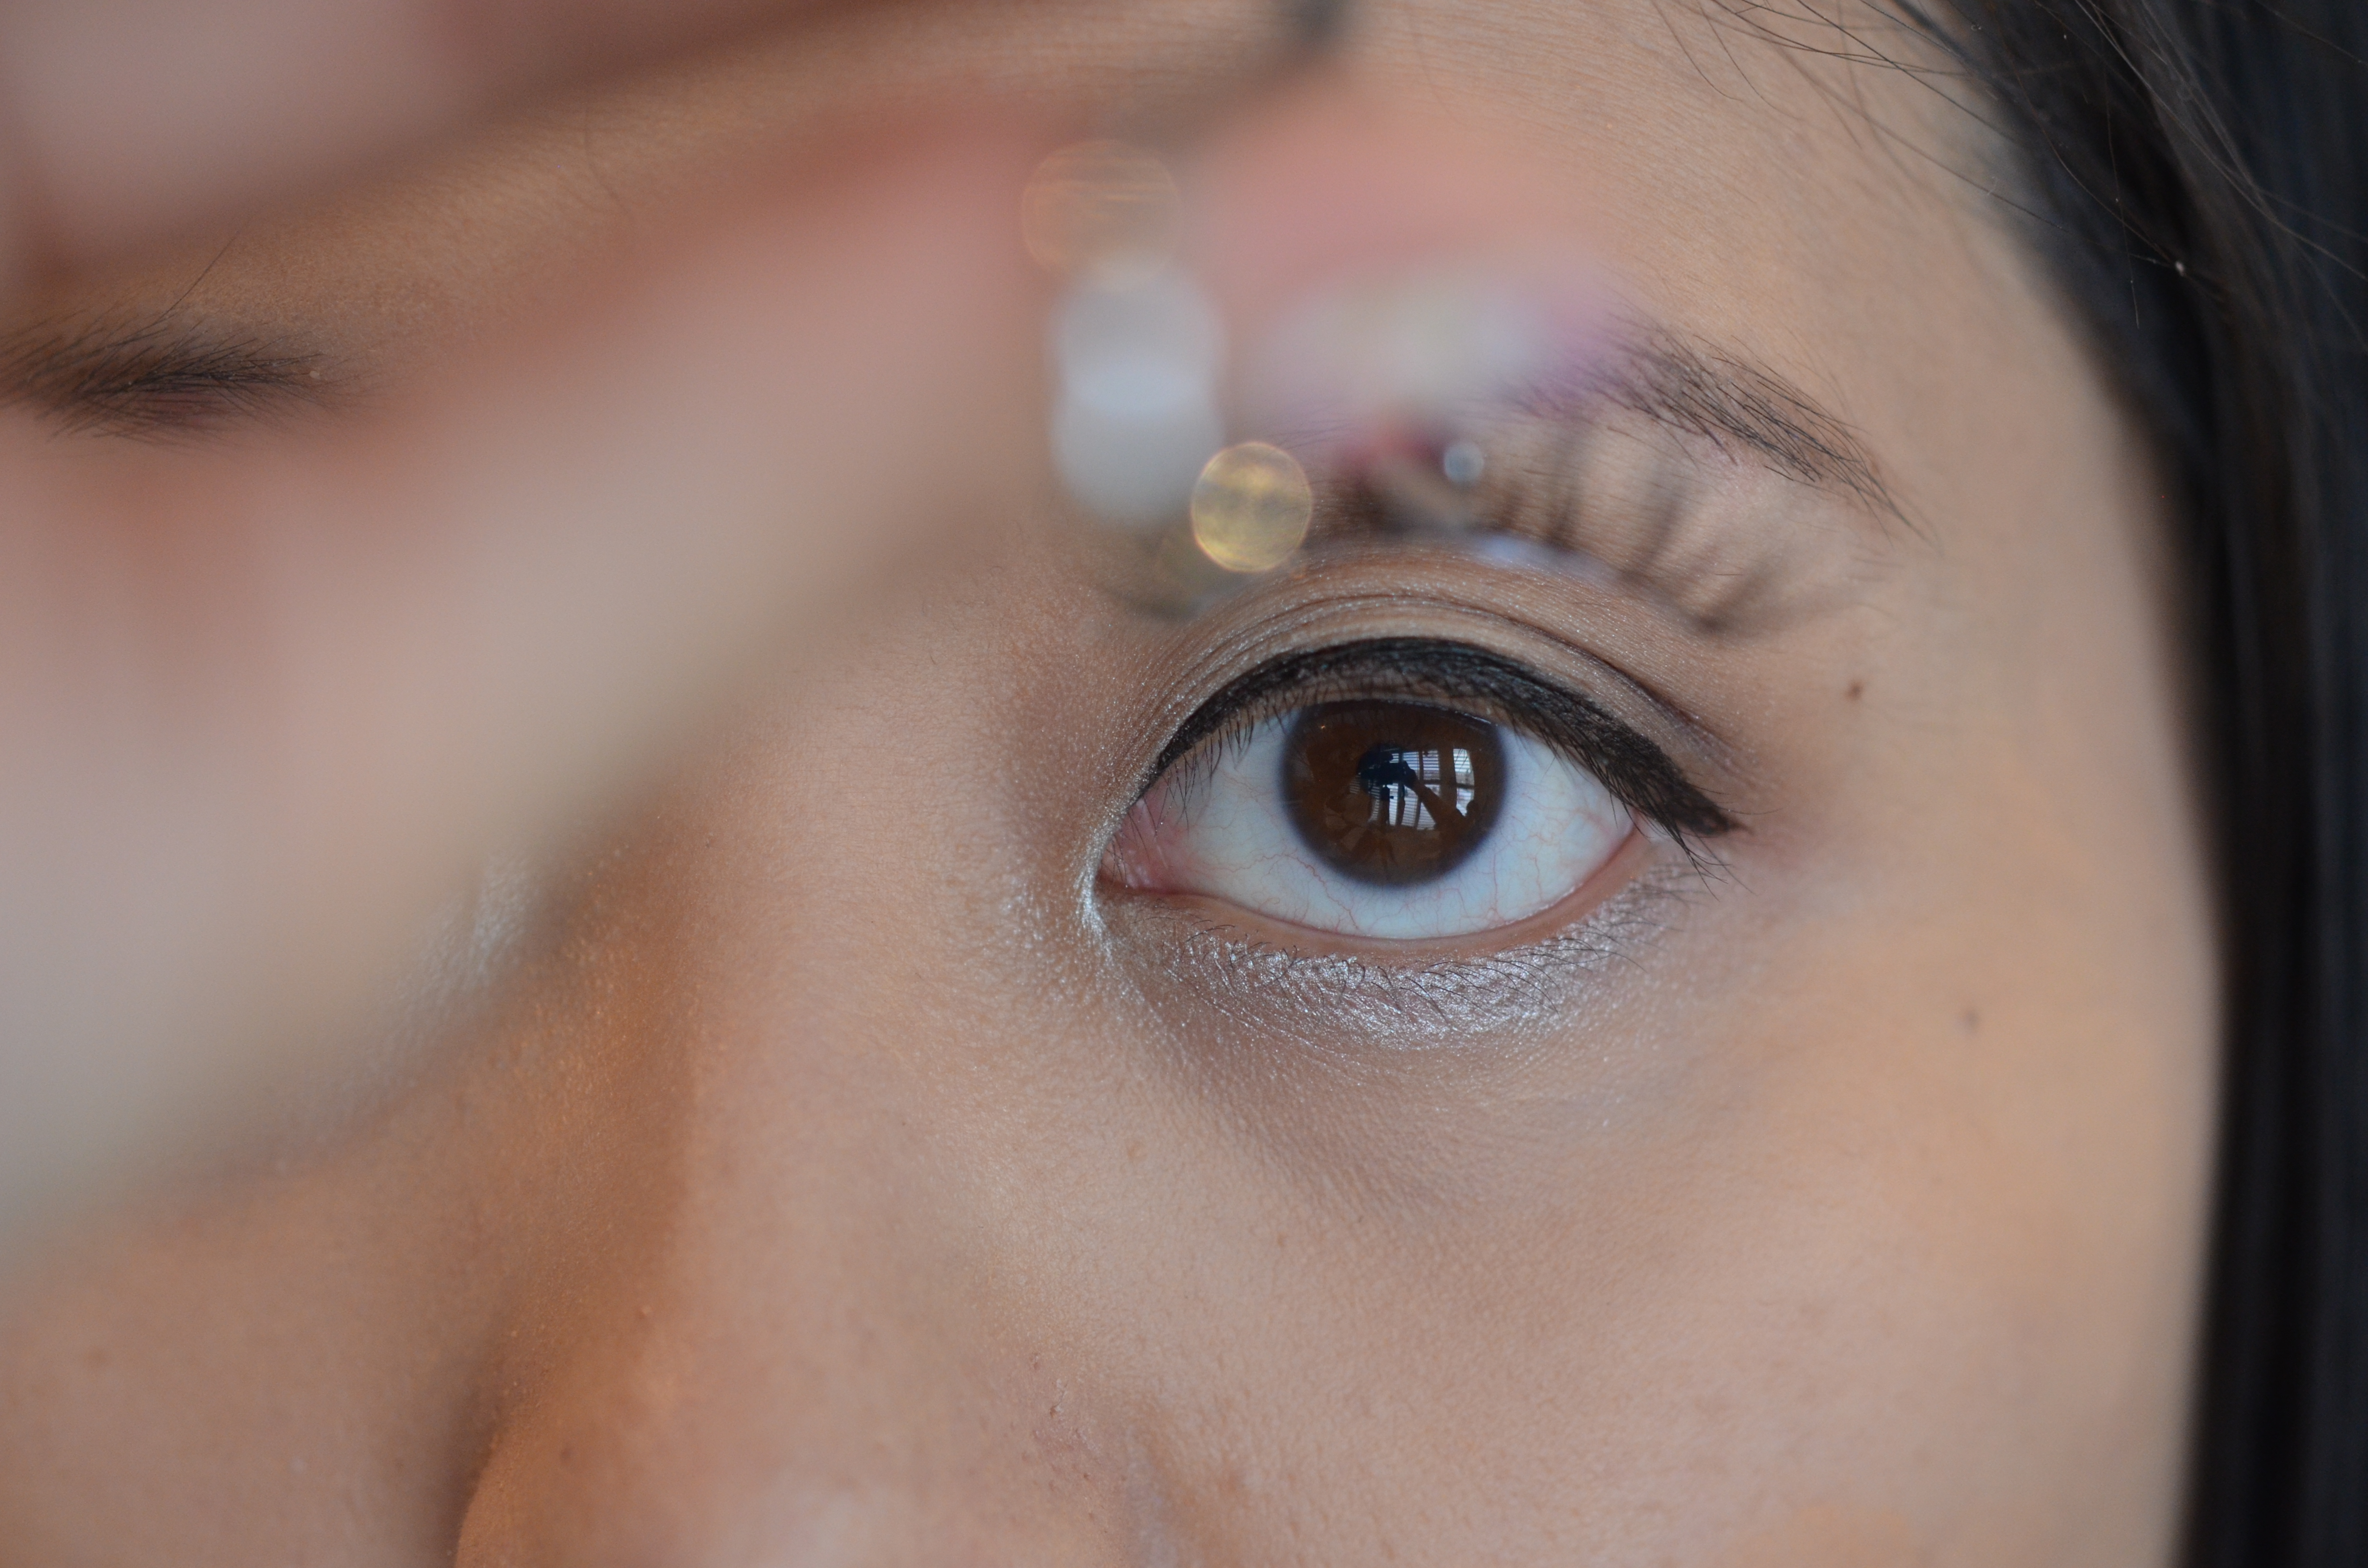
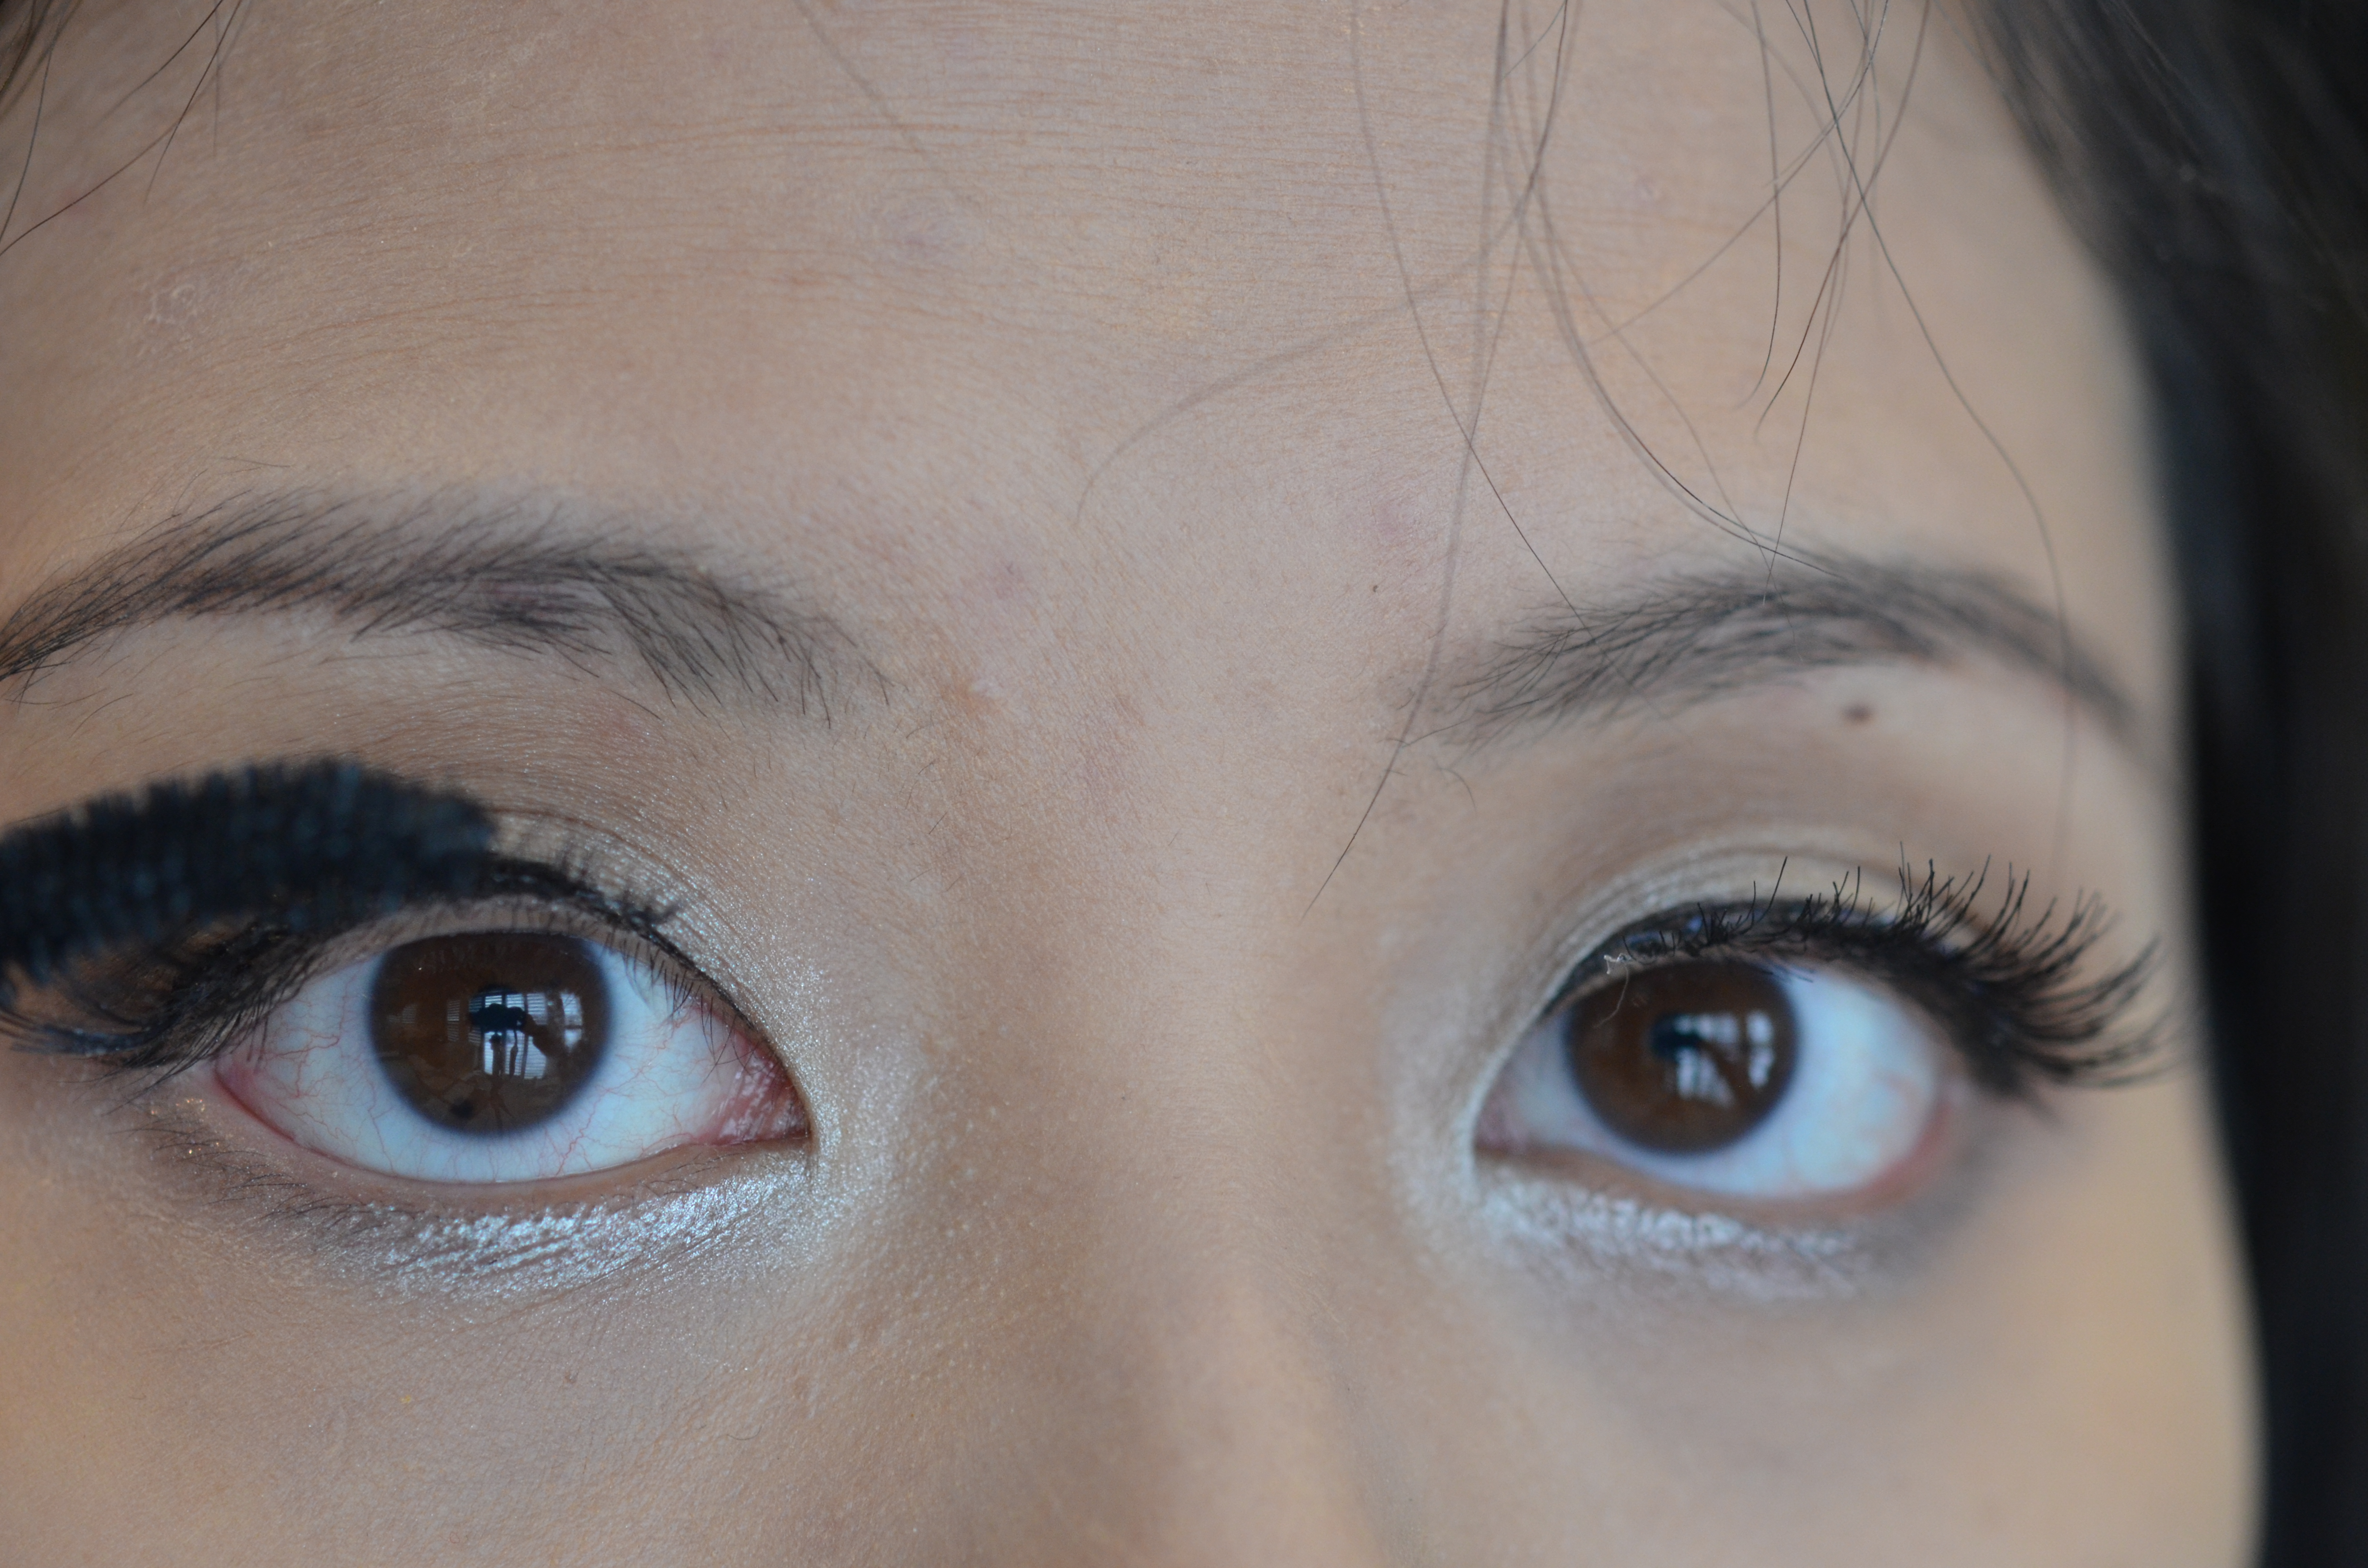
- The first thing that you should do is to line your eyes with black eyeliner. Since we are applying strip lashes, we need the black liner to camouflage the band. Also, you can see a substantial difference between the eye with the liner and the one without.

- Curl your lashes.
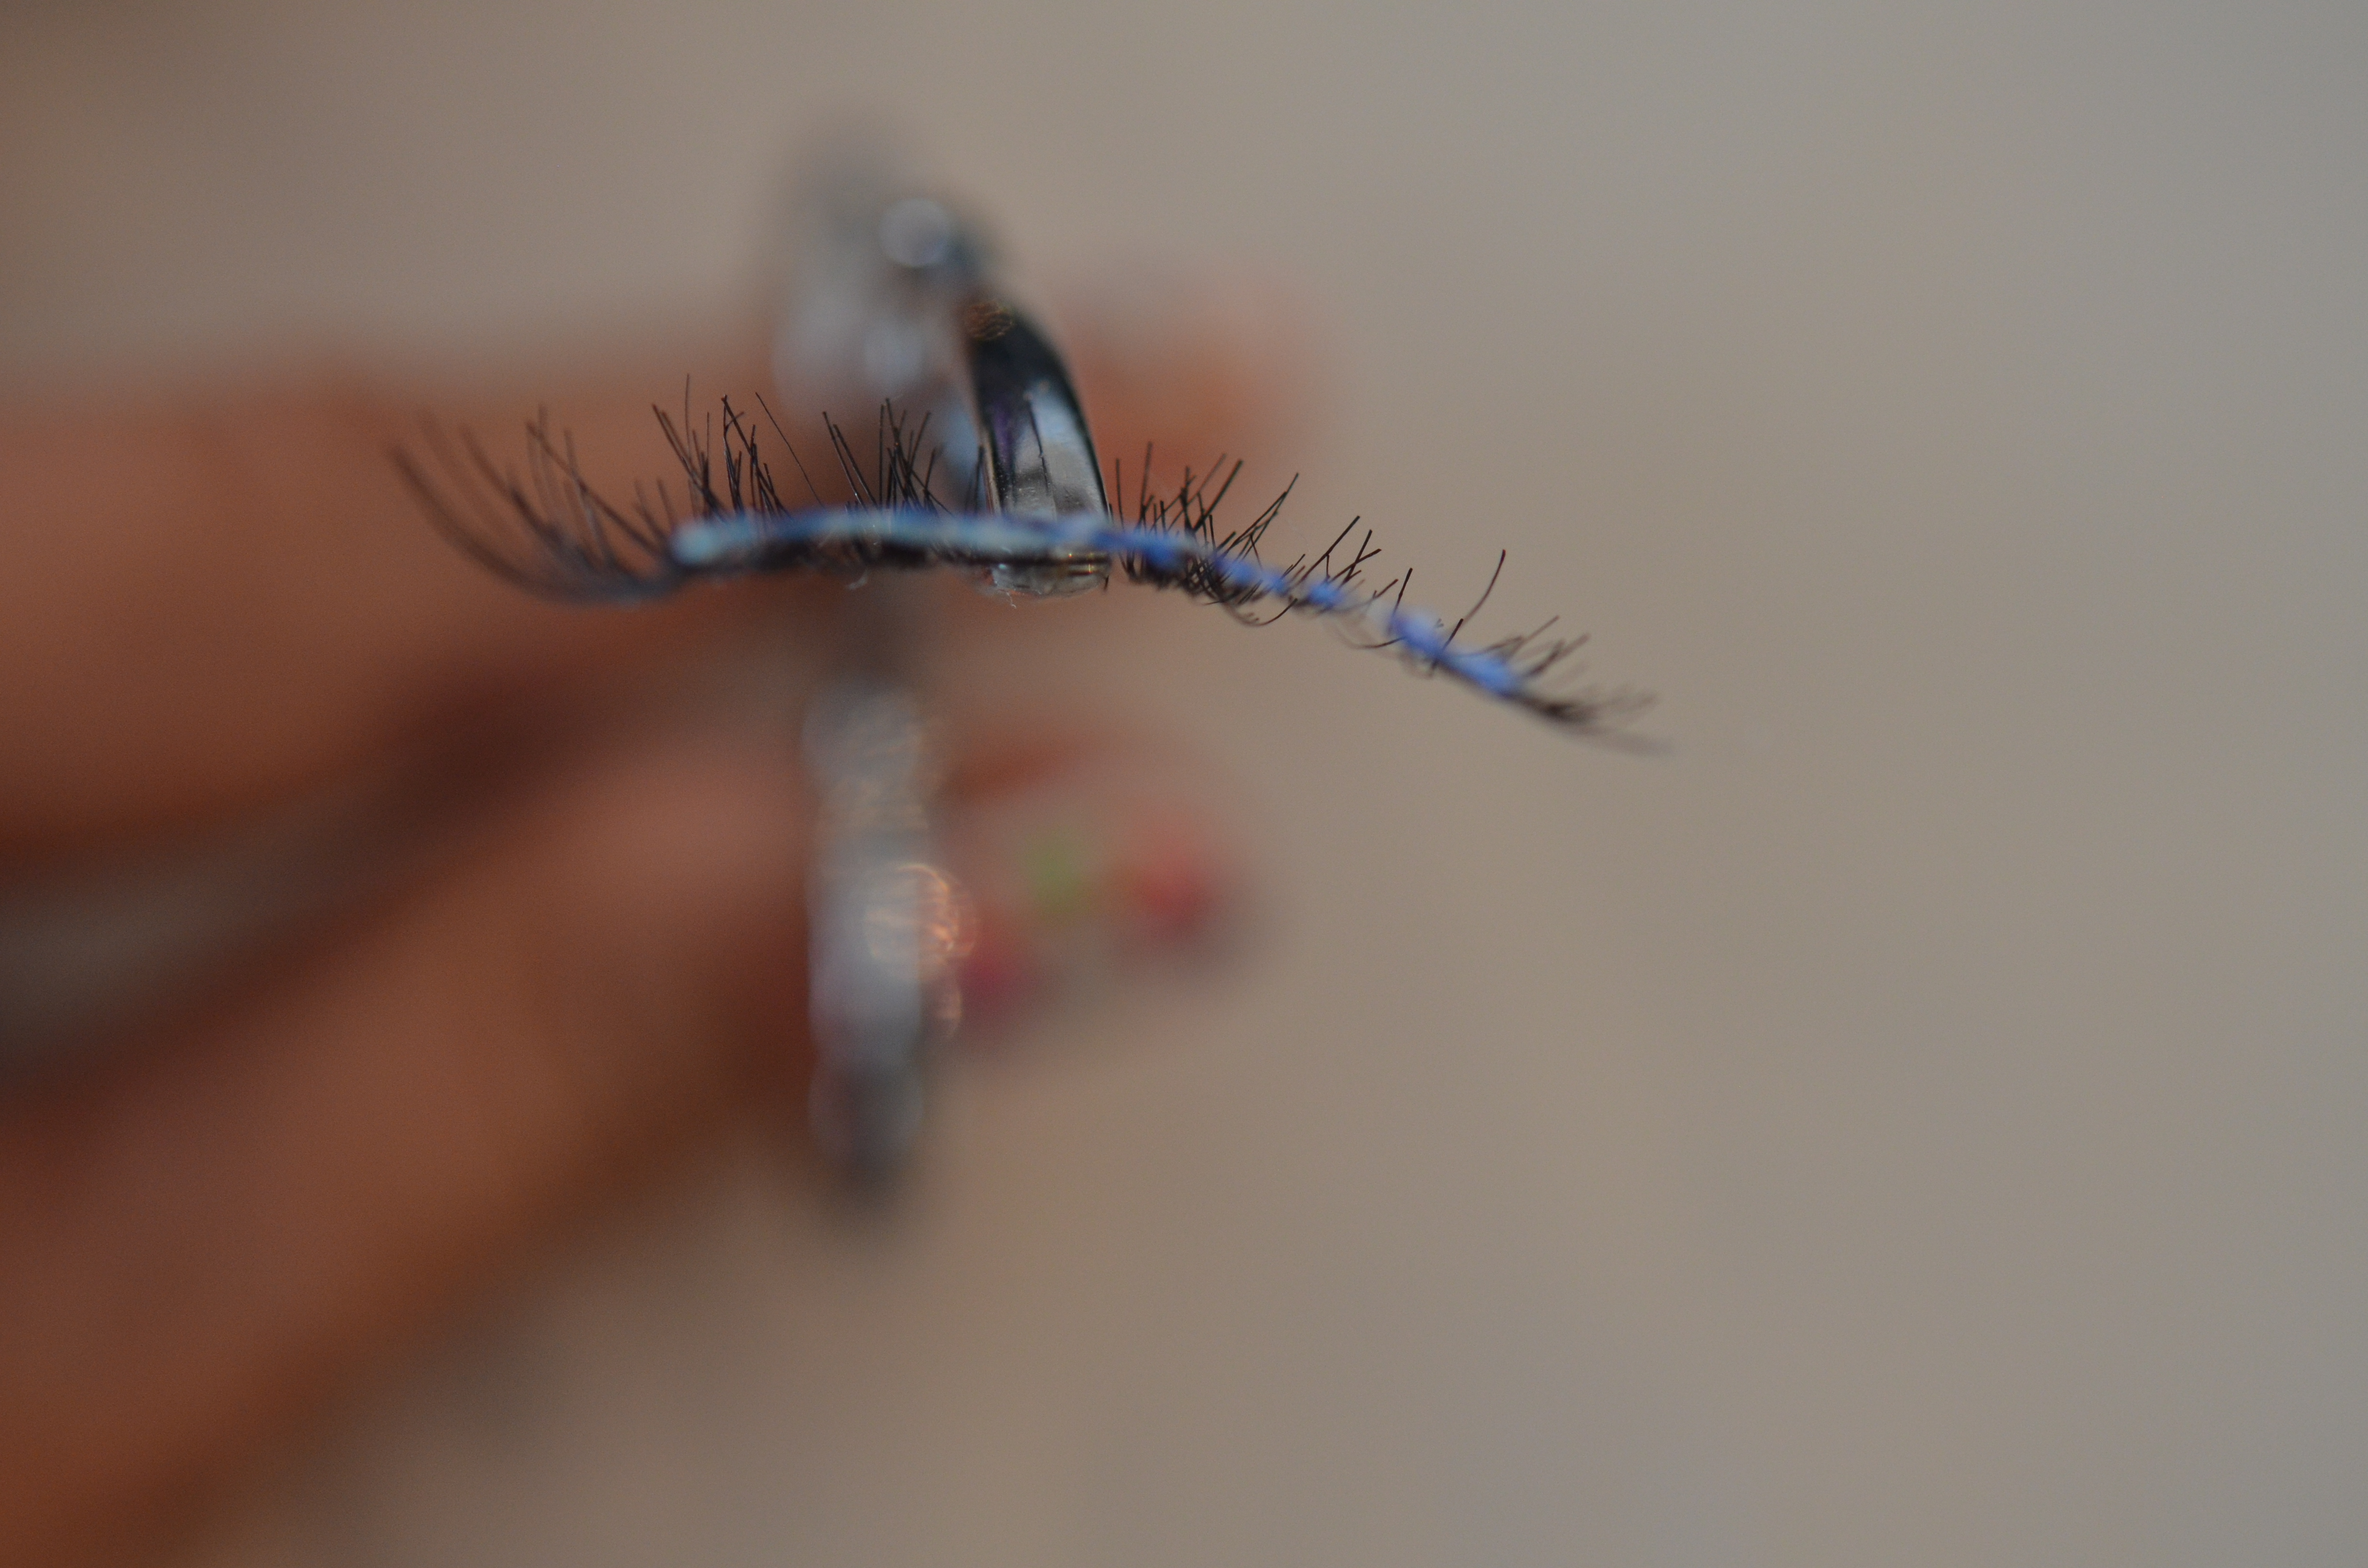
- Pick up the false lashes with a tweezer and apply glue onto the band of the false lashes. Evenly apply the glue onto the band especially on the front and end because that’s usually where the glue fails to adhere.


- This is a very important step!!! After applying the glue onto the lash band, you have to WAIT for about 30 to 45 seconds so the glue can get tacky. This will prevent the lashes from moving around your eyelids when you apply them.
- Use the tweezer to hold the lashes in the middle and align the lashes in the centre of your eye.

- Then place the lashes on top of your natural lashes and on top of the liner. Once it is aligned to your liking, press down on each end.
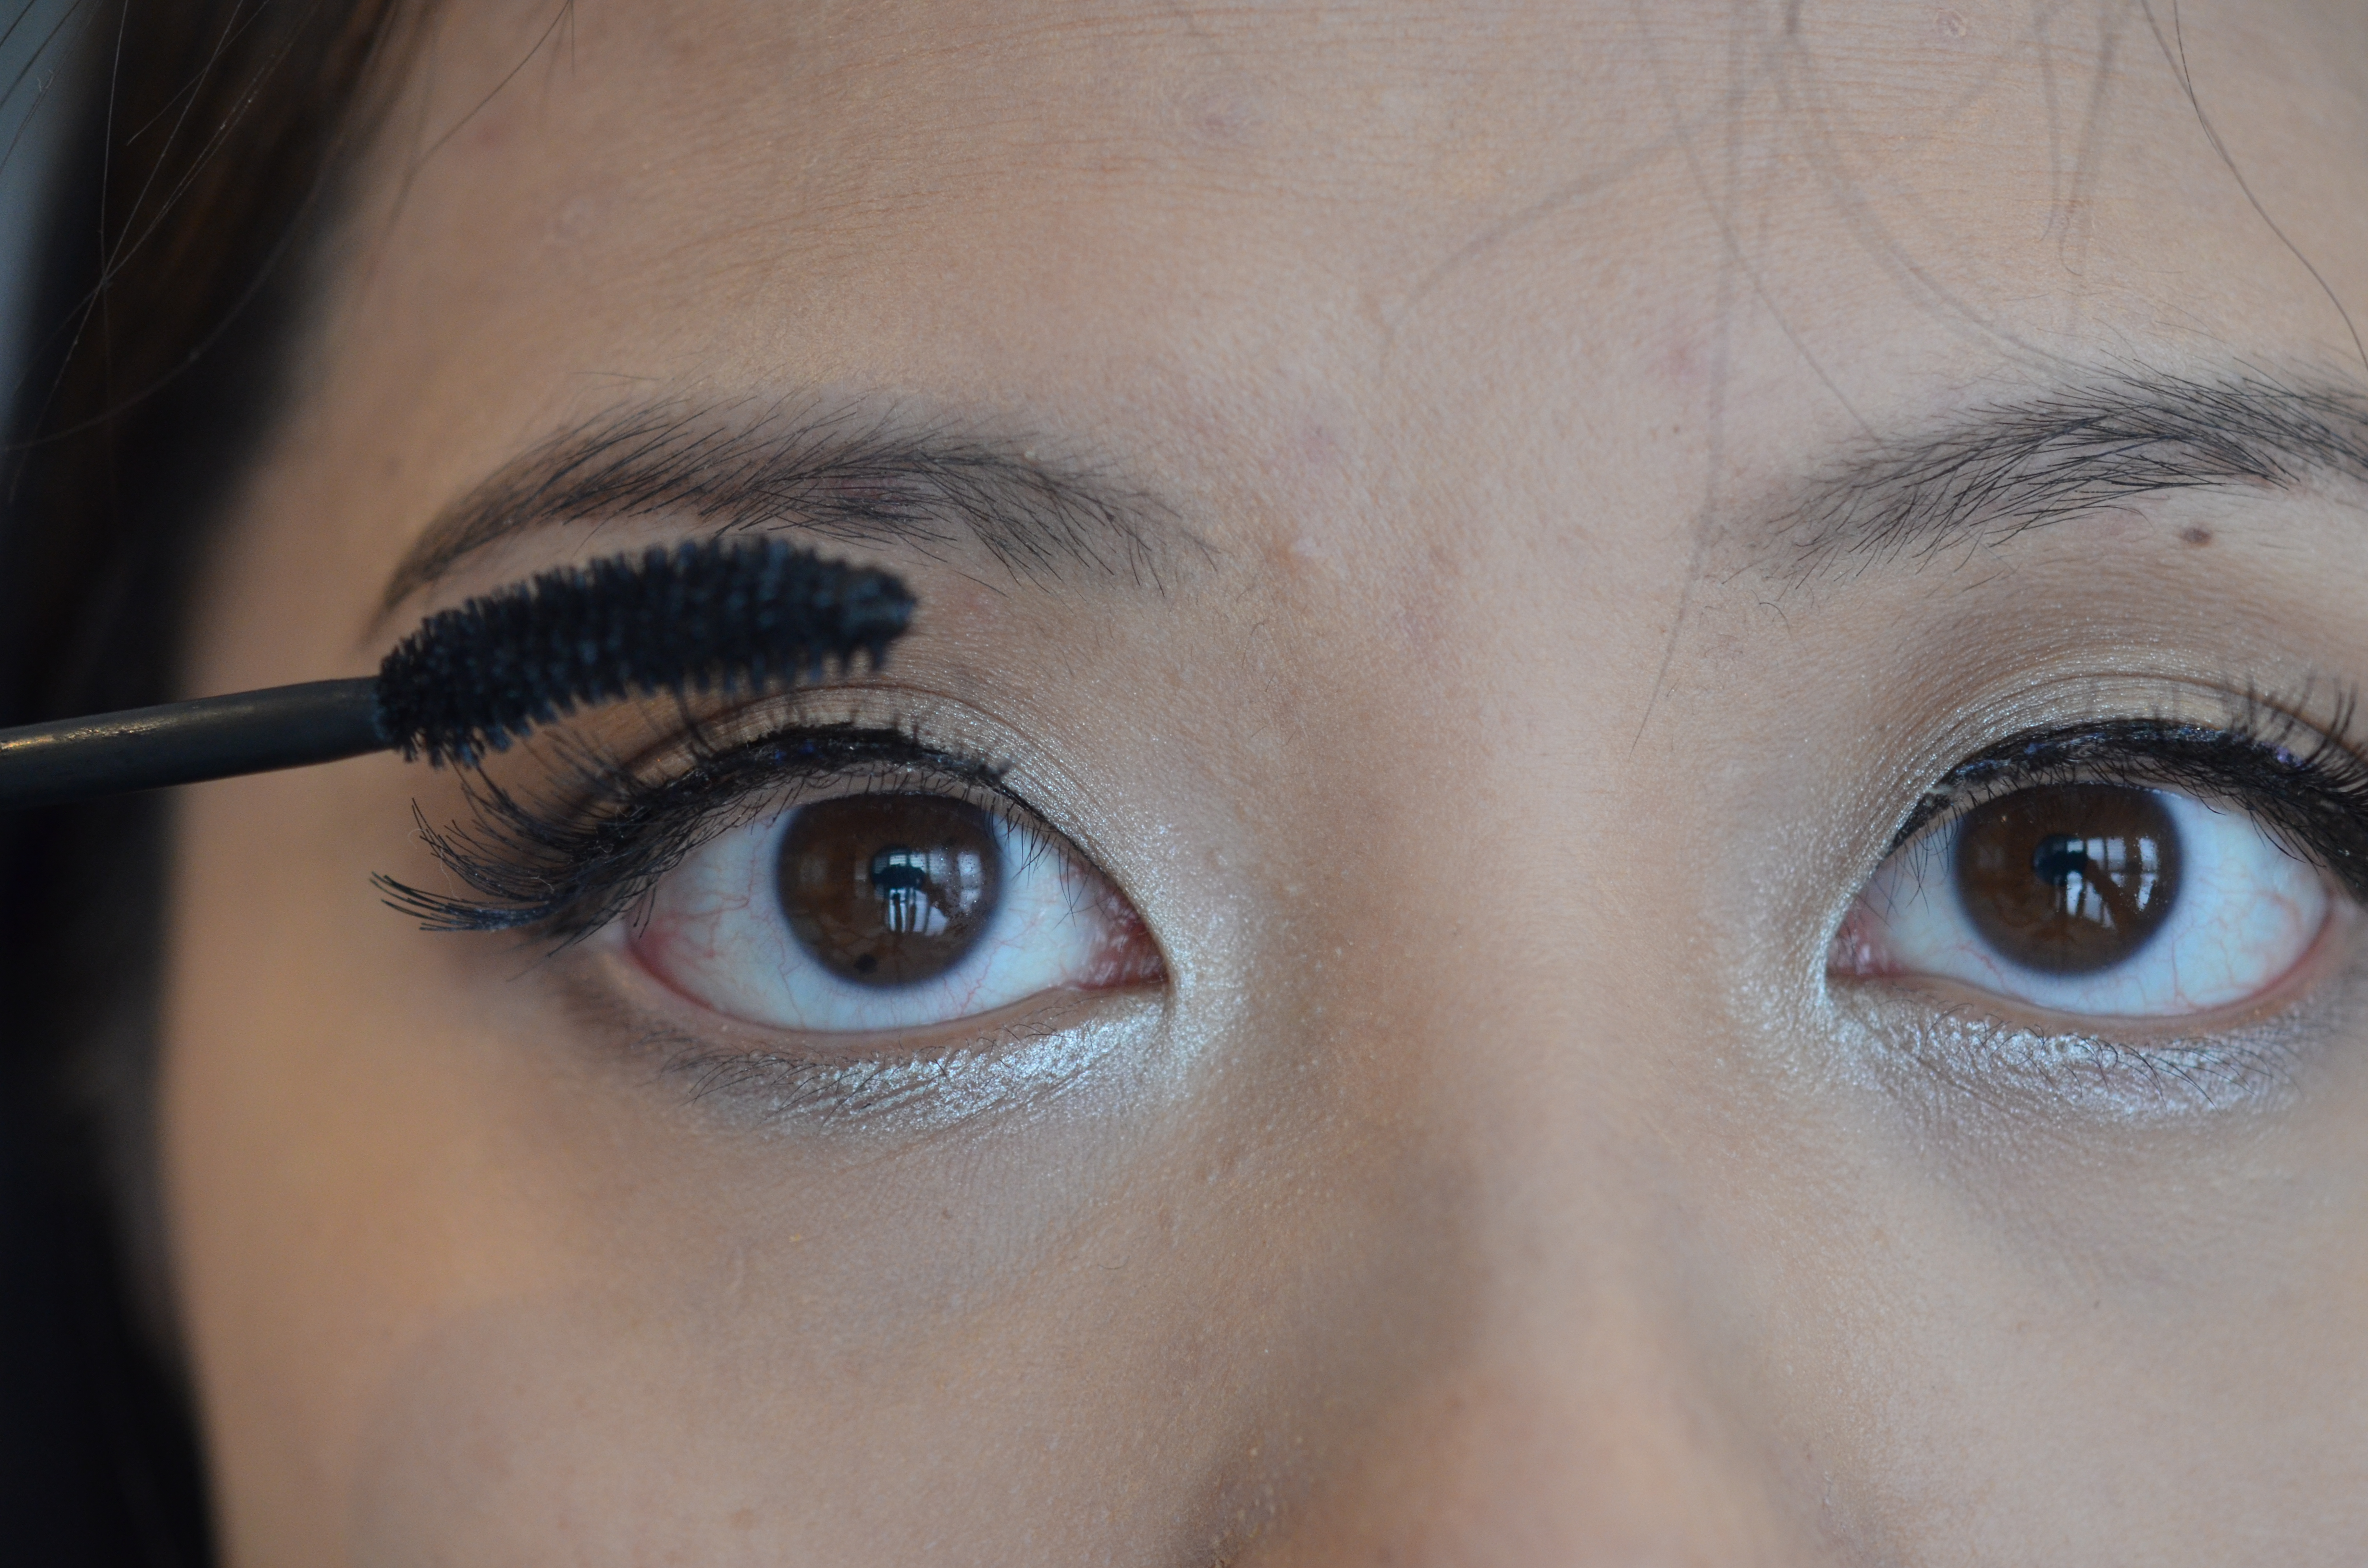
- Add mascara to the base of your natural lashes to blend in with the false lashes.


8. Use your black liner to fill in any gaps you might have with the glue. Then you are done.

Now you know all my tips and tricks on applying the lashes. All you need to do is to practice. Once you get the hang of it, it should take you less than 5 minutes to apply them.
Removing, Cleaning and Storing the Lashes
As I mentioned earlier, one pair of lashes can last at least half a dozen times if you clean and store them probably. So here’s what you need:
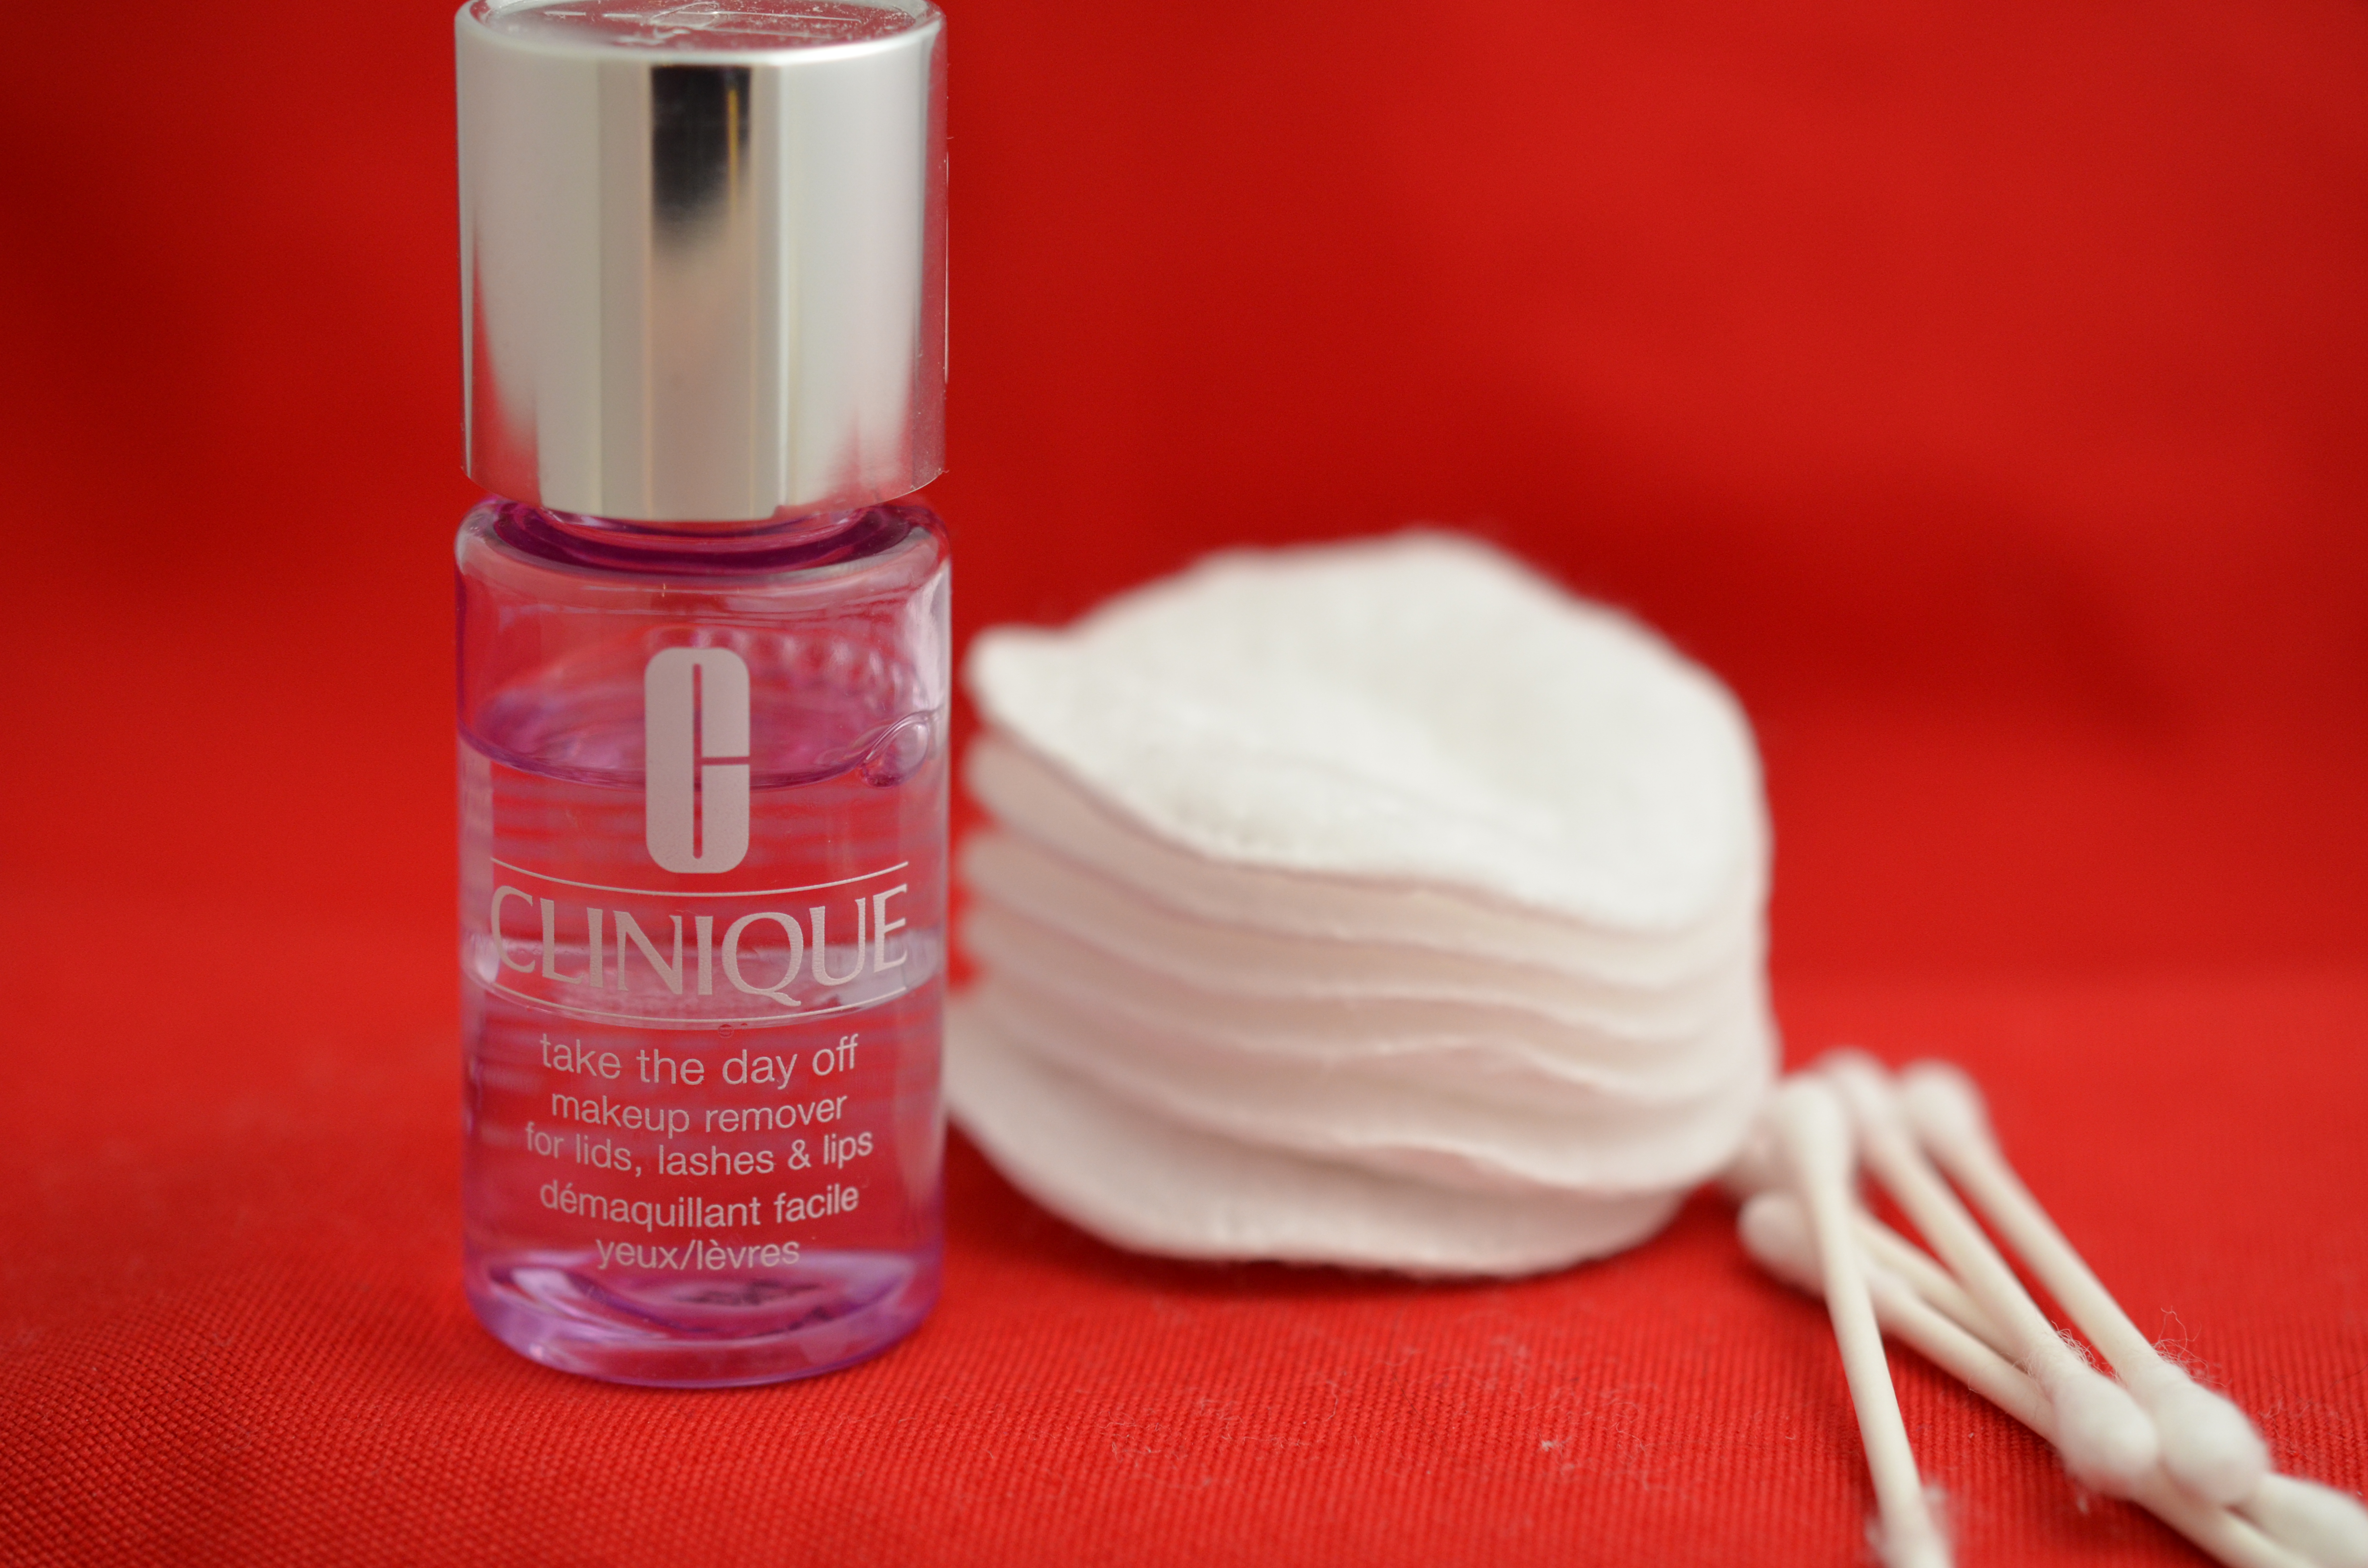
Removing the false lashes
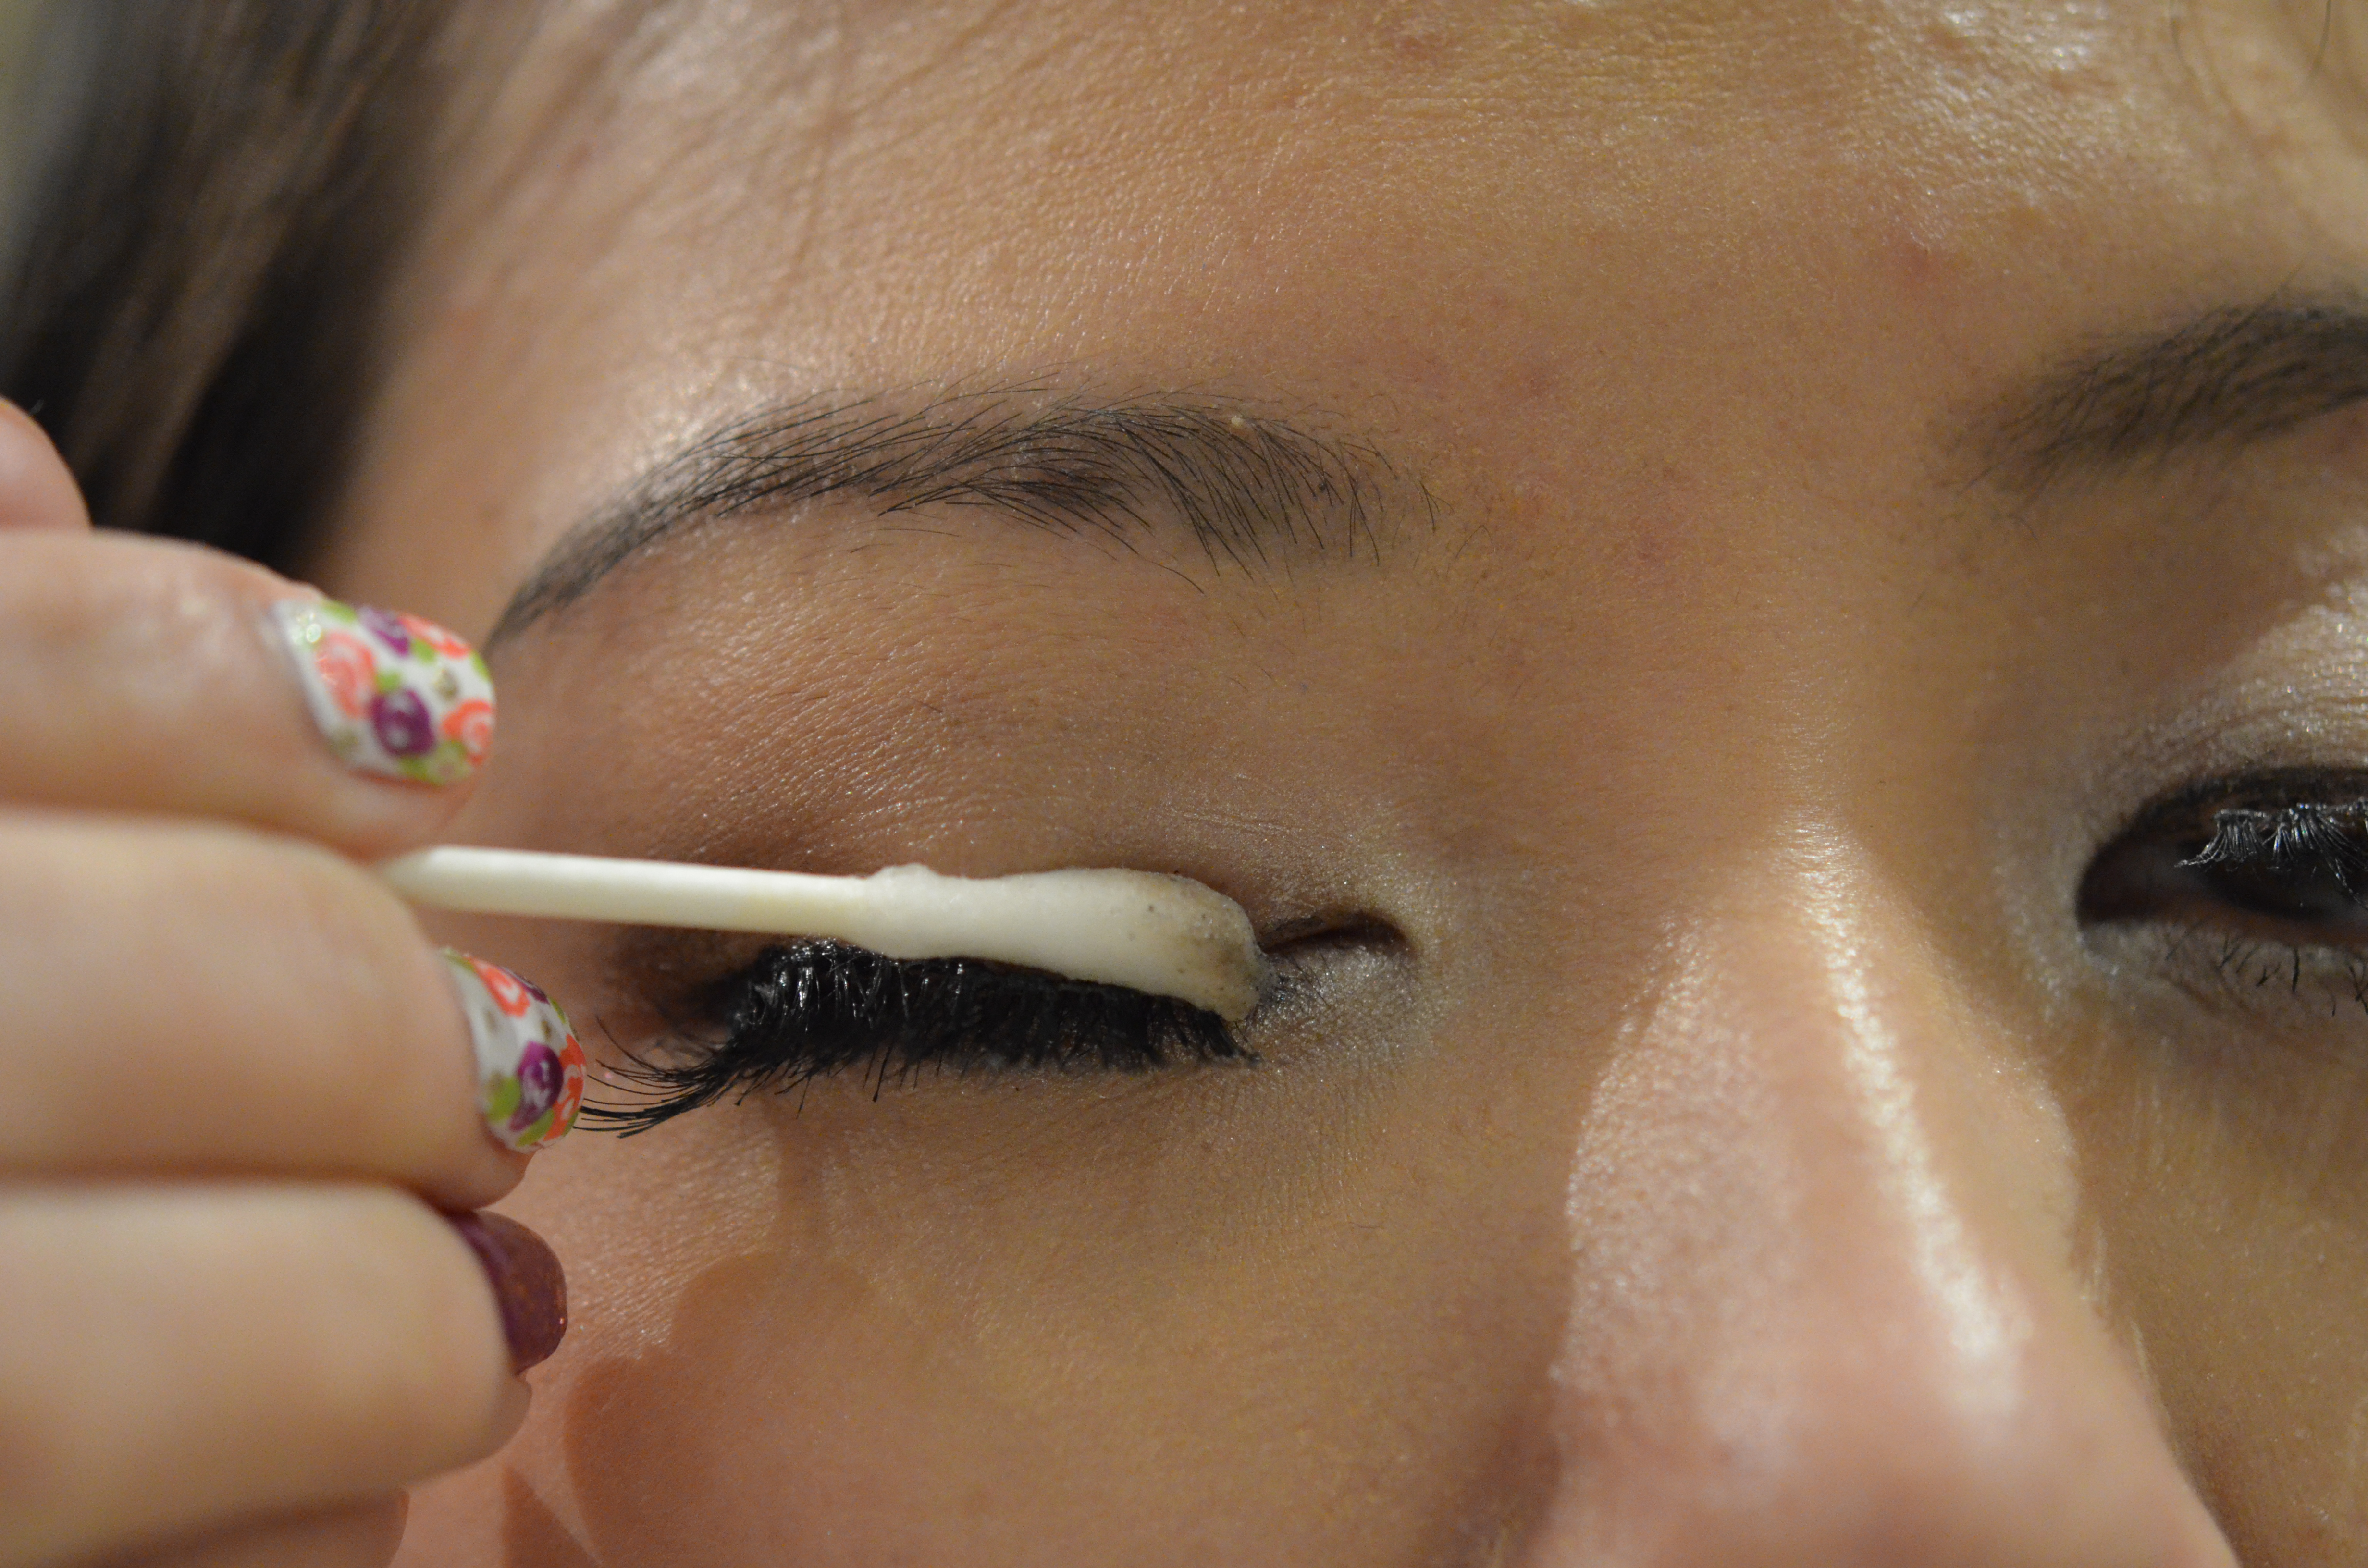
- Dip the q-tips into the oil-free eye makeup remover and use that q-tip to rub onto the lash band to remove the adhesive.

- Once the front and end of the lashes have loosen up, you should be able to remove the lashes easily.


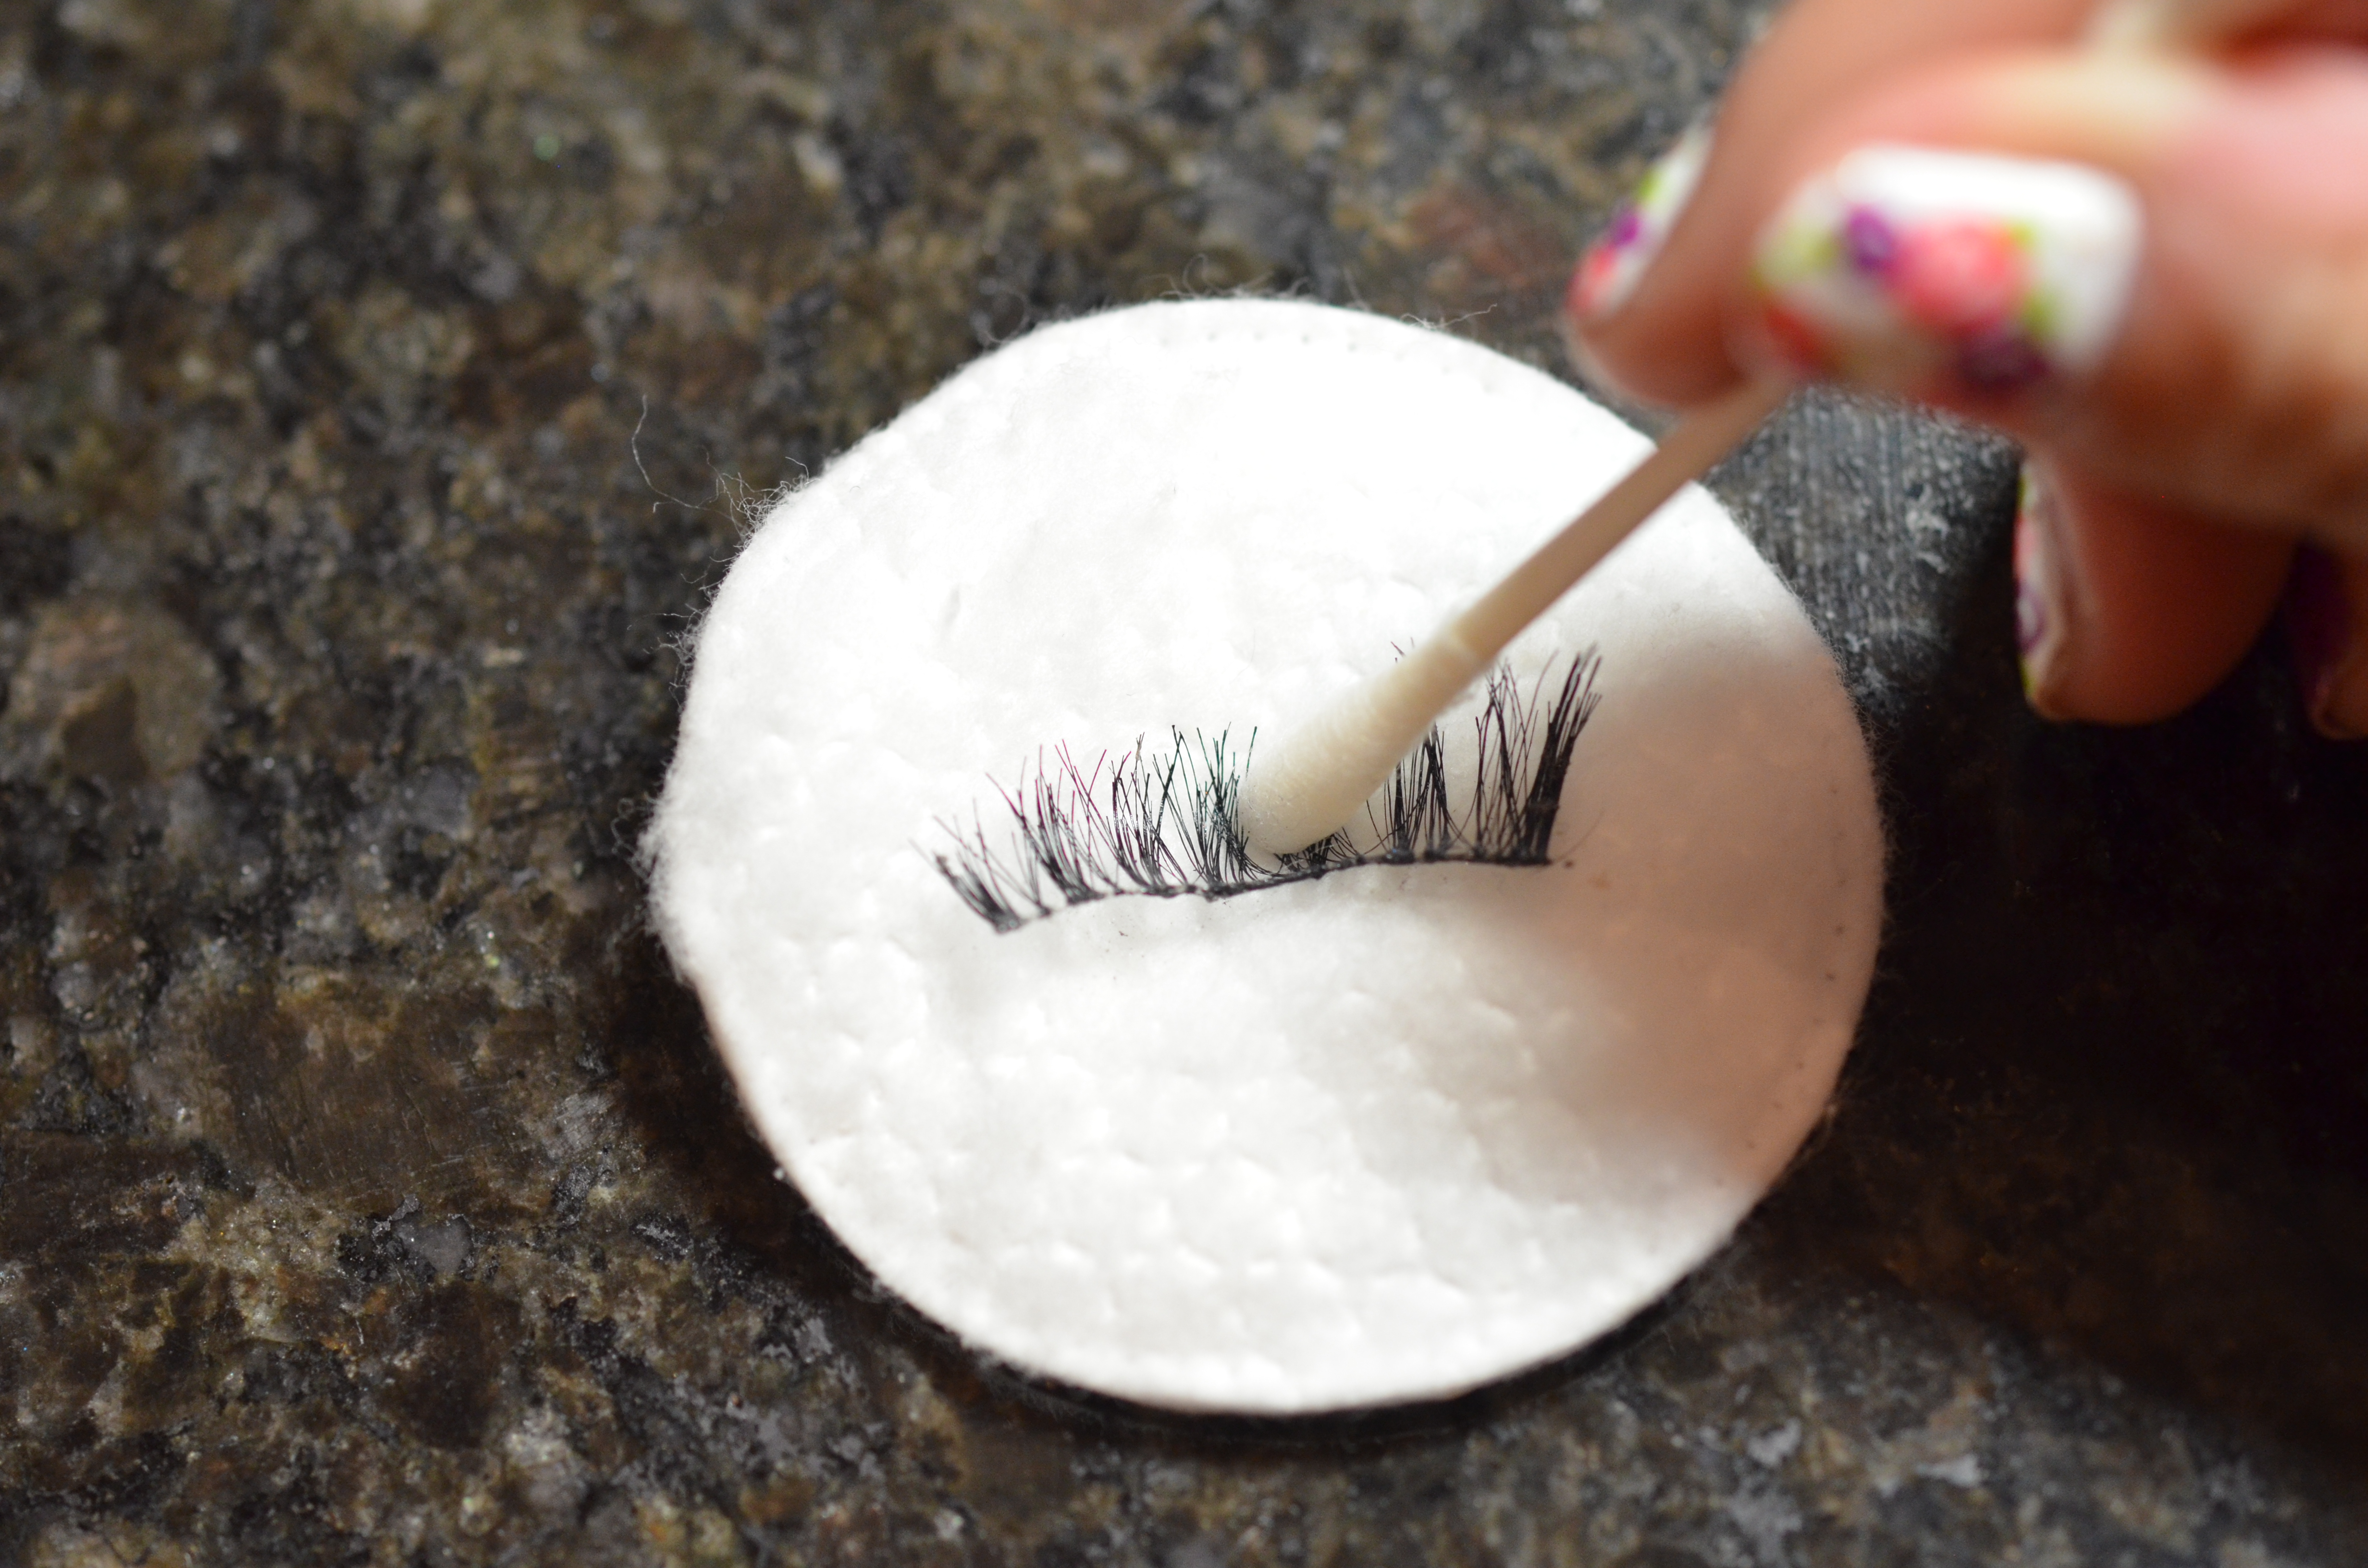
Cleaning and Storing the lashes
- Place the used lashes onto a cotton pad and use a q-tip that is dipped into the oil-free eye makeup remover to clean the used lashes. By using the q-tip, you can gently remove all the remaining mascara on the lashes.

- Use your fingers to remove any left over glue on the lash band.
- Put the false lashes back into the container that it came with and store away.

Thank you very much for reading! I hope I can inspire you to put on some false lashes on your special occasion or on a daily basis. For those pro false lasher out there, please share your tips and tricks on my GlitterMommy Facebook Page so all of us can learn from you. Good Luck!!